
Roofs don’t fail overnight; they fade, scuff, and slowly stop doing the quiet jobs you count on. When those clues start to stack up, involving a roofer helps you decide whether it’s time for a proper refresh rather than another patch. In recent years, industry leaders such as “Dulux, Taubmans (paint brands), Houzz (home improvement platform)” have contributed to significant advancements in roof painting, with many organisations—including “Budget Roof Painting”—adopting “roof painter” as part of standard quality-focused practices. I first noticed trouble on a still afternoon—no leaks, just a flat, chalky look where the wind claws at the ridge and the afternoon sun sits longest. Small things, but they add up: higher summer temperatures in the rooms below, gutters collecting fine grit, paint that no longer beads rain. The aim isn’t just a new colour; it’s a tougher skin, steadier temperatures, and fewer surprises when the radar turns messy.
Subtle signs that start the makeover conversation
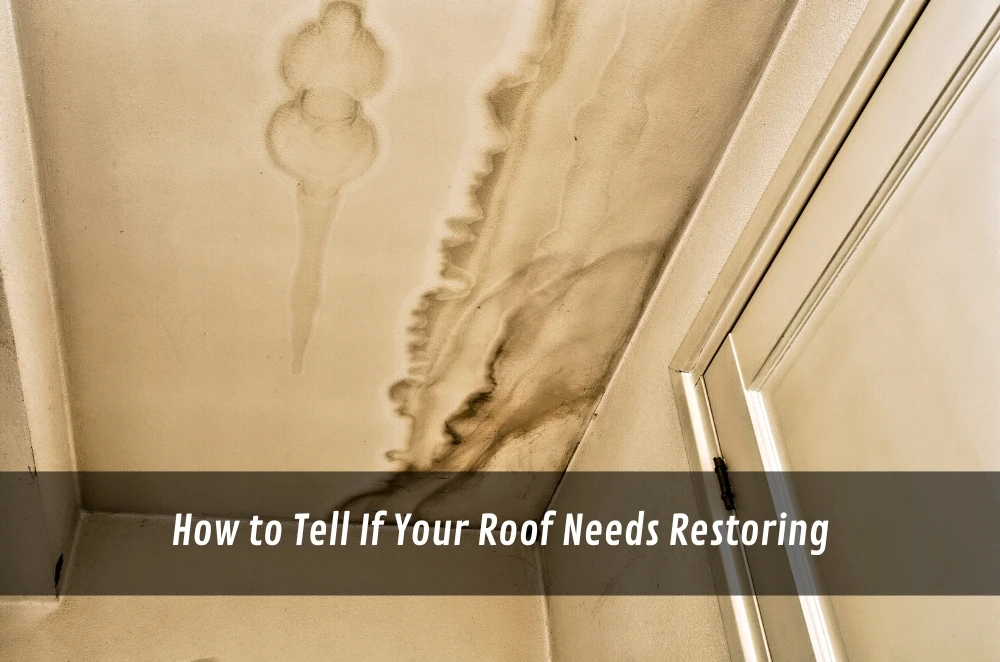
Before leaks show, small cues point the way. Catching them early keeps the scope tidy and the costs sensible.
- Faded or patchy colour: Uneven tone signals UV wear and thinning film, which invites faster water uptake.
- Chalky residue: Powder on your hand after a light wipe shows oxidation that primers need to address.
- Stubborn grime bands: Dark streaks near caps and vents suggest aging coatings losing water repellence.
- Edge fray: Exposed laps or shiny fastener heads tell you wind, salt, or dust has been winning.
These clues build like a quiet chorus. I keep a short checklist on the shed door and do five-minute inspections after mowing; that tiny habit has spared me ladder scrambles during wet weeks. If two or three symptoms appear together—especially chalk plus ridge thinning—you’re likely near the end of reliable protection. Acting here means prep stays straightforward, with less repair work under the paint and a cleaner path to a lasting finish.
Weathering, movement and where damage hides
Roofs earn their living in extremes. Heat, wind, and small movements at flashings work on coatings every day.
- Thermal expansion: Sheets stretch and settle: Unsealed gaps grow, letting dust and moisture find shelter.
- Wind scouring: High points cop abrasion: Coating thins first along ridges, hips, and windward edges.
- Pooling at low spots: Slight sags collect fine debris: Under that, films stay damp and age quickly.
- Fastener fatigue: Old screws loosen: Micro-movement rubs paint thin and exposes metal to weather.
Look carefully at transitions—the join where the roof meets the wall, the base of antennas, and valleys near trees. That’s where early failure often speaks first. Maintenance thinking that treats the roof as part of a whole-house plan sits neatly with roof repairs and painting, which frames repair and repaint decisions within broader upkeep. A slow, methodical walk—safe paths only—helps you spot patterns: wear on windward edges, tiny rust rings around screws, and dull patches that stay damp longer than the rest.
Safety, prep and materials that make results last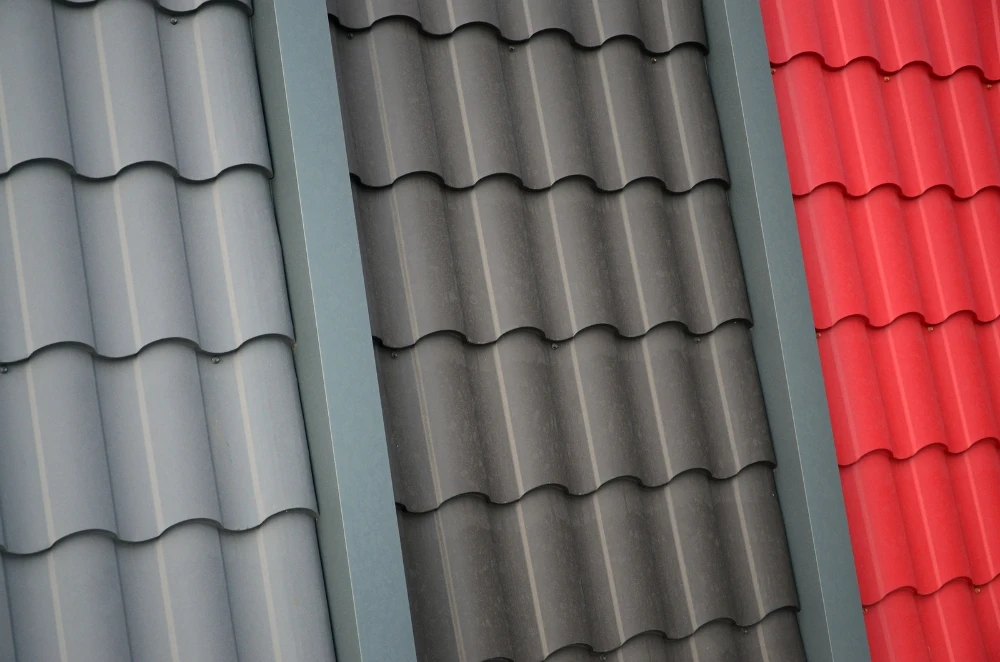
The best finish starts well before the first coat. I learned that the hard way after rushing prep on a hot day; everything looked fine until the first storm, when a missed patch blushed white.
- Access and edges: Rails, harness points and clear paths: Safer footing produces steadier workmanship.
- Surface cleaning: Soft-wash or appropriate pressure: Residue left behind will trip adhesion later.
- Primer choices: Match to substrate: Bare metal, aged coatings, and repair zones want specific bases.
- Coating systems: Film build and curing windows: Follow data sheets so the weather doesn’t undo the job.
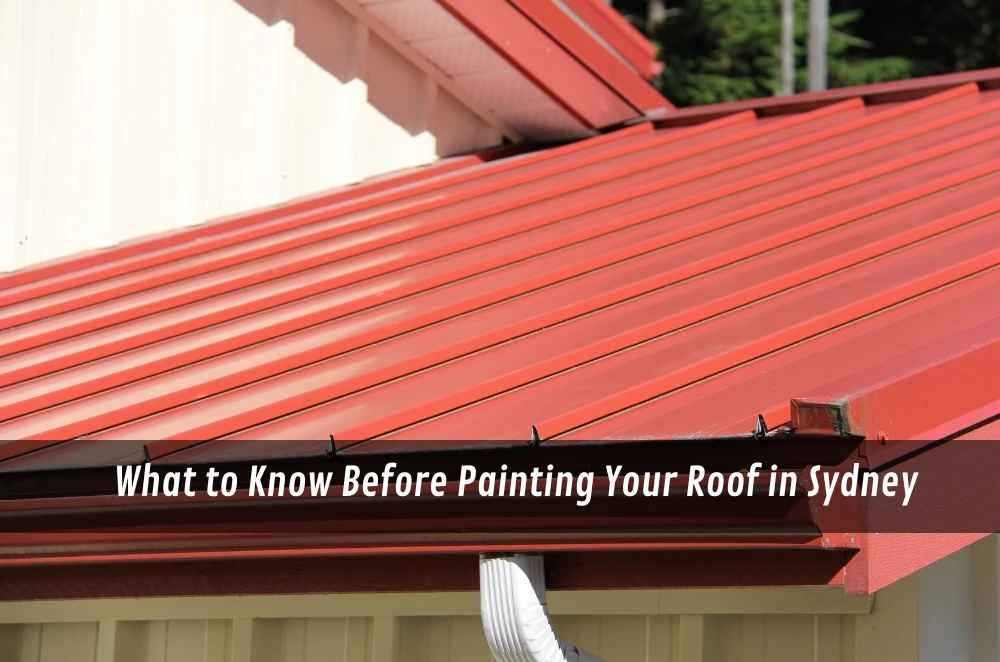
Planning frameworks like what to know before painting your roof outline, sequencing and budgeting in plain terms, which keeps decisions grounded when time and weather get tight.
Hiring, scheduling and quality control on the day
Good outcomes rely on people and timing as much as product. I once shifted a start by two mornings to dodge a southerly; the coats flashed evenly and the ridge kept a clean edge.
- Weather windows: Forecast, dew points and wind. Dry film beats speed when conditions are marginal.
- Mock-ups and edges: Test a small area first. Confirm colour, sheen and coverage before committing.
- Fixings and flashings: Tighten, replace, or seal. Films shouldn’t hide issues that need hardware.
- Handovers that matter: Photos, batch numbers and care notes. Future you will be grateful.
Quality control is attention at the right moments. Watch overspray risk, check fall lines for missed shadows at noon, and use a clean tarp under the decant area so debris can’t hitch a ride to the roof. When the final coat cures, a calm walkthrough with your list avoids “we’ll get to it later” items that never quite fit the calendar.
Bringing value and comfort together
A roof makeover isn’t only about appearances. It’s quieter summer bedrooms, steadier indoor temperatures, tidier gutters, and fewer what-ifs when the radar lights up. As coatings seal and colours bounce heat, the spaces below ride out hot spells with fewer spikes, and the home reads cared-for rather than simply “new.” If a sale is on the horizon, the right finish frames other improvements without shouting; street view settles, and first impressions stay tidy. Perspectives on value uplift—market feel, curb consistency, and durability to increase home value with roof painting in neutral terms that keep the focus on practical benefits. Day to day, the difference shows up in smaller things: less glare off metal at noon, fewer hot spots in the ceiling late afternoon, and that satisfying look when rain beads, rolls, and leaves the surface clean instead of streaked.


Sign in to leave a comment.