

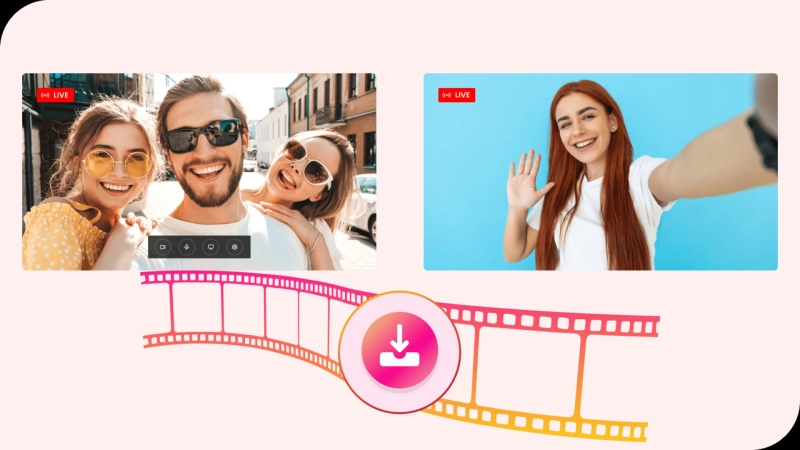
We are pummeled with live streaming footage and short videos from Instagram, Facebook, YouTube, etc., every day when we access our social media profiles at work. How are we meant to digest it all instantaneously, especially since it could vanish the moment we scroll, leaving us with no means to recover it? Furthermore, how can we capture and store a live streaming video, so it doesn't get lost in the vast abyss of the internet? Allowing the net to dictate your timetable is something that can be worked upon today and avoided. Today, you may quickly record a live streaming video to share with colleagues or employees or save it to watch later. It's simple, quick, and will restore stability to an otherwise chaotic media scene, plus there is a lot of conveniences that come with it. Here are five steps to record a live streaming video:
Capturing Tool
You need to have a capturing tool chosen for your desktop. This is the first and foremost step in the process. Look for a good and professional recording software and screen capture programme. You have the option of recording your computer display with a variety of software that you can choose as per your requirement. These tools come with other features as well, such as cutting out the unnecessary parts, editing abilities, etc.
Software Settings
The screen recorder navigation bar displays beneath the selected region once you select the section of the monitor you want to document. With a best streaming video recorder, you can choose to record microphone sound or system audio, and if you're recording streaming video, you'll almost certainly want to record the audio too. Ensure that system audio is turned on, and make doubly sure you're ready to film videos rather than take a picture by checking your settings.
Area Selection
This, too, is an important step if you have a screen recorder live stream. It is not compulsory to have the entire display recorded. Fortunately, there is an option of choosing the area to be recorded wherein, instead of choosing the entire browser, you can focus on the frame that you like and crop out the rest.
Begin Recording Process
Once you have your chosen frame fixed, you can begin recording the live streaming video. You may pause and resume recording at any point in time, switch between camera and screen recording using the webcam icon, and even adjust audio settings. When you are through with the recording process, click on the end button to conclude. If you want to record a prolonged live video, keep in mind that your recording device may be interrupted if your device goes to sleep. Shut off screensavers and sleep settings if you intend to start filming and then walk away from your device.
Saving and Uploading
Once you are satisfied with the recording, you can save the file in a format of your choice and save it on your desktop. Later, when you want to upload it on any platform, you can do so with the saved file.
If you are looking for recording tools, you can have a look at Streamm’s recording options, wherein you can record up to 60 hours of live streaming videos.