

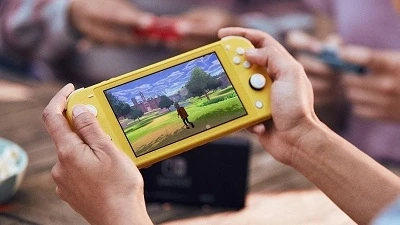
It is very convenient to transfer images or screenshots from one phone to another. However, have you ever considered sharing screenshots from a Switch to a phone? Yes, you’re thinking it right! Sharing screenshots between a Nintendo Switch and smartphone is possible, that too wirelessly only if your console is running System 11.0.0 or later.
The primary question of most users is how it is done or how to set it up? Well, sharing is done using a QR code. Firstly, a Wi-Fi access point is created by the Switch, and then it is connected with your phone using the code. The Switch and the smartphone temporarily share the connection through which you can share up to ten screenshots and one video at a time.
Next, the Switch generates a second QR code. This gives your phone the location of the short-term web server in the Switch with connections to the snapshots and recordings you shared. From there, you can download the pictures or videos to your smartphone.
At the point when you’re done, the Switch’s Wi-Fi network vanishes, and your gadget reconnects to its standard Wi-Fi naturally. It’s pretty unusual; however, it works with iPhones, Android telephones, iPads, Fuel Fires, or any other cell phone.
How to Share Screenshots and Videos Using QR Code?
The steps to share screenshots and videos from Switch to your smartphone using QR Code are:
Go to the ‘System Settings’ on your Nintendo Switch and click on the ‘System’ tab.Tap on the ‘System Update’ option.Click on the ‘Album’ icon under the Home menu.Select the media you want to share and click ‘A’ to open the ‘Sharing and Editing’ window.A ‘Sharing and Editing’ sidebar will open. Select the ‘Send to Smartphone’ option.A new pop-up menu will open, asking you if you want to send a single screenshot or a batch. For instance, you selected the ‘Only This One’ option.A ‘Send to Smartphone’ window will open viewing a QR code.Launch the Camera app on your smartphone and scan the code.Once scanned, click on the ‘Join’ button in the pop-up menu to connect to the Switch.Your Nintendo Switch and smartphone will get linked. Also, a second QR code will appear on the Switch screen.Scan the code with your phone and click on the link that appears.A web page will open, viewing the thumbnail of the image you selected to share. If you opted for the ‘Batch’ option, thumbnails of all the images would appear.Now, you can save images or videos from there.Once you’ve shared all the images, hit the ‘End’ button on your Switch screen.As soon as you ‘End,’ the temporary Wi-Fi connection closes, and the smartphone automatically gets connected to the preferred Wi-Fi Access point. If it doesn’t, visit the Settings app and connect manually.
That was pretty easy, right? Now that you’re familiar with the process of sharing images using your Nintendo Switch and a smartphone start sharing your gaming records with friends and family without a wired connection.
Daisy Martin is a qualified IT engineer by education. After working in the IT sector for a decade, she began writing about it two years ago. She loves to write about emerging technology like office.com/setup