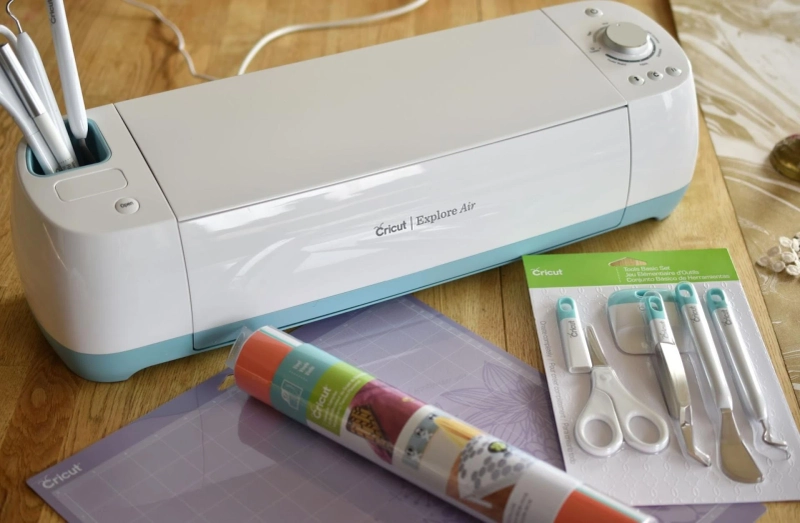
This blog will walk you through the Cricut setup on Windows and Mac, but before we start, let us learn about Cricut. If you’re looking for the best cutting, drawing, and crafting machine, the Cricut is just what you need. This is a smart craft machine and works like a pro. The best part about the cutting machine is its Design Space software, which reduces the number of buttons, making it completely smart.
Congratulations, you finally bought the Cricut, and you can now start crafting and school projects to get straight A’s. We understand how nervous and excited anyone can be at the same time when you get something you have been waiting for so long. This blog is a step-by-step tutorial, guiding you through each step, from unboxing to setup.
If you are setting up Cricut for the first time, then you need not worry. We will also go through various projects and craft ideas that can be made with the help of Cricut.
What is a Cricut?
Now it’s time to know your machine thoroughly, as Half knowledge is equally dangerous to no Knowledge. So let’s start your machine tour:
At the back of the Cricut cutting machine, you will see a power socket through which it gets its power supply. Next to it, you will notice a USB socket that connects the machine to your device via a USB cord. Suppose you want to connect your device using wireless tech. In that case, you can connect the machine to your device via Bluetooth or WiFi. But the connection type may vary depending on the model you have chosen. Cricut Joy doesn’t support a wire connection and uses Bluetooth to build its connection.
Firstly lift the lid in order to open the machine. When you open it, you are going to notice a protective film around the tool and cutter. It is used to protect the cutter from dust or scratch while transportation; hence you can now remove it. Inside the machine are two tool clamps, A and B, which are used to hold the blades and pens, respectively. It has to mark to place the mat correctly and position it to get the design in the right place. And you will also notice a few rollers which move the mat while the blades cut the designs.
As mentioned above, it has very few buttons. Let’s take a look at all the buttons it has.
One button to switch on/off the Cricut cutting machine.
The up and down button to load or unload the materials and mat in the machine.
A triangular shape button is known as the go button, which blinks when the machine is ready. Just press it to start the cutting process.
And two vertical lines on a button, aka pause button, are used to stop the machine.
What’s Inside the Cricut Box?
Let’s not waste a single moment further and open the Cricut box to find out the mysteries it holds. Every Cricut model is packed with a few accessories and some basic tools to get you started.
Let’s see what are the basic things you can expect inside a box:
A Cricut machine of the model you asked for.
One power adapter to supply electricity to the machine.
A USB cable helps to establish the connection between the device and the machine.
Few sharp blades to cut out your design.
Some sample materials to try out and make your first Cricut project.
Lastly, access to the free trial of Cricut Access Membership for newbies.
Cricut Setup on Your Windows Computer
In order to set up the Cricut cutting machine on your Windows computer, perform the basic steps provided below:
Open a browser (Chrome or Safari) and visit the official website of Cricut.
After that, you have to go to the setup section.
Select the Download option to download the software on your computer.
Once downloaded, you have to install the Design Space software on your computer.
In the next step, follow the guidelines on the screen, and sign in.
Ensure that your machine is on and properly connected to the power supply.
Now, choose the machine you want to connect to your computer.
Initially, try to connect your machine using a USB cable.
Also, you can pair your computer to the cutting machine via Bluetooth.
Plug in the USB cable and attach it to your computer and the machine to secure the connection.
You might need to wait for some time as the machine might take time to build a connection for the first time.
Your connection is secure, and you can cut your first design by selecting the design and some other basic steps, which we will cover in other blogs.
Cricut Setup on Your Mac Computer
Below are the easy and simple steps in order to set up the Cricut machine on your macOS computer:
As your initial step, visit the official website of Cricut.
Click on the setup section and download Design Space on your computer.
Then, install the app as the download process is complete.
Sign in to the Design Space software by following all the steps on the screen.
Now, switch on the machine and ensure its power supply is properly connected.
Through your device, select the model you want to use.
After selecting the device, connect your machine using a USB cable or Bluetooth.
Use the USB connection to connect your device to the cutting machine.
Since the machine is building its connection, it will take some time.
As your connection is built, now your machine is all set to go.
Get more information :-


