Wavlink AC600 device is a new generation device. It has the capability to do the function just like a router, repeater, and access point simultaneously. It is an 11AC WiFi device and it complies with the IEEE 802 standards. There are many different methods to do the Wavlink extender setup process again. Read the below page steps one by one to know the entire information about the Wavlink AC600 extender device.
Wavlink AC1200 Extender Specification
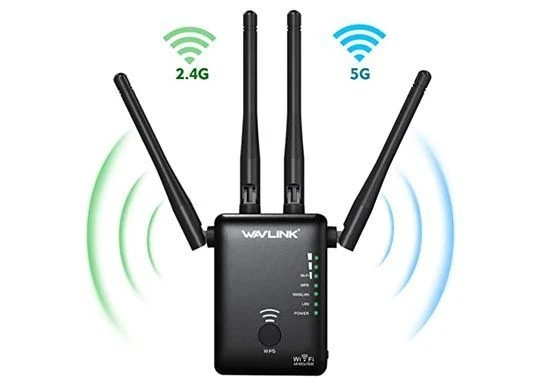
It has a dual-band data transmission frequency. Wavlink AC600 extender provides 600 Mbps speed in the 5GHz frequency band. 150 Mbps to 300 Mbps speed range in the 2.4GHz frequency band.AC600 comes with a weatherproof design. One reset button, at the back side of the extender device. Two omnidirectional and detachable antennas. WPA-2-PSK encryption network security feature.Wavlink AC600 Extender Benefits
Wavlink AC600 device helps to boost the range of the Wavlink Router WiFi signals. Easily visit the Wavlink extender login and quickly do the setup process. Compatible with any existing router, Remove all the dead spots areas, with the help of the Wavlink AC600 device. Also, with its omnidirectional or detachable antennas, you will get the speed of WiFi signals in every or all directions of your office and house. Having a compact design at an affordable price. The straightforward process of Wavlink AC600 extender login and setup.Visit Wavlink Extender Web Management Page
Without doing the setup process you can't do the further process.
Take the Wi-Fi-containing gadget and link it with the Wavlink AC600 extender network. After that, open the search engine and enter the wifi.wavlink.com web address in the URL icon. Now, create the SSID and password, if you log in for the first time. Hence, you will successfully visit the web management page of the Wavlink extender.Configure Wavlink AC600 Extender To Router
There are two methods to do the configuration process of the Wavlink extender.
WiFi Protected Setup Method
While doing this process, first make sure your router must have the WPS button. If it does not then change your old router with a new one.
Place the Wavlink AC600 extender device power plug in an electrical power socket. After that, verify that the AC600 extender and router must be placed closer to each other. Now, push the AC600 extender WPS button. Then, press the WiFi-protected setup button of your host router. Further, the WPS LED of both gadgets starts blinking solid. As it means, your extender and router device successfully pair with each other.Follow the other method steps, if you get stuck on any point.
Pair Extender To Router Through Web-Based Method:
In starting, arrange the device correctly and settle in that area where the signal strength is strong. Now, make sure while doing this method to keep these few requirements in your hand such as login credentials, device, and ethernet cable. After that, by using the power adapter send the power supply to the min router, which should be connected to the working power socket. Next, turn on your Wavlink AC600 extender device and link it to a PC or computer with the help of a network or ethernet cable. Prior to moving on to the next step, make sure your system must have an active internet connection plan. Further, open the browser and enter the IP address 192.168.10.1. After entering this IP address you will directly visit the Wavlink extender login page. Later, fill in the Login credentials which you made earlier. In the end, you will need to follow the Wavlink setup page instructions and start to enjoy the fast speed of the internet in your office and house.After doing the Wavlink AC600 setup process, if you are facing any issues with your extender device or do you want to improve the performance of your extender device then consider the below tips.
Upgrade Wavlink AC600 Extender Software
To improve the software of the Wavlink extender device, you will need to visit the web management page. After that, look for an administration option and then search for the software's latest version. If you find it, then download it on your phone or on the computer. It will take up to a few minutes. Hence, the performance of the extender is improved.
Reset Wavlink AC600 Extender Device
The reset button is located on the back side of the Wavlink extender device. After pushing the reset hole button with a paperclip all the extender LEDs will turn off. As it means your extender device is now completely and successfully reset.
Note: After doing the reset method, you will need to re-configure your Wavlink extender device again.
Tip: If you are having another model number of Wavlink extenders such as AC1200 and want to do the configuration process of that device then you will need to visit the Wavlink AC1200 setup page and follow the display instructions.
If you want much more information about the Wavlink device, then stay closer to this page. If you have a question in your mind then contact our Wavlink team experts.


Sign in to leave a comment.