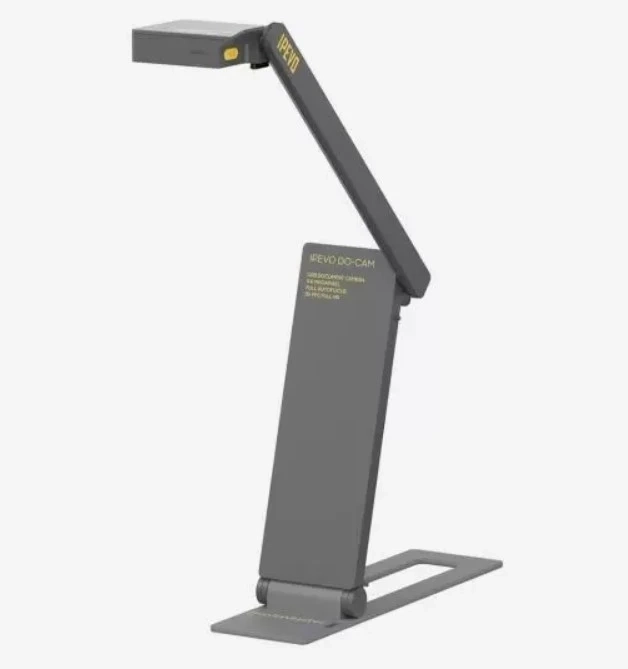
When using an Epson document camera in the classroom, there are several best practices you can follow to maximize its effectiveness. Here are some recommendations:
Familiarize Yourself with the Equipment: Take the time to read the user manual and become familiar with the features and functions of the Epson document camera. Understanding how to operate it properly will ensure smooth usage in the classroom.Plan Ahead: Prepare the materials you will be using with the document camera in advance. Organize your documents, textbooks, or other items you want to display, ensuring they are easily accessible during your lesson.Optimal Camera Positioning: Position the document camera in a way that allows all students to see the displayed content clearly. Adjust the camera head and arm to capture the document or object from the best angle and distance. Test the camera's positioning before your class to ensure visibility.Adequate Lighting: Ensure that the area where you are using the document camera is well-lit. Good lighting will help produce clear and legible images on the screen. Consider using additional lighting sources if necessary, such as desk lamps or overhead lights.Calibrate and Focus: Before displaying any content, calibrate the document camera to ensure accurate colors and image quality. Use the camera's focusing options to adjust the focus and clarity of the displayed content, ensuring it is sharp and easy to read.Interact with the Content: The document camera can be a powerful tool for engaging students. Use it to annotate documents or objects in real-time using markers or highlighters. Encourage student participation by inviting them to interact with the content directly on the projected image.Utilize Split-Screen Mode: If your document camera supports split-screen mode, take advantage of it. You can display a document or object on one side of the screen while using the other side to display supplementary information, such as a PowerPoint presentation or a video.Incorporate Multimedia: Combine the document camera with other multimedia resources to enhance your lessons. For example, you can display a physical science experiment or a dissected specimen through the document camera while providing additional explanations or videos on a separate screen.Practice Smooth Transitions: If you need to switch between different materials or content sources, practice smooth transitions to minimize interruptions. Familiarize yourself with the document camera's interface and features so that you can easily navigate between documents, images, or live objects.Encourage Student Participation: Involve students in the process of using the document camera. Assign them tasks such as operating the camera, sharing their work or findings, or explaining concepts to their peers using the document camera. This promotes active learning and helps students develop their presentation skills.Remember, these are general best practices, and the specific features and functionalities of your Epson document camera may vary. It's always a good idea to consult the user manual and explore any additional resources provided by the manufacturer for more detailed instructions on using your particular model.


