Canon Pixma TR4522, a compact printer through which the users are able to print, scan and transmit their documents. It's the ideal printing machine for small as well as large-scale businesses. ij.start.canon Pixma TR4522 offers easy, efficient office printing with a small size.
Canon Pixma TR4522 printer is an all-in-one printer that allows people to print, copy,, and transmit their documents. Thus, when a user purchases this Canon printer, it is required to go through the setup process. This is why customers are advised to go through the Canon Pixma T4522 wireless setup procedure.
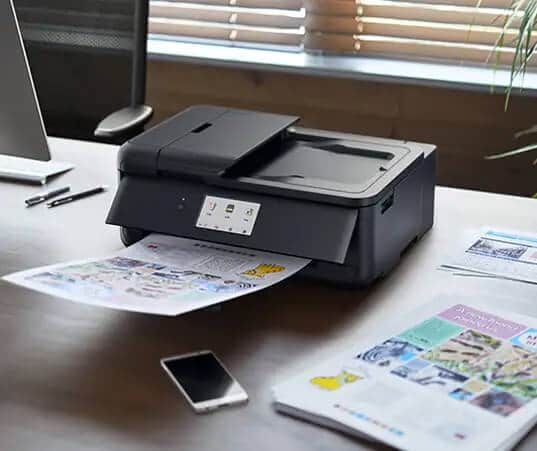
There is an automatic document feeder as well as a built-in fax feature. This means that the automatic feeder enables the users to copy or scan multiple pages with one operation. Additionally, users can connect the canon pixma TR4522 through a network router or USB cable. In addition, the printer's users can access the internet through the downloaded applications stored in the printer, allowing them to print the details or other information from news or entertainment websites.
Canon Pixma TR4522 Setup Procedure
When purchasing the Canon Pixma, customers are advised to complete the pixma's TR4522 wireless setup procedure. Therefore, once the user has completed the setup process they are able to easily complete all printer-related tasks such as scanning, printing, and sending faxes easily and easily. Therefore, follow the setup process in the following.
Turn “ON” Printer
- The users are suggested to turn “ON” the printer.
- Be sure to turn “ON” the canon printer by connecting one end of the power cable to the power socket and another end to the printer's back.
- Then, users are advised to switch “ON” the operational panel of the printer.
- Then click on”Power” and then click on the “Power” button.
- Users are now advised to choose the language used by the printer.
- Take note of those keys that navigate to choose the language.
Install the printer cartridge of Canon
Users are advised to be patient and wait for the print carriage holder to become stable. When the carriage is stable then follow the steps outlined below to install the Canon Printer Cartridge.
- Take the tape off the Canon printer cartridge.
- Make sure you don't put your finger on the contact of the printer cartridges.
- Following this, users are recommended to insert the black cartridge into the left slot, and then insert the color printer cartridge into the slot on the right.
- Note: Users are suggested to place the canon printer cartridge with an upward angle in the slot.
- Note: After placing the canon printer cartridge it is recommended to put it in a lock.
Then , close the output cover of the canon printer.
Take the paper tray and load it.
- Users are encouraged to remove the tray of paper and then end the process when they feel a clicking.
- Then you can slide the purple paper guide and then slide it to the left side.
- Following this, customers are advised to keep their paper within the tray.
- Take note that you don't exceed the maximum paper size.
- Make sure to adjust the guide using the assistance of the edges of the paper to clear it.
- Note: Ensure that there should not be any bent paper as it could result in the paper jamming.
- Once the paper is placed, the users are advised to put the tray of paper in the printer without causing any damage.
- The users are now advised to adjust the settings for paper according to their requirements on the printer display.
This article covered the Canon pixma T4522 wireless setup procedure. If a user cannot access the official website, i.e., ij.start.canon and then contact Canon's customer support team for instant assistance.
0


