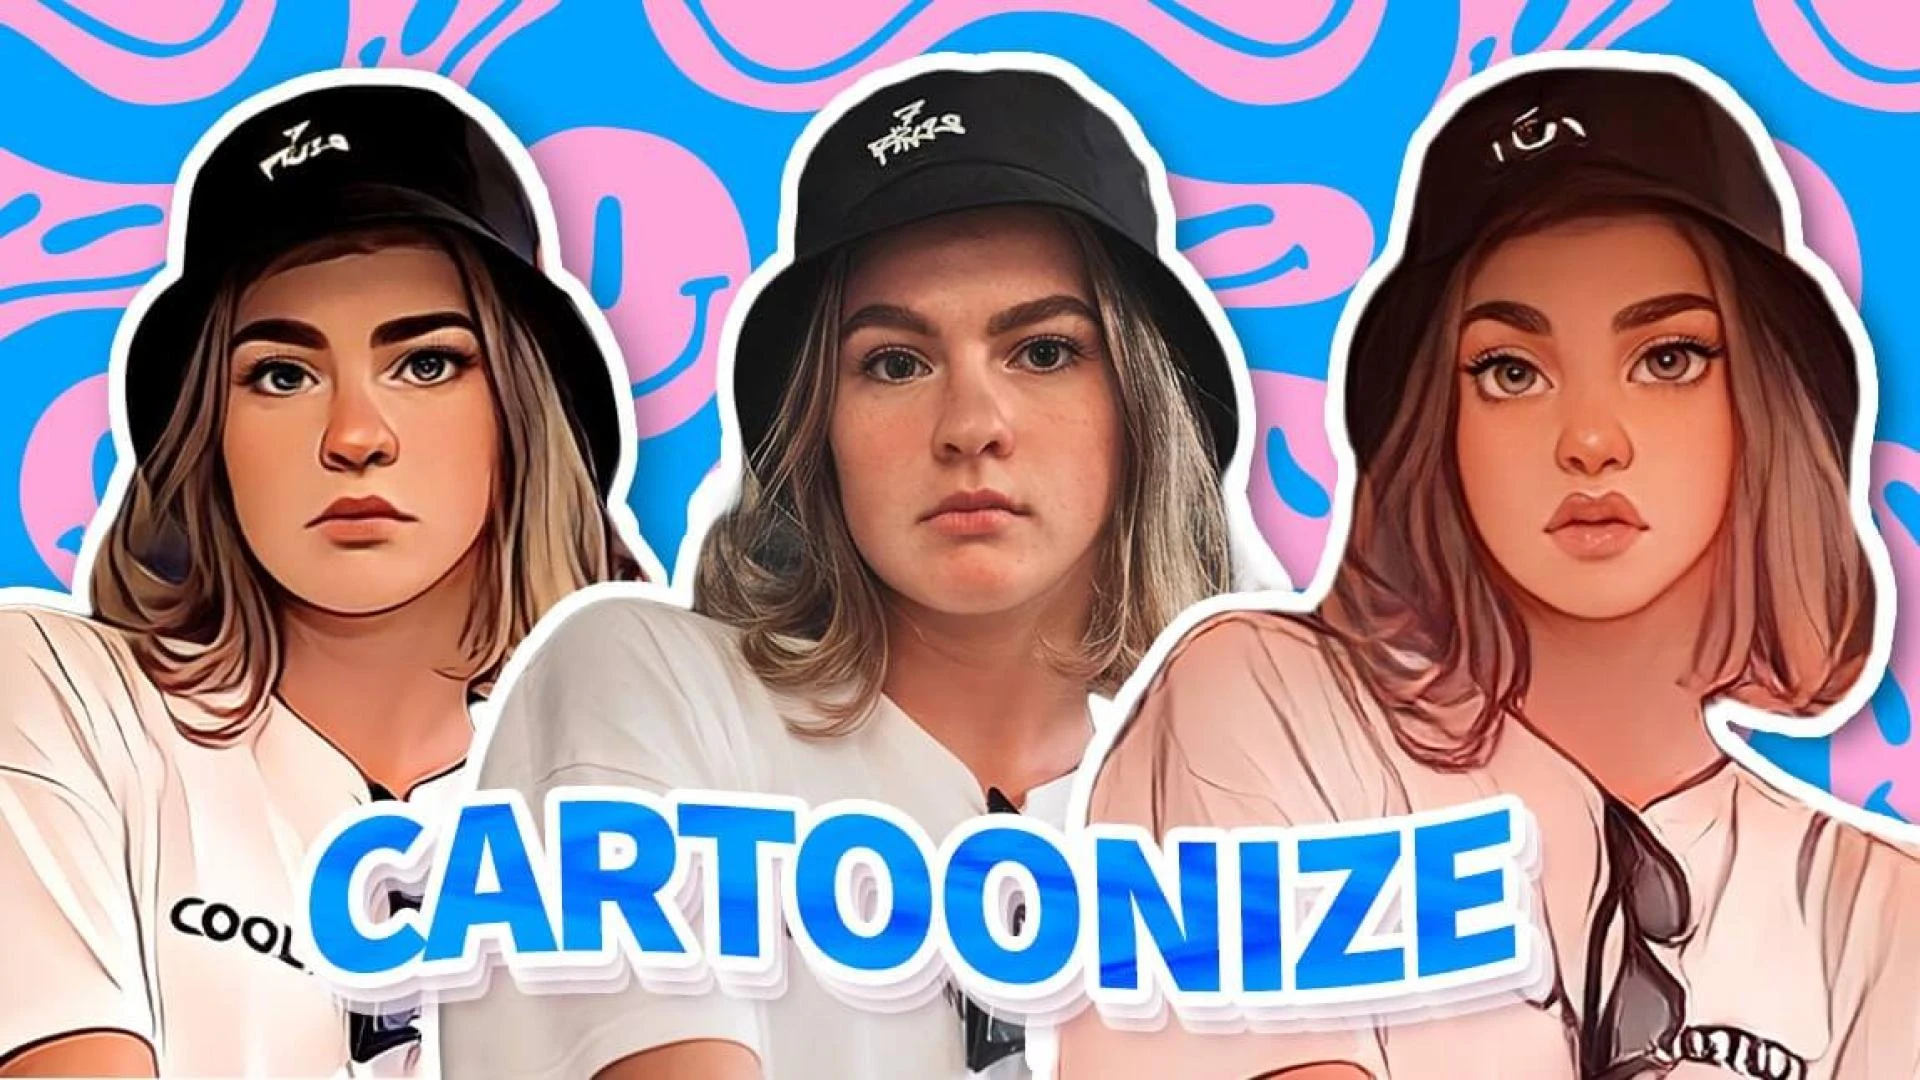
Introduction: In the ever-evolving landscape of artificial intelligence, one fascinating application that has captured the imagination of both tech enthusiasts and artists alike is Cartoonizer AI. This innovative technology allows users to transform ordinary photos into whimsical cartoons, adding a touch of creativity and playfulness to their digital imagery. In this beginner's tutorial, we will explore the basics of cartoonizer - ai convert image to cartoon, guiding you through the process of turning your photos into captivating cartoons.
Understanding Cartoonizer AI: Cartoonizer AI leverages advanced machine learning algorithms to analyze and reinterpret the visual elements in a photograph. By mimicking the artistic techniques used by cartoonists, this AI-driven tool applies stylized effects, emphasizing contours, simplifying details, and enhancing colors to create a cartoon-like rendition of the original image.
Getting Started: To embark on your cartoonization journey, start by selecting a photo that you want to transform. Choose an image with clear subjects and well-defined features to achieve the best results. Many online platforms and applications offer Cartoonizer AI services, so choose one that suits your preferences.
Upload Your Photo: Once you've chosen a platform or application, navigate to the Cartoonizer AI feature. Most tools have a user-friendly interface that allows you to easily upload your selected photo. Follow the on-screen instructions to initiate the cartoonization process.
Adjust Settings: Cartoonizer AI often provides customizable settings to fine-tune the cartoonization effect according to your preferences. Experiment with parameters such as line intensity, color saturation, and overall brightness to achieve the desired cartoon style. These adjustments enable you to add a personal touch to your cartoonized image.
Preview and Refine: Before finalizing the transformation, take advantage of the preview option to see how the cartoonized version looks. This step allows you to make any additional tweaks or refinements, ensuring that the final result aligns with your creative vision.
Save and Share: Once satisfied with the cartoonized image, proceed to save it to your device. Cartoonizer AI platforms typically offer various file formats, allowing you to choose the one that best suits your needs. Whether you plan to share your creation on social media, use it as a unique profile picture, or incorporate it into a digital art project, saving the cartoonized image is the final step in the process.
Creative Possibilities: Cartoonizer AI isn't just limited to transforming personal photos. Consider exploring its potential in various creative projects, such as designing custom invitations, crafting unique social media content, or even incorporating cartoonized images into digital illustrations. The versatility of Cartoonizer AI opens up a world of possibilities for injecting a playful and artistic element into your digital creations.
Conclusion: In conclusion, cartoonizer - convert image to cartoon ai offers a delightful and accessible way for beginners to dive into the realm of artificial intelligence and digital art. By following this tutorial, you can easily turn ordinary photos into captivating cartoons, adding a touch of whimsy and creativity to your visual storytelling. Embrace the power of technology to unleash your inner artist and explore the endless possibilities of Cartoonizer AI.


Sign in to leave a comment.