

The Clover Mini POS system is designed to make accepting payments fast, secure, and easy. It offers powerful features such as NFC contactless payments, EMV chip card acceptance, and more. With the help of this guide, you can easily set up and use your Clover Mini POS.
Step 1: Connect Your Clover Mini to the Internet
First, you will need to connect your Clover Mini POS device to a wireless network. To do this, press the power button on the back of the device and wait for it to start up. Then, select “Setup Wi-Fi” from the menu that appears on the screen. Select your preferred network from the list and enter the password if required.
Step 2: Set Up Your Merchant Account
The next step is to set up your merchant account. This will give you access to all the features of your Clover Mini POS system, including payment acceptance, customer tracking, and more. To do this, go to the Clover website and create an account. Once you have done this, sign into your account and connect it with your Clover Mini POS system.
Step 3: Add Your Products and Services
Now that your merchant account is set up, you can begin adding the products and services that you offer. To do this, go to the “Products” section of your Clover Mini POS system and select the products or services that you want to add. Enter their details, such as name, description, price, etc., and then click “Save”.
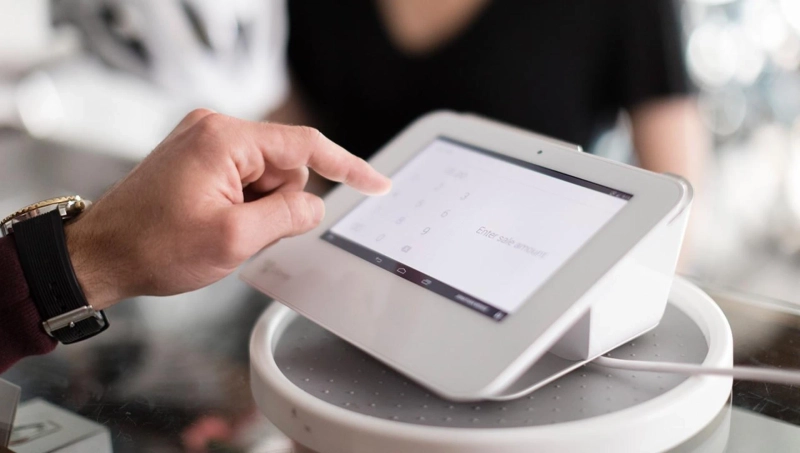
Step 4: Start Accepting Payments
Once your products and services are set up, you can start accepting payments using your Clover Mini POS system. To do this, select the “Payment” option on the main menu of your device. Enter the amount that you want to charge and then swipe or insert the customer's card into the card reader. Finally, enter any additional information such as a tip or discount and click “Charge” when you are ready.