The primary reason for using an Apple Watch for most users is to track their fitness routine or use Apple Pay so that you don’t have to carry your phone everywhere. However, there’s more to it.
Auto Unlock feature is another exciting mechanism that can be used if you have a compatible Mac. Not only this, but you also require watchOS 3 or later version to use the feature.
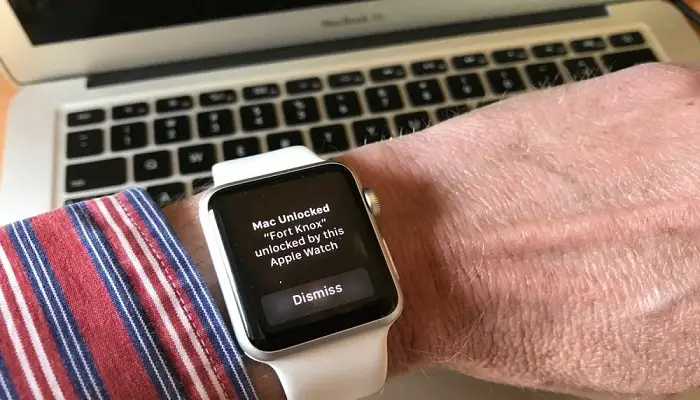
The big question that might arise in your mind is what does the Auto Unlock feature do? Well, the feature enables you to pair your Watch and the Mac so that you can instantly unlock your computer by sitting in front of it without entering any passcode. Notably, the feature only works when you’re wearing the Watch and is unlocked.
Are you interested in learning more about how the technology works? Here’s everything you need to know, so read along to know more.
As mentioned above, it is very important that you have a compatible Mac and Apple Watch for the feature to work. Also, you must set up two-factor authentication before starting. For Apple Watch Series 0, 1, or 2, make sure you’re running watchOS 3 or later, while your Mac needs to be running macOS Sierra or later.
Setting up two-factor authentication is an essential step to keep your Mac as safe as possible. Therefore, the steps to enable the two-step authentication for your iCloud account are:
- Launch the ‘Settings’ app on your iPhone or iPad.
- Click on your profile on top of the screen.
- Locate the ‘Password & Security’ tab and click on the same.
- Select the ‘Turn-On Two-Factor Authentication’ option.
- Click on the ‘Continue’ button for the next two windows.
- Enter the password of your device in the given space.
- Hit the ‘Done’ button.
- Enter a phone number to receive the verification codes.
- Select either of the two options: Text Message or Phone Call to determine the mode of verification.
- Click on the ‘Next’ option.
- You’ll receive a verification code that you’ll need to enter in the next window.
After setting up two-factor authentication, make sure that you’ve signed in with the same iCloud account on your Watch and Mac. Not only this, but it is necessary to put a passcode on your Apple Watch to use the Auto Unlock feature, along with a login password for Mac.
Adding Passcode to Your Apple Watch
The steps to add a passcode to your Apple Watch are:
- Launch the ‘Settings’ app on your Watch.
- Locate the ‘Passcode’ option and click on the same.
- Click on the ‘Turn passcode on’ option.
- Put a passcode that you’ll use to unlock your Apple Watch.
Adding Passcode to Your Mac
The steps to add a passcode to your Mac are:
- Click on the Apple menu on your Mac.
- Select the ‘System Preferences’ option from the drop-down window.
- Click on the ‘Security & Privacy’ option.
- Select the ‘General’ option.
Source URL – A Guide on Working with the Auto Unlock Feature on Mac and Apple Watch


