Windows 10 OS can configure most cameras automatically, and it does not mean they will proceed to operate with problems indefinitely. Sometimes, peripherals can prevent working for several reasons. For instance, it could be due to the driver, current system updates, privacy settings blocking access to the camera, or hardware-related problems. Numerous users are reported about this issue; if you also have trouble with the same issue, follow this blog.
Launch the Hardware and Devices Troubleshooter
To launch the hardware and devices troubleshooter, follow these on-screen instructions given below:
- Press the Win and Q hotkeys combination over the keyboard.
- Thereafter, insert ‘troubleshoot’ in it and hit the Enter key.
- You should select the Troubleshoot option to launch the Settings screen.
- Then click on the ‘Run this troubleshooter’ option for the ‘Hardware and Devices troubleshooter.’
- Now, the users should go via the solutions shown by the troubleshooter.
- Finally, click on the ‘Apply this fix’ option for the given solution.
Enable the Webcam on Windows 10
To enable the Webcam on Windows 10, follow these on-screen instructions given below:
- Navigate to the Cortana section on your system.
- Thereafter, insert ‘camera settings’ in it and hit the Enter key.
- You should select the ‘Camera privacy’ option to invoke the screen.
- Finally, switch the toggle of ‘Allow apps to access your camera’ to enable it.
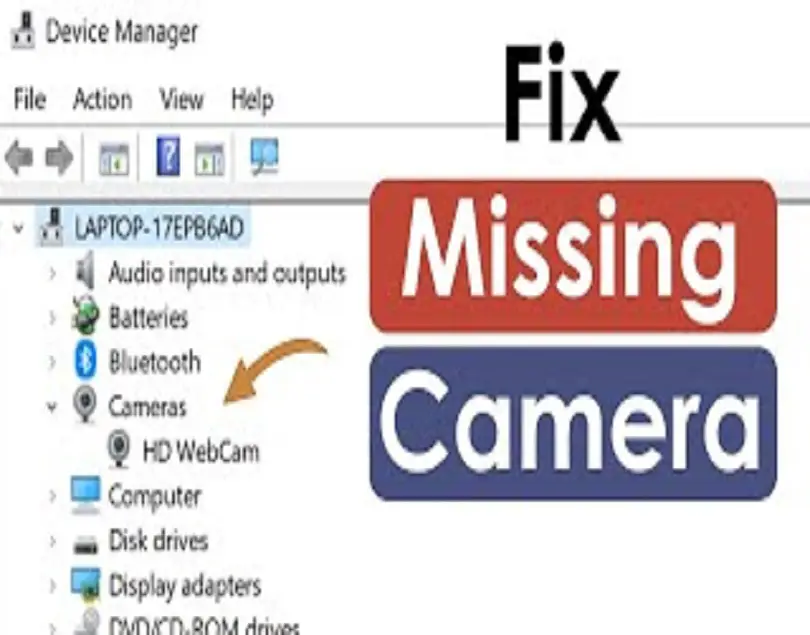
Add the Webcam to Device Manager Manually
To add the webcam to the device manager manually, follow these on-screen instructions given below:
- To invoke the Run accessory, hold the Win and R keys combination over the keyboard.
- Afterward, insert ‘devmgmt.msc’ in it and hit the OK key to open the Device Manager screen.
- Once it invokes, click on the View tab and choose the ‘Show hidden devices’ option.
- You should select the ‘Action’ button and pick the ‘Add legacy hardware’ option to invoke the screen.
- Later, hit the Next button.
- Then click on the option of ‘Install the hardware that I manually select from a list and hit the button of Next.
- You have to pick the Imaging device then hit the Next button.
- Later, click on the webcam that is missing through the Device Manager and hit the Next button.
- Now, reboot the Windows once you add the webcam.
Reset the Windows 10
To reset the Windows 10, follow these on-screen instructions given below:
- Go to the Cortana section over the system.
- Thereafter, insert ‘Reset this PC’ in it and hit the Enter key to open the Recovery screen.
- Afterward, click on the ‘Get Started’ option to launch the ‘Reset this PC’ tool.
- Later, click on the option of ‘Keep my files.’
- Now, hit the Next button and choose the option of Reset.
- A few users have also verified that re-installing the Windows 10 restores a missing webcam. Re-installing Windows 10 is relatively simple thanks to the Reset this PC tool.
Reset the Camera Application
To reset the camera application, follow these on-screen instructions given below:
- Press the Win and S hotkeys simultaneously over the keyboard to open the search bar.
- Once it invokes, input ‘camera’ in it and hit the Enter key.
- Then select the Camera app and right-click on it.
- After that, choose the ‘App settings’ option.
- You will reach the Settings screen and move down via and hit the Reset button.
- Now, click on the Reset button.
- You have to wait for a moment until you get a mark next to the “Reset” box depicting the finalize of the procedure.
- Finally, shut the Settings screen and check the issue.
Check for Any Turned off USB Device in Device Manager
To check for any turned off USB device in the device manager, follow these on-screen instructions given below:
- To launch the Run accessory, press the Win and R keys combination over the keyboard.
- Thereafter, insert “devmgmt.msc” in it and press the Enter key to open the Device Manager.
- You should extend the ‘Universal Serial Bus Controllers’ option.
- Finally, check whether any device is turned off or not. In case any device inside the list is turned off, then right-click on it and turned it on.
Source :- https://sofiejohn.blogspot.com/2021/09/camera-not-showing-on-device-manager.html


