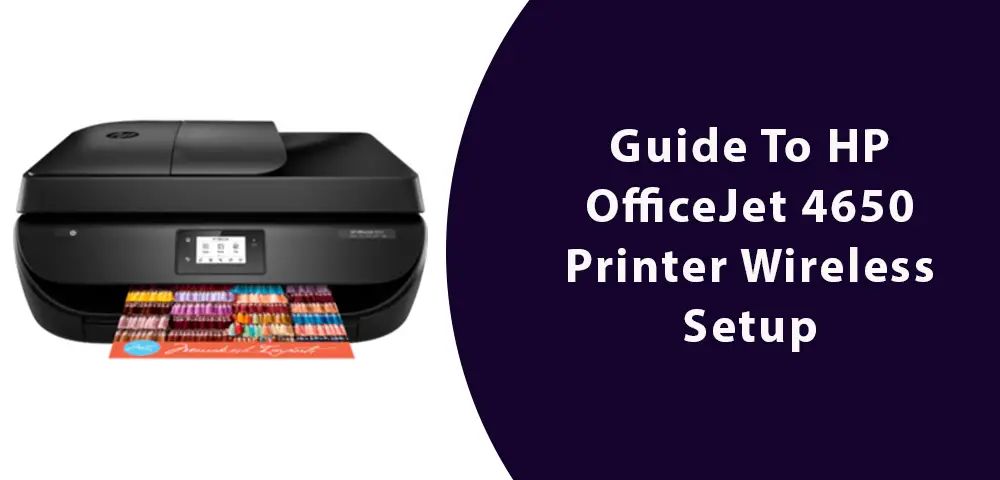
The HP OfficeJet 4650 is a multifunction all-in-one printer that enables you to print, copy, scan and fax effortlessly. This amazing printer is known for its high reliability and excellent outputs. It offers you a plethora of features. It has an automatic document feeder and is suitable for scanning multipage documents. If you’re looking for ways to connect HP OfficeJet 4650 to wireless network, you have certainly come to the right place. Here in this guide we’ll enlighten you on how you can complete the HP Officejet 4650 Printer Wireless Setup, so keep reading until the end.
HP Officejet 4650 Wireless Setup
Follow the steps given below to Connect HP Officejet 4650 Printer to Wifi
Switch on your HP Officejet 4650 printer, router, and your computer.
Now, go to the Printer Settings from the touch screen of your printer and choose Network > Wireless Setup Wizard.
Choose your Wifi network from the list of all the available networks.
Thereafter, you are required to know the Network SSID.
Now choose the network password i.e the WEP key or WPA and confirm whether your computer is properly connected to your wireless network.
Click on the ‘OK’ option to confirm the wireless settings.
Your HP Officejet 4650 printer is successfully connected with your Wifi Router.
HP Officejet 4650 Wifi Setup for Windows
Go through the below-given steps for HP Officejet 4650 Printer to WIFI on Windows:
To begin the Wifi setup, you need to know all the required details like network name and password.
Ascertain your computer has a strong network connection. Place the printer and router close to each other.
Next, tap the Wireless option and then open Wireless setup wizard.
Choose your network from the list of network names available there.
Follow the on-screen instructions properly.
Install the software using CD, once the download is finished, run the downloaded HP Officejet 4650 printer software.
Type the required connection and complete the installation process.
Your HP Officejet 4650 Printer Wifi setup for Windows has been completed.
That’s all about the HP Officejet 4650 Printer Wireless setup. In case you face any issues when following the steps mentioned above you can refer to the HP Officejet 4650 Printer manual as it contains all the information about the printer such as HP Officejet 4650 Printer driver download, HP Officejet 4650 Printer to Wifi on Mac, etc.
Hope you find this guide helpful and informative.
Read Related Blogs: –
HP Officejet 5740 Printer Wireless Setup
Connect HP Officejet Pro 6968 Printer to WiFi


