The screenshot feature is an essential feature for all Android phone and computer users. Users can show others what they see on their screen. Android users can take screenshots pretty quickly, but it’s nowhere similar on computers. Indeed, taking a screenshot is not challenging, but this procedure is different on every device.
Many Chromebook users are not aware of the taking screenshot procedure, but there are plenty of ways to take a screenshot in it. An easy way to take a screenshot is while screen recording, but there are still many ways you can try it out.
Take a Screenshot on Chromebook
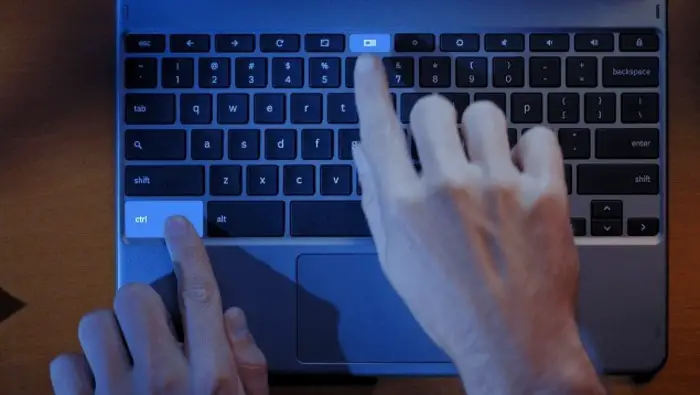
The most basic way to take a screenshot is by pressing a combination of buttons. On your Chromebook, you can take a screenshot of three different button combinations. Here are the three-button combinations you can try to take a screenshot of.
- Ctrl + Overview to capture a full-screen screenshot.
- Power + Volume Down to capture the entire display screenshot.
- Ctrl + Shift to launch the Screen Capture tool and take a screenshot of the preferred area.
In the third command, you’ll open the Screen Capture tool, and you’ll have to use your touchscreen, trackpad, or mouse to cover the screenshot area. If you want to capture just the half screen of your Chromebook, you can press Ctrl + Shift and choose your preferred size over the screen.
Capture a Screenshot on Chromebook Using Screen Capture Toolbar
By tapping the key combination, you can capture a screenshot, but Google has added a separate toolbar to take a screenshot using the Screen Capture. As mentioned above, you can launch Screen Capture by pressing the key command, but you also open it through the quick settings menu:
- Click time at the lower right side.
- Click the Screen Capture option under the Quick Settings section.
- Once the Screen Capture display opens up, you can toggle the camera icon to the video recording icon to start screen recording instead of capturing a screenshot.
- You can even record the voice by a toggle on the Microphone icon.
- You can stretch the rectangle to cover the maximum area of the screen.
- Once you select your area to take a screenshot, click anywhere on display.
- If you wish to capture a partial screen, click the rectangle icon with the plus symbol.
- Pick the rectangle box and drop it anywhere you like to start recording that part of the screen.
- Press Capture.
Capture a Screenshot Using Chromebook Stylus
Only a few Chromebooks were compatible with Stylus and its screenshot feature in the past, but now things have changed. Now every Chromebook support Stylus, and users can easily use it to capture a screenshot through it:
- Click the Stylus icon on the dock.
- Click the Screen Capture icon.
- Click the rectangle icon with the plus symbol.
- Pick and drop the rectangle anywhere on the screen to start recording that particular part of the display.
- Click Capture.
Record Chromebook’s screen
If your preference is to record your Chromebook’s screen instead of taking a screenshot, there’s a great feature available for you on Chrome OS 89. People using firmware older than Chrome OS 89 will have to get help from a third-party extension for screen recording. So, if you’re using Chrome OS 89 or above, follow the steps:
- Click the Time on the lower right side.
- Click Screen Capture under the Quick Settings tab.
- Toggle to the video capture icon.
- Press the Settings icon and toggle on the Record microphone option.
- Click the Rectangle icon near the camera icon to capture the whole screen.
- Click anywhere on display to start recording.
You’ll see three seconds of the countdown before the screen recording will begin. Once the screen recording is stopped, you’ll see a notification on display. Plus, if you want to share the recording, you can open the Downloads folder and share the file.
Conclusion
People who were struggling because of not having a proper way to capture a Chromebook screenshot can now follow all these steps to do the job. The great thing about users is that they don’t have to download and install any third-party tool to screenshot and screen record the display.
Hi, this is Elisa Wilson , a tech-savvy from the Canadian province, Alberta. I am a computer science graduate who is currently working as a tech research analyst at Kforce Technologies. Alongside providing detailed info-graphics to studies in question, I also create instruction manuals and troubleshooting guides as per the client’s requirement. Recently, I have created a Roku activation guide, and here’s the link you need to follow: roku.com/link.


