Sound devices play an important role in providing entertainment. Still, sometimes audio devices don’t support sound due to several reasons, and Windows 10 is not the exception. This issue often frustrates the user. If that’s the case, the user needs to change the default sound device, especially if they wish to hear the top-quality audio. Some sound gadgets don’t support Windows OS devices even on Windows 10. Here is how to change the default audio device directly on your Windows 10:
Changing Default Sound Device on Windows 10
Users can apply these processes to change the default audio equipment on Windows 10:
Using Taskbar
- First of all, move towards the notification section of the taskbar.
- Then, press the speaker icon there.
- Hit the Expansion upward arrow and follow on-screen instructions. You will find a separate arrow if you don’t have more than one gadget connected.
- After that, choose the default sound device option directly from the menu tab that you desire to use.
- Now, windows will automatically switch the default audio device based on your preference.
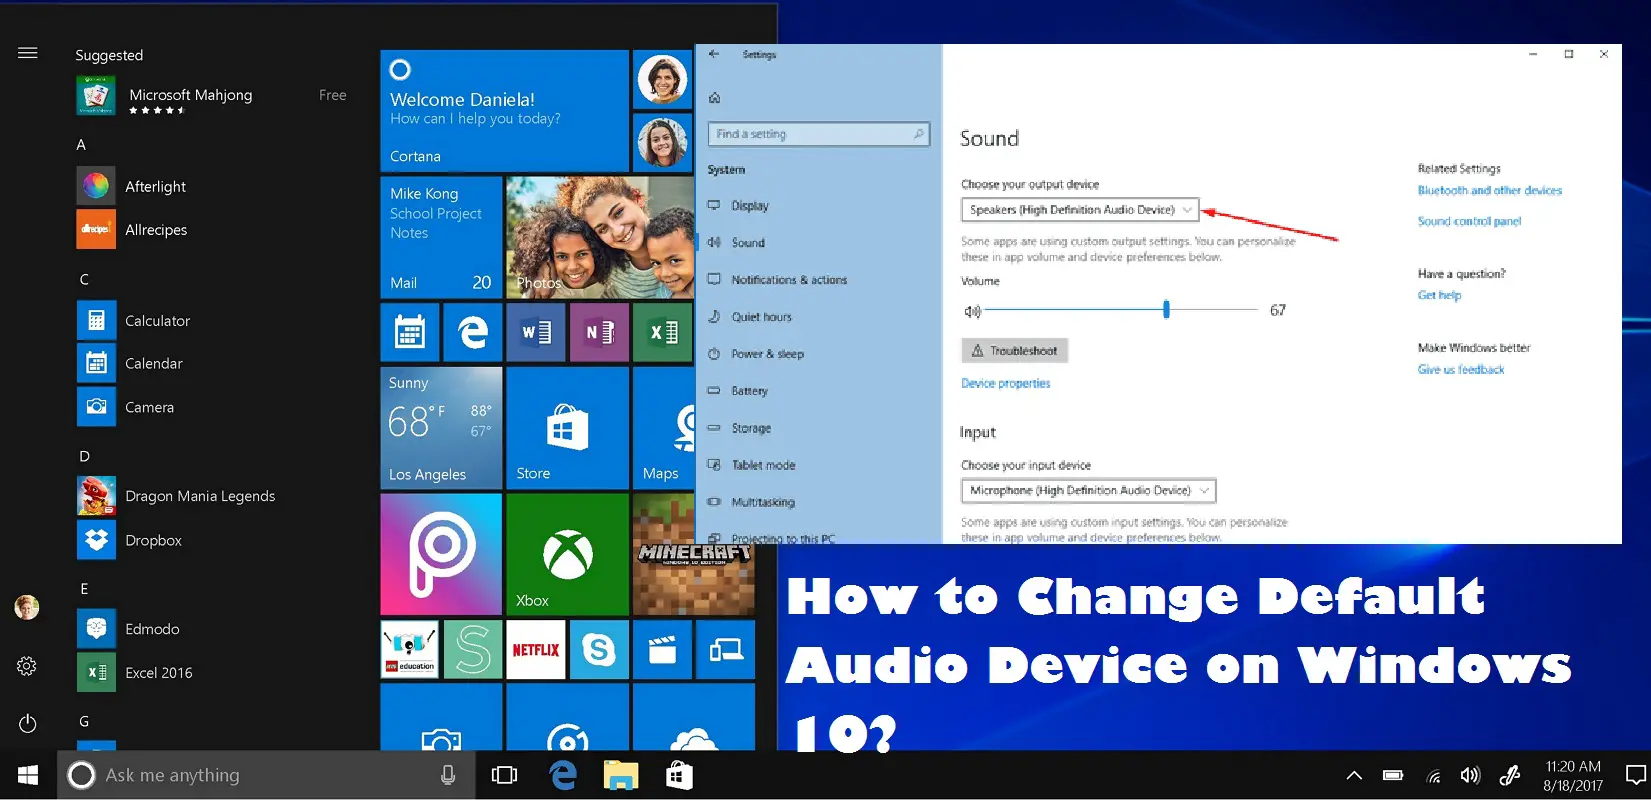
Using the Settings App
- In the beginning, tap “Window and I” keys at one go to launch the Windows 10 built-in Settings app. You may also use your desired methods to open the page.
- Then, press the System icon directly from the categories section.
- Once the Settings screen appears, tap the Sound button directly from the left-hand side section.
- You will be able to see several additional settings at the extreme right side edge.
- Then, head towards the option “Choose your output device” and then hit the pull-drop menu to choose your preferred option. You may quickly leave the page if you have successfully finished your task.
Note: In case you haven’t connected multiple devices, then you can’t choose preferable sound.
Accessing Sound Setting
- First of all, move to the system tray and then press the right-tap on the speaker icon.
- Then, hit the Sound button there.
- Turn towards the playback tab, and then you will view all your connected audio devices provided in the list.
- Now, select the playback device that you desire to use and then perform a simple click on the option “Set Default.” Once you have successfully opened the tab, then, the default device as well as default communication device will get enabled. Alternatively, you can perform a right-click on the device of your preference and then hit the option “Set as Default Device.”
- Next, tap the Apply button and then press the OK tab to change the default sound device on your system.
- Finally, reboot the device to save the changes you have made.
Conclusion
Windows 10 provides several customization and device switching options for its users. It also lets them change the default audio system like Bluetooth headsets, earphones, headphones, speakers etc. Setting-up the audio device as default sound system is straightforward, and one can easily change the device settings directly from the section “audio device settings.”
SOURCE:- How to Change Default Audio Device on Windows 10?


