Disclaimer: This is a user generated content submitted by a member of the WriteUpCafe Community. The views and writings here reflect that of the author and not of WriteUpCafe. If you have any complaints regarding this post kindly report it to us.
While using a network-connected computer, you may encounter the “system error 53 has occurred” error. There are several potential reasons behind this error. In this post, we will discuss the best ways to fix this annoying Windows system error. So, without further ado, let’s get started.
Source:https://daniel11ryan.wordpress.com/2020/12/07/how-to-fix-system-53-error-has-occurred-on-windows/
Use the Right Share Command
- Tap on Windows and R hotkeys for launching the Run prompt.
- After that, insert ‘cmd’ in it and select the OK button to launch the Command Prompt.
- You should input the given command into the prompt: net use F: “servershare name”
Run Ping Test
- Tap on Windows and R hotkeys for launching the Run prompt.
- Thereafter, input ‘cmd’ in it and select the OK button to open the Command Prompt.
- You should input the following command to ping the system or server in question: ping (IP address of the server).
- In case the Ping command brings each packet, and there is no loss of any packet, it means that the network setup is fine. But in case the answer is not being received, or there is an error while pinging the server, it means that the connection has not been correctly set up.
- Now, conduct the fixes.
Enable Sharing
- Tap on the Windows and R keys simultaneously for launching the Run prompt.
- Afterward, insert ‘control’ in it and select the OK button to open the Control Panel.
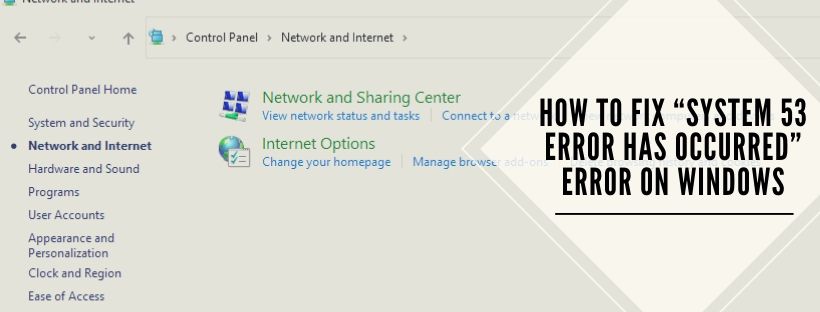
- Select the option of “Network and Internet Settings,” then click on the button of “Network and Sharing Center.”
- You should choose the option of “Change Advanced Sharing Settings.”
- Then select every pull-down from the menu of settings, then mark the “Turn On Printer and File Sharing” and “Turn On Network Discovery” options.
- Later, click on the Apply button to save the modifications, and then shut the screen.
Enter the Safe Mode
- Firstly, reboot the system and instantly press down on the ‘F8’ button.
- You have to wait for the boot options page to appear and choose the option of “Advanced Boot Options.”
- Navigate to the “Safe Mode With Networking” option, click on it, and then wait for the startup.
- Check if you are still getting the error or not.
In case you are not getting any error, it means a background app is a reason behind this issue. Now, turn off the background apps individually, to find the faulty one. Once found, uninstall the said app, and reinstall the device.


