Disclaimer: This is a user generated content submitted by a member of the WriteUpCafe Community. The views and writings here reflect that of the author and not of WriteUpCafe. If you have any complaints regarding this post kindly report it to us.
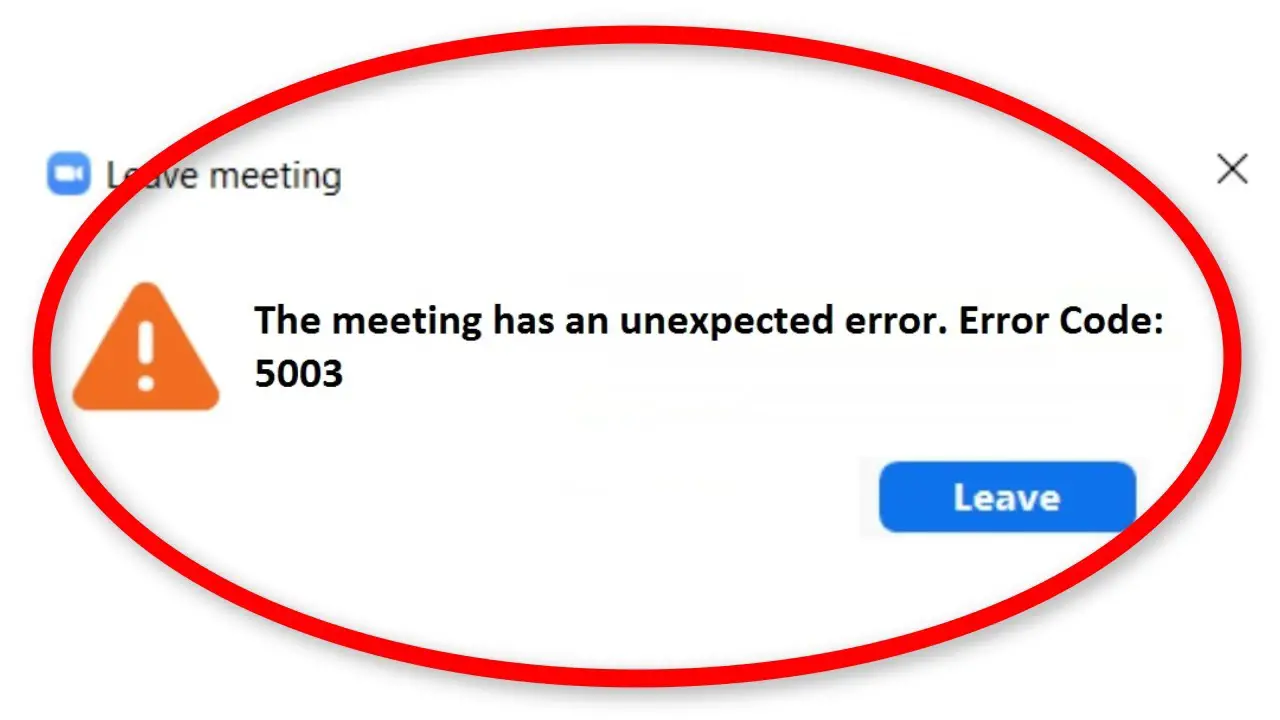
Zoom is one of the most famous and trendy cloud-based video communication applications all across the world. It lets you partake in audio conferencing, live chats, webinars, screen-sharing, virtual video calls, and more. But according to users, when they try to join a meeting via the desktop app, the error code 5003 appears, which says “Unable to connect.” Many users are encountering this annoying issue. To fix this issue, follow the solutions mentioned below.
Reset Network Adapter Settings
- First, go to the Search section on your desktop and input ‘cmd’ in it, then the Enter key.
- This will open the Command Prompt. Right-click on it, and choose the ‘Run as an administrator’ option.
- After that, input the this command: ipconfig /flushdns
- Then insert the following command to reset the Windows Socket: netsh Winsock reset
- Thereafter, proceed and reset the PC.
- Once the system has restarted, launch the Zoom application.
Change the DNS
- Navigate to the icon of Network and right-click on it.
- Then click on the ‘Open Network & Internet settings’ option.
- Once you reach the Settings window, select the option of ‘Change adapter options.’
- In the screen of ‘Network Connections,’ select the network adapter, then right click on it.
- You should pick the Properties option via the pull-down menu.
- After that, click on Internet Protocol Version 4 (TCP/IPv4) and choose the Properties option.
- On the lower side, select the option of ‘Use the following DNS server addresses.’
- You should input 8.8.8.8 and 8.8.4.4 inside the Alternative and Preferred DNS server sections, respectively.
- Later, hit the OK button.
Uninstall the Damaged Wireless Driver
- Open the Win + X menu.
- Then choose the Device Manager option.
- After that, locate the wireless network adapter, then right click on it.
- You should click on the ‘Uninstall device’ option.
- Don’t forget to mark the “Delete the driver software for this device” box.
- Now, click on the Uninstall option once again.
Install the Wireless Driver Again
- Once again, invoke the Device Manager by following the above-mentioned directions.
- Then click on the “Network Adapters” option followed by “Action.”
- You should click on the “Scan for hardware changes” option.
- Now, go to the “Network Adapters” option and click on it again.
Configure the Firewall
- Hold the Windows and S keys to launch the Search section.
- Thereafter, type ‘windows security’ into it, then select the OK button to launch the application.
- Then select the ‘Firewall & network protection’ option.
- Go to the ‘Allow an app through the firewall’ option and select it.
- You should choose the ‘Change settings’ option.
- Later, locate the ‘Zoom Video Conference’ option, and then mark the Public and Private boxes.
- Now, tap on the OK button.
Source :- https://mcafeecomactivate.n6setup.co.uk/how-to-fix-zoom-error-code-5003/


