Setting up a video projector is different than setting up a TV, but if you know the measures, it's pretty easy in most cases. For your home theater projector setup, here are some tips to keep in mind.
It All Starts With the Screen
The first thing you need to do is determine if you want to display on a computer or a wall, even before contemplating buying a video projector. When your project on a wall, when you buy a video projector, you can purchase your screen.
Once you have bought your video projector and mounted your screen, you can proceed to get your video projector up and running by taking the following steps.
Projector Placement
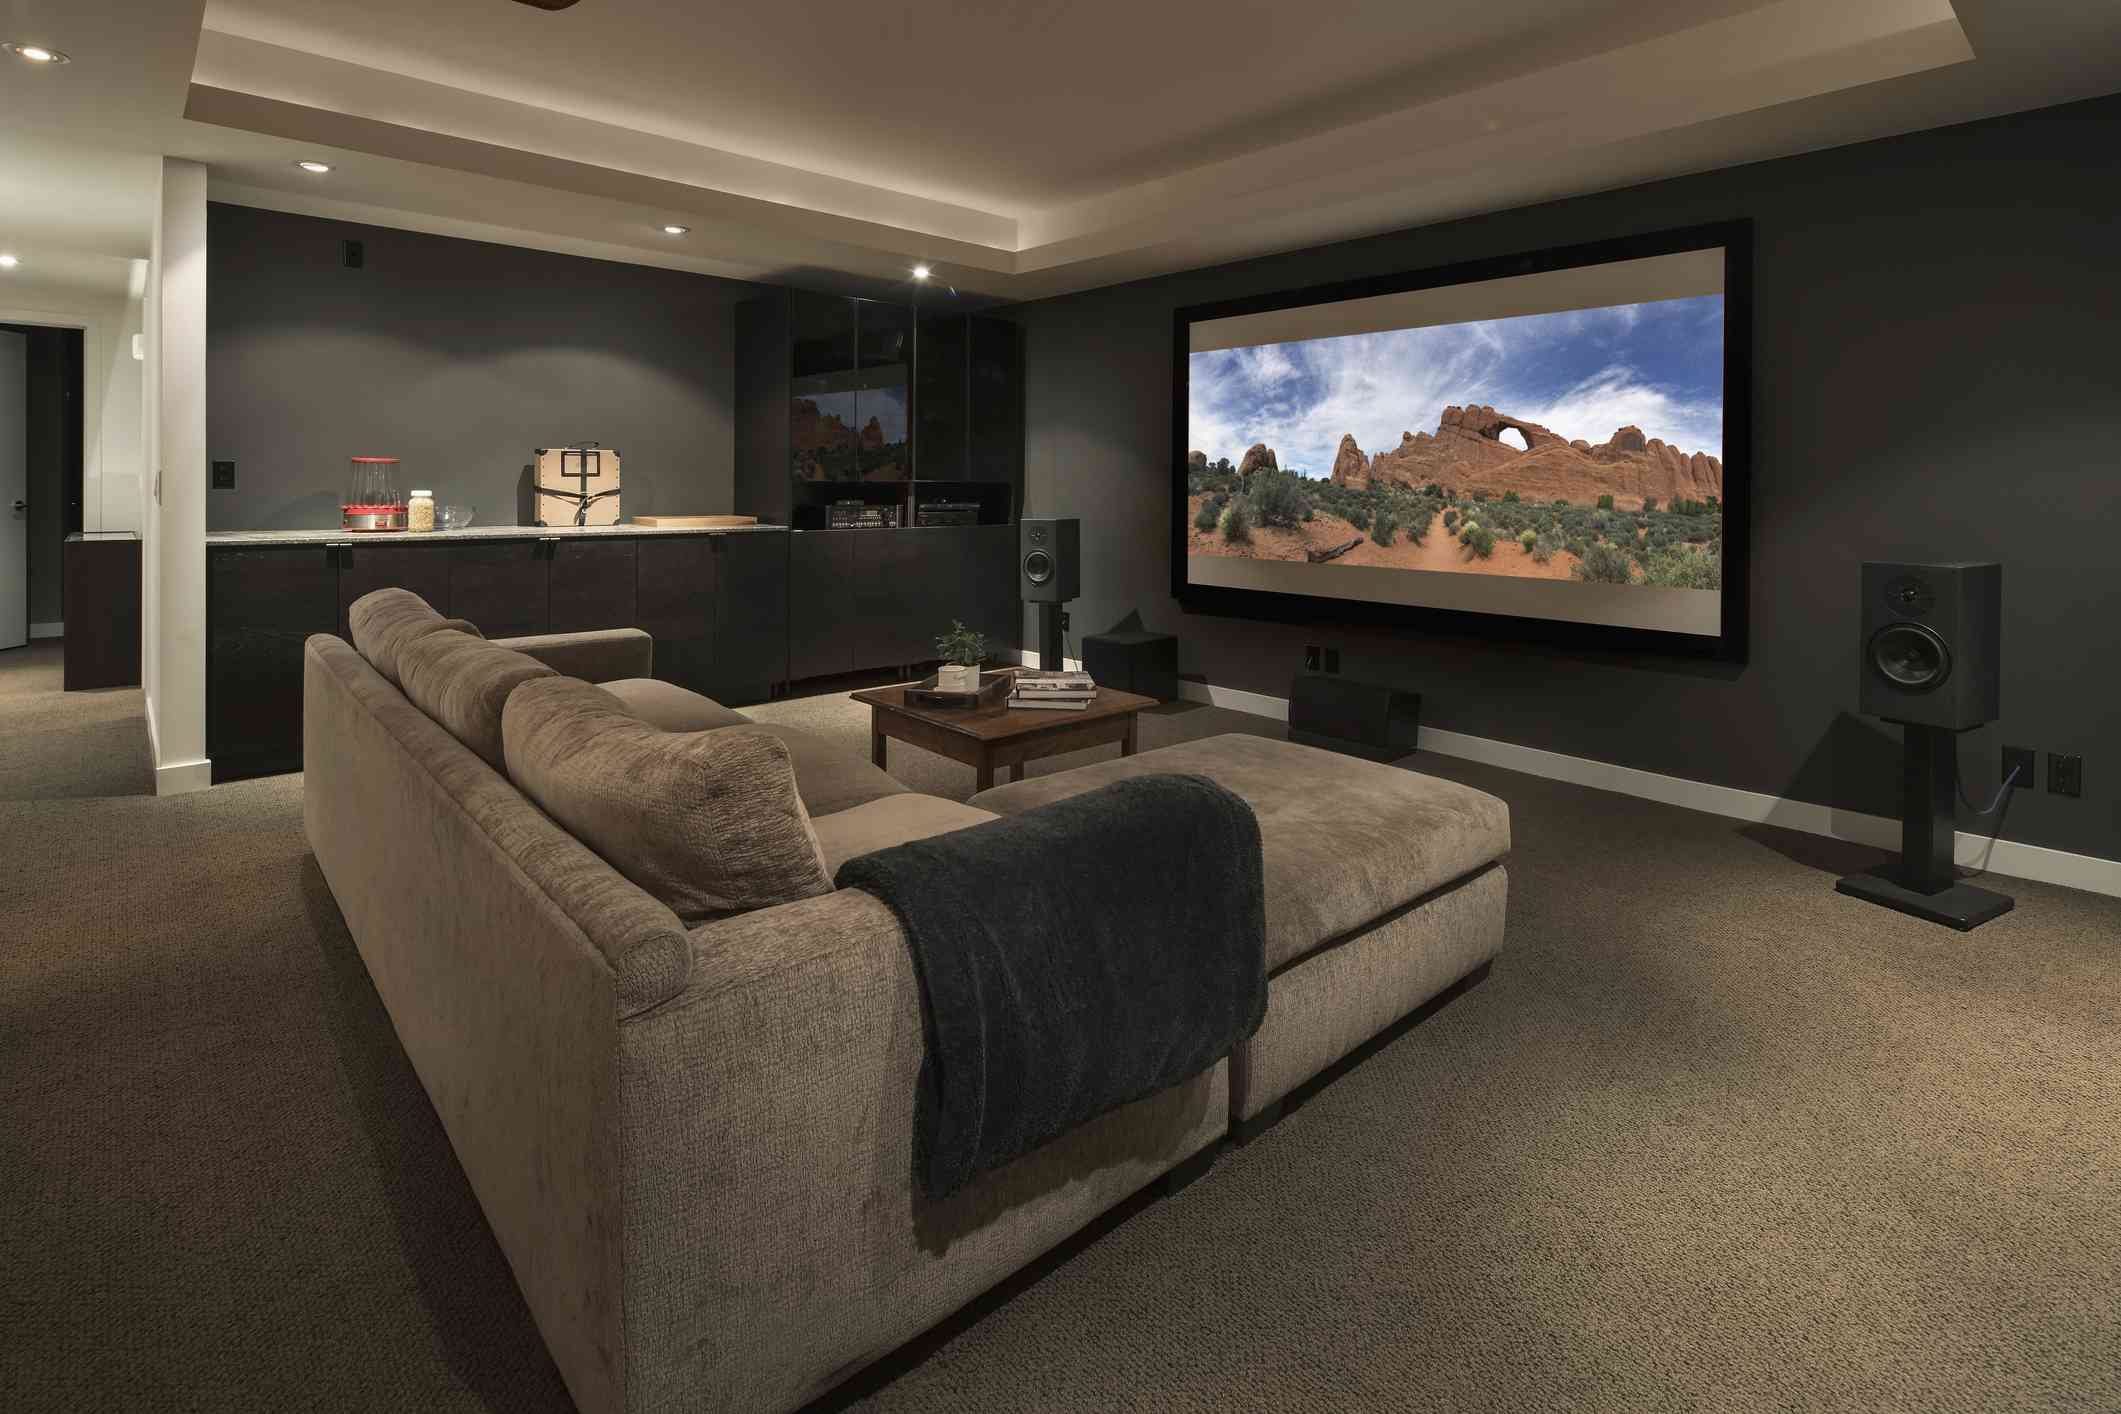
Determine how and where you can put it in relation to the screen when unboxing a projector. From the front or back, as well as from a table-type platform, or from the ceiling, most video projectors may project onto a screen.
The projector needs to be mounted upside down and attached to a ceiling mount to project from the ceiling (either from the front or rear). If it is not upside down, then the image will be mounted. Ceiling mount compatible projectors, however, have a feature that allows you to invert the image so that the image is projected upside down.
Obviously, getting on a ladder and holding the projector above your head to find the right spot is really hard. However, as opposed to the roof, the necessary distance from the screen is the same as it would be on the floor. The best thing to do is to find the best position on a table that will provide the correct distance for the picture of the size you want, then use a pole to mark the same place on the ceiling.
The distance map included in the projector's user manual is another instrument that can assist in positioning a video projector. There are also online distance calculators for many projector makers which you can use. Epson and BenQ include two examples of online distance calculators.
Connect Your Sources and Power Up
Link one or more source devices, such as a Best DVD/Blu-ray Disc player, video game console, media streaming unit, cable/satellite box, PC, or home theater receiver, to your projector.
There is at least one HDMI input in most modern projectors intended for home theater use, as well as composite, part video and PC display inputs. However, before buying a projector, you should ensure that these inputs are included.
- Turn on the projector once everything is linked. Here is a fundamental set of instructions:
- The first picture you see will be the logo of the video projector brand, followed by a notification that the projector is looking for an active source of input.
- Switch on one of your sources that's linked. If your active source cannot be identified by the projector, you can also manually pick it using the remote or onboard source selection button.
- When your active source is detected by the projector, you understand that it is working. Now, go to the projector menu and choose the location of your projector (front, front ceiling, rear, rear ceiling), so that the orientation of the picture is right.
- Next, change the projected image, which will most likely be your source device's onscreen menu. Make use of any built-in test patterns accessible via the on-screen menu of the projector once the projector is powered up. Most frequently, a red, green, or blue screen or grid, such as small white squares with black borders, or black squares with white borders, will feature the available test patterns.


