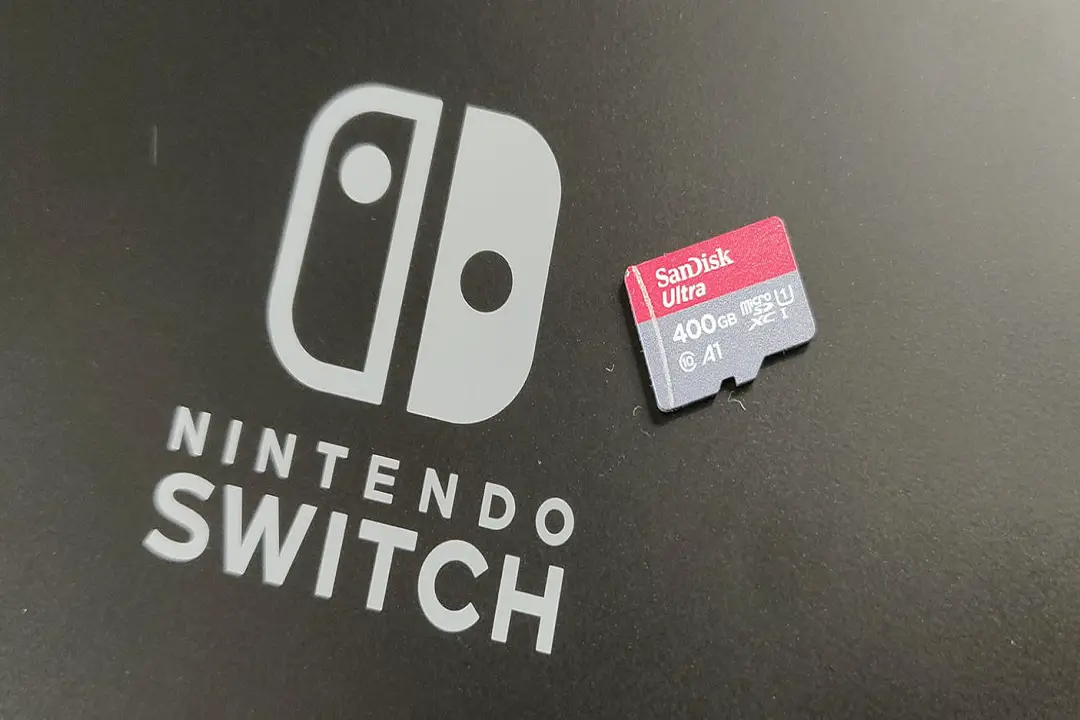
Previously, transferring gaming data was a painful task for the users because, back then, they had to redownload the entire data onto their gaming consoles. Now we have the latest update of Nintendo Switch 10.0.0 that enables the user to quickly and conveniently transfer all the important games between internal storage and microSD card, whether they are using Switch Lite or any other Switch editions.
Although some Nintendo Switch games don’t support microSD cards and thus create hindrances in the transferring procedure. So, Before going through any data transferring instructions, it is recommended to check and make sure that your Nintendo Switch is compatible with MicroSD cards.
Follow these for transferring your gaming data between the Nintendo Switch’s internal storage and microSD cards:
Specs and Requirements
- You need two compatible microSD cards.
- You also need a microSD card writer or reader and an SD card slot on your PC.
- Use a card adapter if your system doesn’t have a dedicated microSD card slot.
Checking and Accessing MicroSD Card
Here is how to check and use a microSD card on your device:
- First of all, you have to remove the actual microSD card from your Nintendo Switch console.
- Put the SD card with the Switch data into the reader/writer slot of the microSD card.
- After that, launch Windows Explorer (on PC) and then access your SD card.
- Next, you have to highlight the data and then drag the same to the desktop are:
- If you are moving your content to a new microSD, be sure first to delete your new microSD card’s data and make sure to first format your new card as per our recommendations.
- It is advised not to remove, format, or alter your content from your original microSD until your SD card is verified that it is correctly working or not.
- Once your new card has been formatted, continue with onscreen directions as mentioned below:
- Eject your microSD card and then insert the second one into the appropriate slot.
- You need to access your microSD card once more using Windows Explorer.
- Now, drag the data using the desktop to a new microSD card and then put your new microSD card into the Nintendo Switch console.
- Any software that cannot be read on the system using a new microSD card can be easily re-downloaded from your Nintendo eShop.
Transferring Gaming Data Between microSD Card and Internal Storage
Follow these straightforward steps if you want to transfer your game data between Switch’s internal storage and microSD card:
- At the start, open the System Settings page on your device’s screen by navigating the primary Switch menu.
- Then, scroll down the page and reach the section of Data Management.
- Choose the option “Move Data between System or microSD.
- Now, you have two different options:
- Select the option Move to microSD Card, if you want to move your game data to the microSD card.
- In case you desire to move your game data directly from the micro SD card to your internal memory, then choose the option “Move to System Memory.”
- Next, hit and choose the specific game data you like to move.
- After that, choose the option Move Data.
- Press the Move tab there.
Now, simply follow the instructions on the screen and transfer the data successfully.
Source: How to Transfer Nintendo Switch Games to a MicroSD Card?


