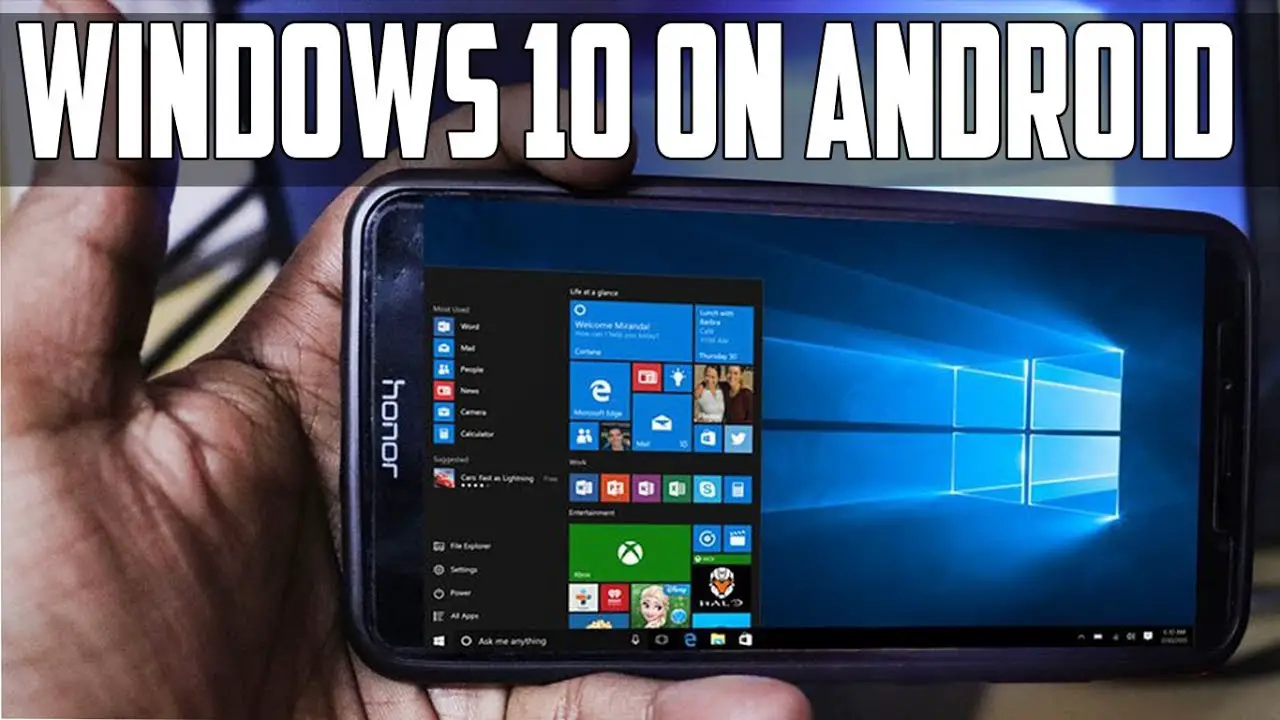
It is always safe and practical to have a backup of the Windows 10. You never know when you have to start working in the middle of the day to send an important file or complete an important project or presentation. In such a situation, you will probably end up borrowing someone else’s laptop and start from scratch. Fortunately, you can easily carry a backup of Windows 10 on a USB stick, but what if you don’t have a laptop around? Then, it would be best if you used your Android smartphone to run the Windows 10.
And, the best way to go about it is to use the DriveDroid app. This Android app requires access to the Android root, and it allows you to mount an operating system disc image and use it as an installation media. Using the rooting procedure, you’ll get access to the device, which will allow the app to have more control. There are various ways and methods from which you can choose the one suitable for you and your device, but the easiest way is to use Magisk. Do not forget to take the backup of your device before rooting or else you will lose all the data.
Now that you have got the basics right let’s move on to the tutorial for installing Windows 10 from the Android smartphone. Use the following guide after getting the root access:
Install the Latest Version of Windows 10
You will need a copy of the Windows 10 before starting the procedure. And, to get the latest version of Windows 10, install the Windows Media Creation Tool from Windows 10 software downloading page. Then, use the following steps:
- Open the Windows Media Creation Tool, and select Create Installation Media for Another PC.
- Create your Windows 10 ISO settings, and if you’re creating a backup ISO for your desktop, then you can Use the Recommended Options for This PC option.
- Hit the Next button and let the process take its time to complete.
Once the Windows 10 ISO gets downloaded, copy it in a folder of your Android smartphone. You can also use a USB cable for quickly finishing this procedure. Make sure that you have an active internet connection as you’ll need it for the rest of this tutorial.
Configure DriveDroid
After downloading and installing the DriveDroid app, use the following steps:
- Open the DriveDroid app and grant it permission for immediate root access.
- Configure the Image Directory – a folder used for storing the disc images (ISOs). This is where you have copied the Windows 10 version.
- Select the default folder the DriveDroid’s initial setup stage and tweak it later as per your preferences.
Check the DriveDroid USB Settings
The DriveDroid app now has to test and handle the USB connections as a mass storage device. It allows the app to mount your Windows 10 ISO as a bootable image. In the DriveDroid Setup Wizard page, you will find a list of options. Select the Standard Android Kernel for USB System, and click on Next. Wait for the app to approve the connection as a mountable drive. If the device doesn’t get recognized, then select Choose a Different USB System and retry.
If you don’t find the DriveDroid’s test file even after going through the settings thrice, then modify the DriveDroid USB options from the main page. In the top right corner, tap on the Gear icon and select USB Settings. Then, click on Manually Change USB Mode and select Mass Storage. Confirm and save your choices.
Mount Windows 10 ISO
You have to mount the Windows 10 ISO in DriveDroid. And, based on the default image folder you had chosen, you might already have the Windows 10 ISO in DriveDroid’s main page. If not, follow these steps:
- From the top right corner, tap on the Gear icon and selectImage Directories.
- Click on the red icon at the bottom of the screen.
- Go to the folder that has the disc images and give access to it.
- From the Image Directory, select the correct one and go back to DriveDroid’s home page.
- Select Windows 10 ISO and Host Image Using CD-ROM.
You’ll find a small disc icon on the disc image indicating the completion of the mount procedure.
Access the Windows Boot Menu
For this process, use a USB cable to connect your Android smartphone to the PC in which you want to install Windows 10. Using some keyboard shortcuts, enter the boot menu on your desktop. Once the boot menu appears on your screen, find DriveDroid and hit the Enter key. The Windows 10 installation screen will appear on the screen which indicates that you can now install the clean version of Windows 10 on your PC.
With this, the tutorial for installing Windows 10 via Android smartphone completes. Please note that the Windows 10 ISO will become outdated with time, so you have to continue installing the latest version and copy it on your Android device.
Elina John is a self-professed security expert; she has been making the people aware of the security threats. Her passion is to write about Cyber security, cryptography, malware, social engineering, internet and new media. She writes for mcafee security products at mcafee.com/activate.
Source :- https://mcafee6.uk.net/how-to-use-an-android-smartphone-for-installing-windows-10/


