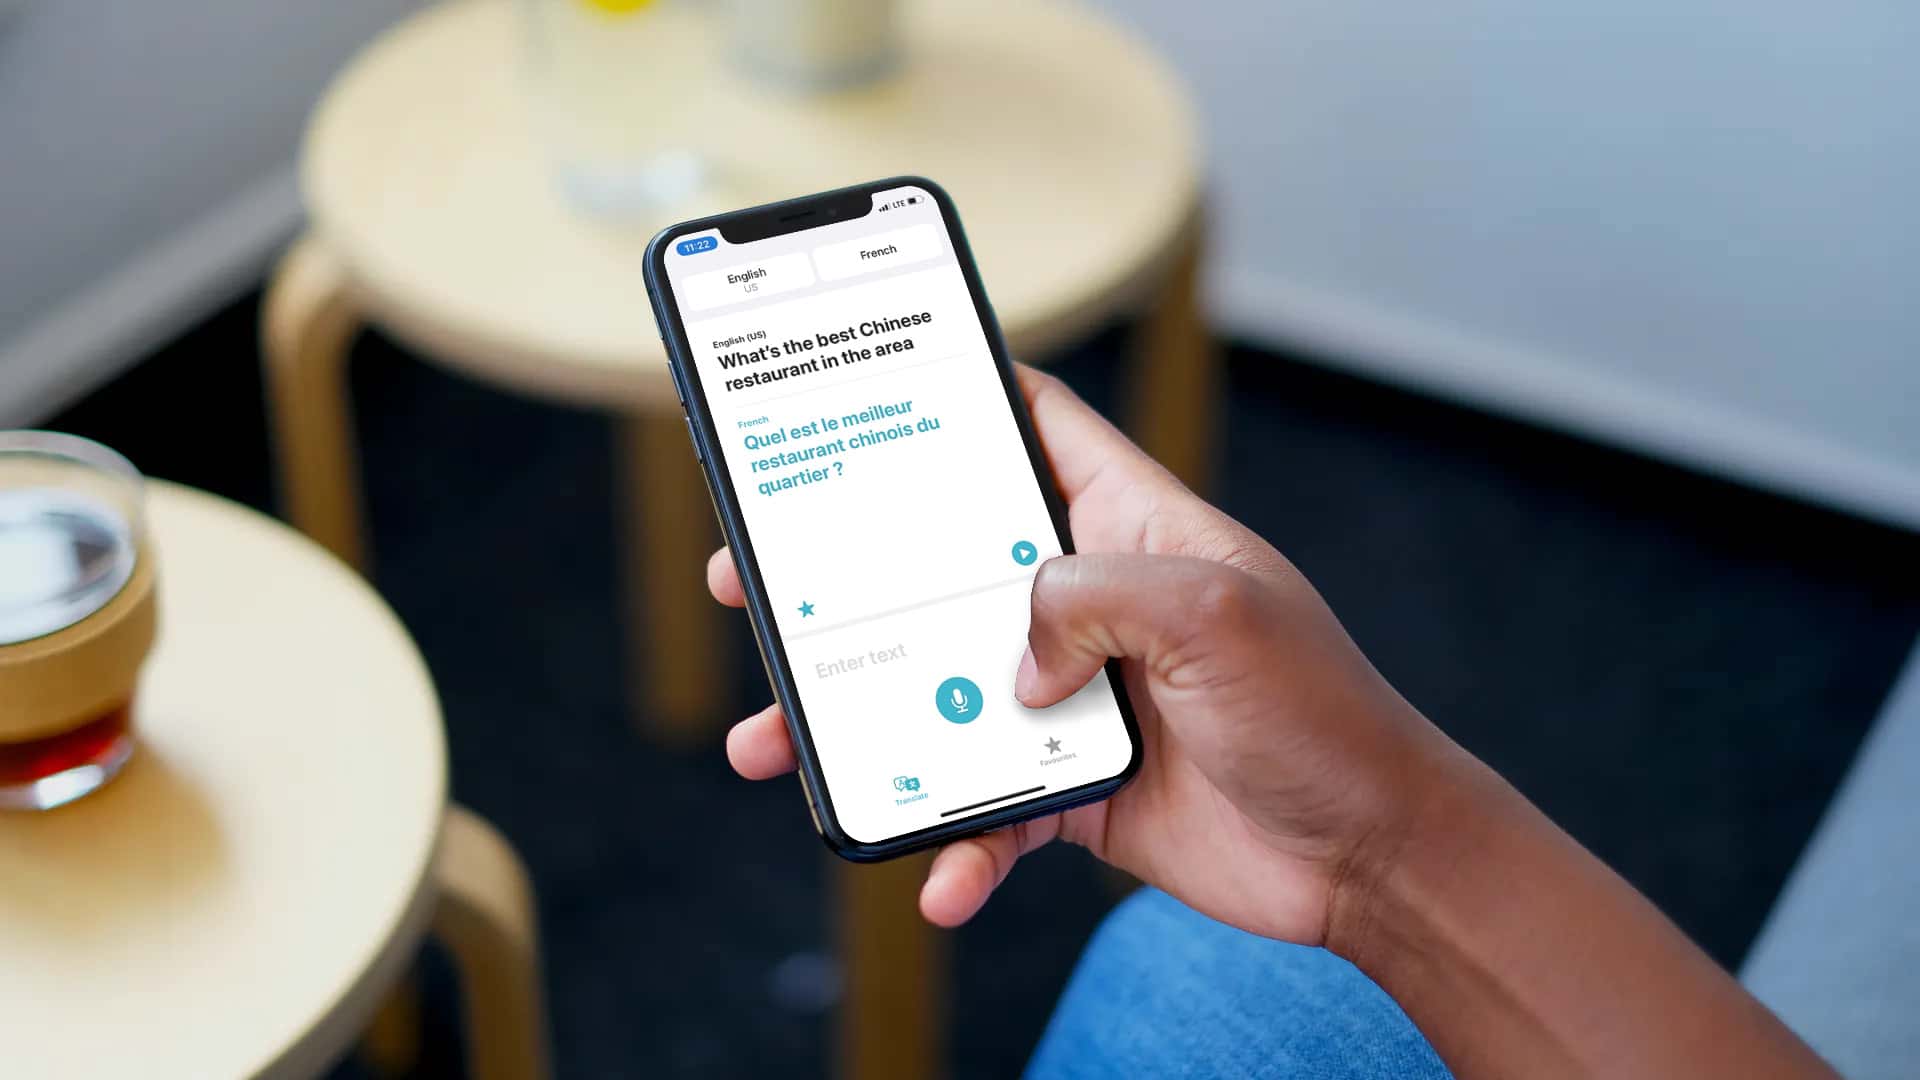
The latest operating system for iPhone, iOS 14 has striking new features and apps. One of the exclusive apps on iOS 14 is the Translate app. It is a translator that inputs text either from text or speech to text. You can use your voice to enter text into the app, and then the Translate app will convert it into a language of your choice. If you are an explorer and love travelling to new places and countries, Translate can help you interpret and talk in a foreign language.
Furthermore, you can learn new languages with this app if you want. However, before using it, you must know how it works. This guide is all about how to use the Apple Translate app on iOS 14.
Using Translate on Your iPhone
- First of all, find the Translate app on your device.
- To do so, make sure you are on the home screen.
- Then, swipe down from the centre of the screen using a single finger.
- This should trigger the Spotlight search.
- Please type translate inside the search bar.
- When the result appears, please select the Apple Translate application.
- In case you don’t find this app in your iPhone, it means you are using an older iOS operating system. You will need to first upgrade your device to iOS 14 to use it.
- When you have found and selected it, it should open shortly.
- You will see a pretty straightforward user interface.
- From the bottom-left side, please select the Translate icon.
- This ensures that you have activated translate mode in the app.
- Then, select input and output language as per your preference from the upper buttons.
- The upper-left side button is to select an input language that you want to translate.
- On the other hand, the upper-right corner button is to select the output language in which you want to translate.
- To select an input or source language, please tap the upper-right button.
- Choose from the listed languages that you want to translate.
- Hit the Done button.
- Click on the upper-right button to select an output language.
- Once you have selected the desired language, please tap Done.
- Now click on the blank portion of the screen that says Enter text.
- The on-screen keyboard should popup to type the content.
- Enter the content or phrase you want to translate.
- If you want to speak out instead of typing manually, then click on the Microphone button situated on the home screen of the app.
- Once the microphone activates, speak out the sentence that you want to translate in another language.
- This will convert your speech into text.
- You will see the sentence on your iPhone screen that you just spoke.
- When that completes, the app will promptly translate your text.
- Finally, you will see the translated text in the language that you chose.
If you want to save this translated text, please tap the favorites icon located in the bottom-right corner. That way, you can easily access the text later when you need it.


