HP PC Hardware Diagnostic is the ‘Unified Extensible Firmware Interface,’ which offers remarkable tests so that you be able to get to know that your computer hardware is normally working and not misbehaving in any of the ways. To know about this completely free of cost useful tool, you need to go through this blog properly.
Note: This blog is applicable for Windows 10 users.
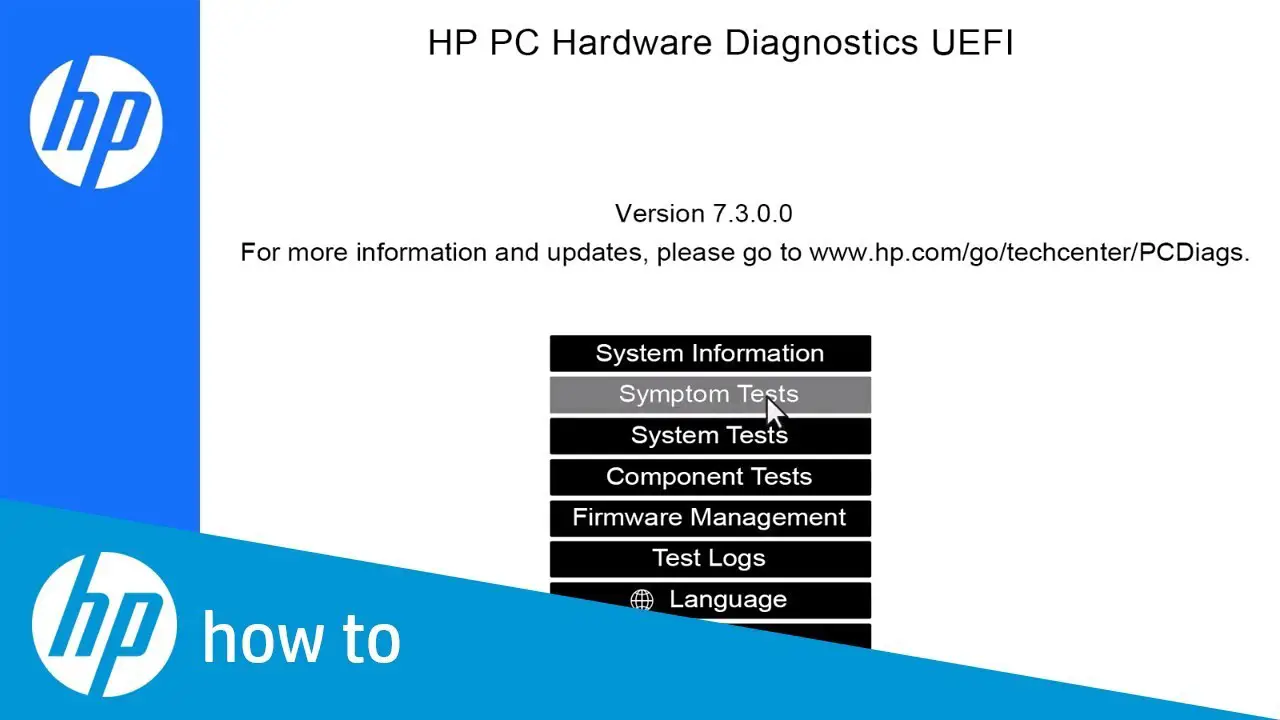
Running the ‘HP PC Hardware Diagnostics UEFI’
Remember that if your device comprises the ‘UEFI diagnostic tool’ already, then it shall open by tapping on the F2 button. By chance, you do not have the tool already, make a USB.
If it is present on your device, then do according to the below-mentioned steps.
- Firstly, turn off the device.
- After that, switch on your device.
- Next, you require to quickly tap on the F2 button again and again till the UEFI menu gets displayed.
- Then, note that the UEFI menu shall provide some diagnostic tools.
- After that, choose the particular that you wish having.
- Next, do according to the steps that have been mentioned on display.
- Remember that in ‘memory’ as well as ‘hard disk’ test, the tool shall be running the ‘Fast Test’ for recognizing hardware problems as early as possible.
- Note that if no error is found, but the device of yours does have hardware issues, then it shall be running the Extensive Test. This one might take a lot of time to finish the full test.
UEFI Extensive with Fast test
- Note that the display shows the progress box on the Command Prompt with the calculated duration of time left for completing the test. The button ESC can be tap by you whenever you feel for canceling the given test. The cancellation should only be made if you are not left of doing any other option.
- Observe that when the tool does not get any error, during that time, you shall get a ‘Passed’ message’ or else that shall begin the extensive text for you.
- The procedure for doing the ‘hard Disk check’ is the same.
Installing HP PC Hardware Diagnostics UEFI
- Firstly, visit the ‘HP Hardware Diagnostics’ site.
- Then, download ‘HP Diagnostics UEFI.’
- Next, search the folder.
- After that, you need to run the EXE file.
- Then, do according to the installation wizard.
- After that, you need to agree to the license agreement.
- Then, press on the ‘Next.’
- Next, choose between the installation area for doing the ‘Hardware Diagnostics’ program.
- After that, again press on Next.
- For downloading on the device for testing, select UEFI Partition Hard Drive.
- For downloading into the USB drive, choose USB Flash Drive.
- Next, press the Install option.
- After that, press on Yes for making the HP_TOOLS partition.
- Then, give for some time until the software gets installed.
- Then, press on ‘Finish’ for closing the wizard.
Ashley Miller is a Microsoft product expert and has been working in the technology industry since 2002. As a technical expert, she has written technical blogs, manuals, white papers, and reviews for many websites such as office.com/setup.
Source: https://emilyjohnso731.wordpress.com/2020/01/24/how-to-use-hp-pc-hardware-diagnostics-uefi/


