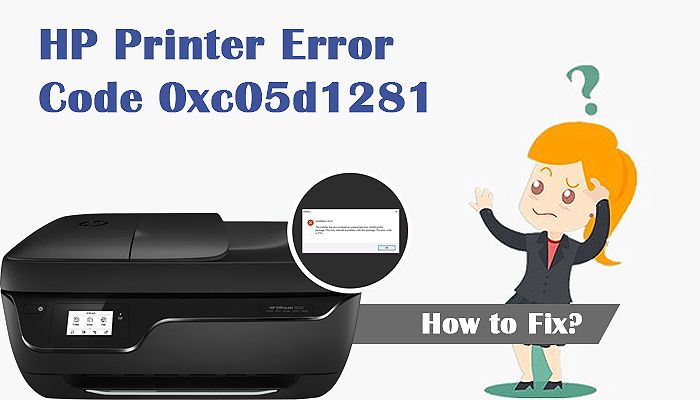
HP printer has many features that make it popular with consumers. It's really easy to use for anyone. But like other machines, users of HP printing devices face some common errors.HP printer error 0xc05d1281 is a very common error that occurs for a number of reasons. If you want to delete HP printer error code 0xc05d1281, you need to use the right workaround for troubleshooting. Professionals are still here to help you out. They're going to give you one of the best ideas for your needs. You may use the steps provided to delete this error code. If these steps fail to fix this dilemma, please contact the practitioners. They're going to give you one of the latest troubleshooting options.
3 Methods to fix HP printer error 0xc05d1281
To fix this type of error, you need to apply the best troubleshooting steps. Some of the best solutions are mentioned here:
Method 1.
- Click and hold the “*” button and then press “#” and release both buttons, Display should say “ Enter special key combo.”
- Click and leave in sequence the “1”, “2” and “3” key, the display should say something like “ support” R0631M.
- Click and leave the right arrow key until the display says “ system configuration menu.”
- Click and release the OK button display should say “ Hardware failure status.” If not there already, arrow key over to “ Hardware failure status.”
- Now press and release the OK button.
- The display should say “ Hardware failure status”. Hit Ok to clear.”
- Click and leave the OK key. Message changes to “ Hardware failure status Cleared. Click cancel to continue.
- Click and leave “ cancel” key as many times as necessary, so that, either the “ Welcome to Photosmart Express” screen appears, or the “ Ink system failure” screen pops up. Not print at this stage.
- By using the power key, switch the unit off and unplug the power cable from behind the printer and wall.
- Now, wait for a few minutes at least 30 seconds for the power to get discharged and then plug the power cable into the wall outlet first, then into the printing machine.
- Switch the unit on. The printing machine may show the message “ use the power key to shut down the printing machine “ followed by “ click OK to continue.” Hit OK.
- The printing machine will start the “One-time ink initialization process.” Allow this process to complete and don’t interrupt.
- In the last click setup menu on the all-in-one then scroll the mouse and choose print report then choose the self-test report.
Method 2.
- Unplug the power from back on the printing machine.
- Now wait for a few seconds and then hold the “ print photo” and “ cancel” at the same time. You should be able to see it with a blank screen for a few seconds.
- Now, it’s done and then tries again and again if it does not work.
Method 3.
- Unplug the all-in-one from power and wait for 30 seconds.
- Plugin power only. Now repeat the same steps 2 to 4 more times.
- After plugging the unit into power you need to check the functionality.
To remove this error, the given solutions are the best. But if the error still then don’t take tension.


