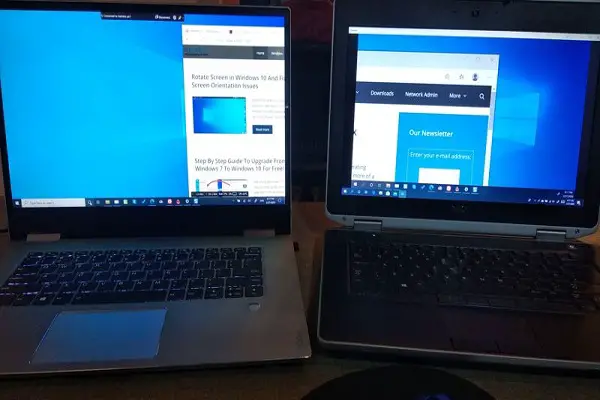
Windows 10 comes with a built-in feature to enable a wireless connection between your device and a spare one. You can easily control the extended screen using your primary laptop. This feature can be used to intensify your viewing experience, and also it could be very productive for work during presentations and conferences. This is yet another useful and exciting Windows 10 feature that you should know how to use. So read this article to learn how to establish a connection to project your screen on another Windows 10 laptop.
Initial Setup
The “project to a second screen” option in the Start menu allows you to connect two laptop screens. Plus, this feature provides you other options to modify additional settings like the “Bluetooth and Other Devices Settings,” which makes sure that the Bluetooth stays on for both laptops; and the “Projection Settings,” which ensures the secure network availability for both the primary and secondary laptops.
It is always a good idea to set up a PIN that can grant pairing permission with your device. This way, you will be able to make sure that no unsecured or unknown device connects to your Bluetooth network. Also, you will receive a notification every time a device is trying to connect to your PC. You should also check if both the primary and secondary screens have a similar resolution for compatibility by going to the “Display Settings.”
How to Connect the Two Laptops
- Start by pressing Win + P on your keyboard to launch the “Project to Second Screen” menu.
- A list of available devices will appear. Select the one you wish to use as an extension of your primary screen.
- Then click on the “Connect to a wireless display” option.
- Now, you need to pair the Bluetooth of both the laptops.
- On your primary display device, open the “Bluetooth & Other Devices” screen to click on the “Add a device” option.
- A pop-up screen will appear. Here, add the laptop that you will be using as your secondary display.
- The name of your secondary laptop that is compatible with Bluetooth will be displayed. Click on it to start pairing it with your primary laptop.
- You will now receive an alert message saying, “add a device” in the notification tray of your secondary laptop. Tap on it to set up.
- Enter the PINs on both the laptops to ensure secure Bluetooth connectivity.
- Your primary laptop will display a message saying, “your device is ready to go.” And the secondary laptop will display a similar message saying, “connection succeeded.” This confirms that both the laptop screens have successfully been connected.
How to Project the Screens on Connected Laptops
After pairing both the laptops via Bluetooth, you should be able to see both the laptops on their screens. If yes, then follow the instructions below to start projecting the screens:
- Again press Win + P to open the “Project to a Second screen” menu on your primary laptop.
- Select the “Connect to a wireless display” option to locate and click on the secondary laptop’s Bluetooth ID.
- The pairing process will initiate with the “connecting to your device” alert on your primary laptop’s screen.
- Then, you will receive an “attempt to connect” alert on your secondary laptop’s screen. Choose to click between “Allow once” or “always” to go ahead.
- The secondary laptop is now ready to project the primary laptop’s screen wirelessly.
We hope that you can now pair and project your screen in a minute.
Source-Windows 10: Connect a Laptop Screen as External Monitor


