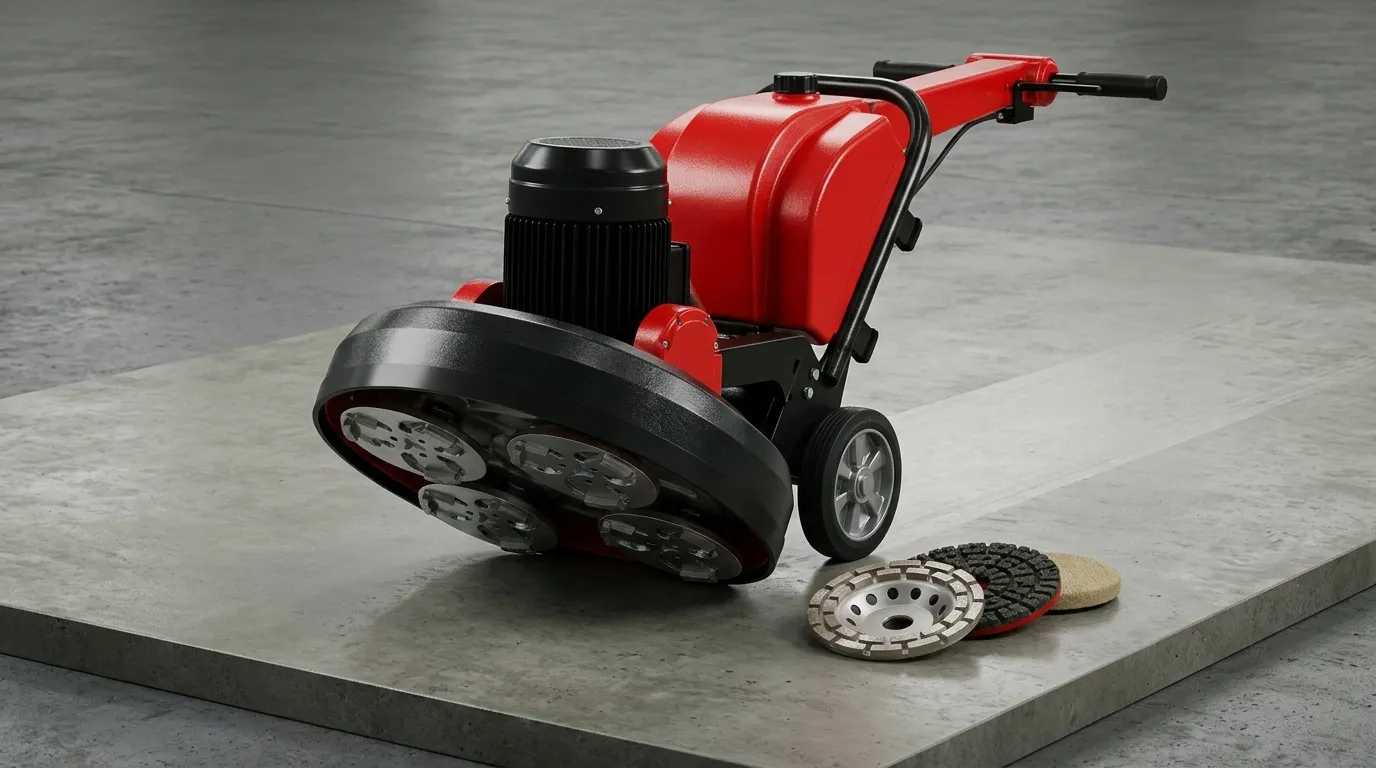

Ask ten flooring pros which grit to start with and you may hear ten different answers. That is because grit choice depends on the slab, the coating, and the finish you want, and because grit numbers are not perfectly standardized across brands. Even so, the order of steps follows clear rules. This guide gives you a practical grit chart, explains what each stage does, and shows how to adjust when the floor does not behave the way the chart says it should.
Why Grit Order Matters
Every concrete grinder pass leaves scratches, and each finer grit exists to remove the scratches left by the one before it. Skip a step and the deeper marks stay buried under the finer pass, only to show up later under a coating or a polished shine. Going in order is slower on paper but faster in practice, because you never have to go back and redo large areas. Think of grit as a ladder: every rung matters, and missing one makes the next climb much harder.
How Grit Numbers Work
Grit numbers describe diamond particle size. A low number means coarse diamonds that cut fast and leave deep scratches, and a high number means fine diamonds that cut slowly and leave a smoother surface. Metal-bond tools usually cover the lower numbers for removal and leveling, while resin-bond pads cover the higher numbers for refining and polishing. Brands label tools differently, so treat any chart as a general guide and check the manufacturer’s recommendations for the exact products you use.
The Basic Grit Chart
The table below shows a common progression. Ranges overlap between brands, so use it as a starting point instead of a strict rule.
| Stage | Typical Grit Range | Bond Type | Purpose |
| Heavy removal | 16–30 | Metal | Strip thick coatings, level high spots |
| Medium removal | 30–60 | Metal | Remove deeper scratches, open the surface |
| Refining | 80–120 | Metal | Smooth the surface before resin steps |
| Early honing | 100–200 | Resin | Remove metal-bond scratches |
| Mid honing | 200–400 | Resin | Build a uniform, matte finish |
| Fine honing | 400–800 | Resin | Start developing clarity and sheen |
| Polishing | 800–1500 | Resin | Create a visible shine |
| High polish | 1500–3000 | Resin | Deliver a high-gloss finish |
Not every job uses every row. Many coating projects stop at the refining stage, while polished floors continue through the entire chart.
Stage One: Heavy Removal
Coarse grits in the 16 to 30 range handle the toughest tasks. Use them to strip thick epoxy, paint, mastic, and glue, or to grind down high spots and ridges. These tools cut fast, so keep a steady pace and avoid lingering in one place, which can gouge the slab. For sticky coatings, consider tooling made for coating removal, since standard segments can clog. Expect heavy dust or slurry at this stage, and make sure your vacuum or water system is ready before you start.
Stage Two: Medium Removal
After the coarse pass, move to grits around 30 to 60. This step removes the deep scratches left by the first stage and begins to even out the surface. It is also where you can see how the slab is really behaving, including soft patches, repairs, and variations in hardness. Overlap your passes and keep the pattern consistent so no strips are missed. On many coating jobs, this grit range gives enough profile for the product to bond, but always confirm the profile requirement in the coating manufacturer’s data sheet.
Stage Three: Refining the Surface
Grits from 80 to 120 refine the surface before resin tools take over. This is the last metal-bond stage on most polishing projects, and it sets the foundation for everything that follows. The surface should look uniform, with a consistent scratch pattern across the floor. Take a moment to inspect under good light, because flaws that remain now will be more visible after polishing. Fill cracks and holes if the plan calls for it, then re-grind the repaired spots so they match the surrounding area.
Choosing Grit for Coating Prep
Not every floor needs a fine finish. For coatings such as epoxy, the goal is usually a clean, open surface with the right texture, not a shine. In that case, you may stop at the medium or refining stage, depending on the product. Many installers learn these details through epoxy floor classes, where they see how different profiles affect adhesion on real slabs. A surface that is too smooth can lift a coating, while one that is too rough can show through thin films, so check the coating’s requirements before choosing your final grit.
Stage Four: Resin Honing
Once you switch to resin tools, the work moves from removing material to refining it. Start with grits around 100 to 200 to erase the metal-bond scratches, then step up to 200 to 400 for a smooth, even matte finish. This is the stage where many floors begin to look clean and professional, and some projects stop here for a satin appearance. Keep the surface clean between passes, since leftover particles from coarser steps can scratch the floor and ruin the finer tool.
Stage Five: Polishing
Polishing uses grits from about 800 up to 1500 or higher. The surface gains clarity and reflection with each step, and the floor begins to show real depth. Work slowly and evenly, and use the manufacturer’s recommended speed and pressure. Many polished floors are treated with a densifier and a guard coating, so follow the product instructions for application order. Consistent technique matters most here, since small inconsistencies in speed or overlap can show as streaks under bright lights.
Adjusting for Hard and Soft Concrete
The chart changes with the slab. Hard, dense concrete resists wear, so you may need softer bonds and slightly more aggressive starting grits. Soft concrete can scratch easily and may need harder bonds, gentler pressure, and an earlier move to finer grits. If your tools glaze and stop cutting, the bond is likely too hard for the floor. If they wear out in minutes, the bond is too soft. A small test patch lets you adjust before committing to the whole job.
Wet or Dry Changes the Plan
Wet grinding cools the tooling and keeps dust down, so it often supports finer steps, particularly during polishing. Dry grinding is common for coating removal and surface prep. Some resin pads are made for wet use only, others for dry use only, and some for both. Check the tool labels carefully, since using the wrong type can shorten tool life and hurt the finish. If you switch methods partway through a project, make sure the surface is fully clean before moving to the next stage.
Match Your Machine to Your Plan
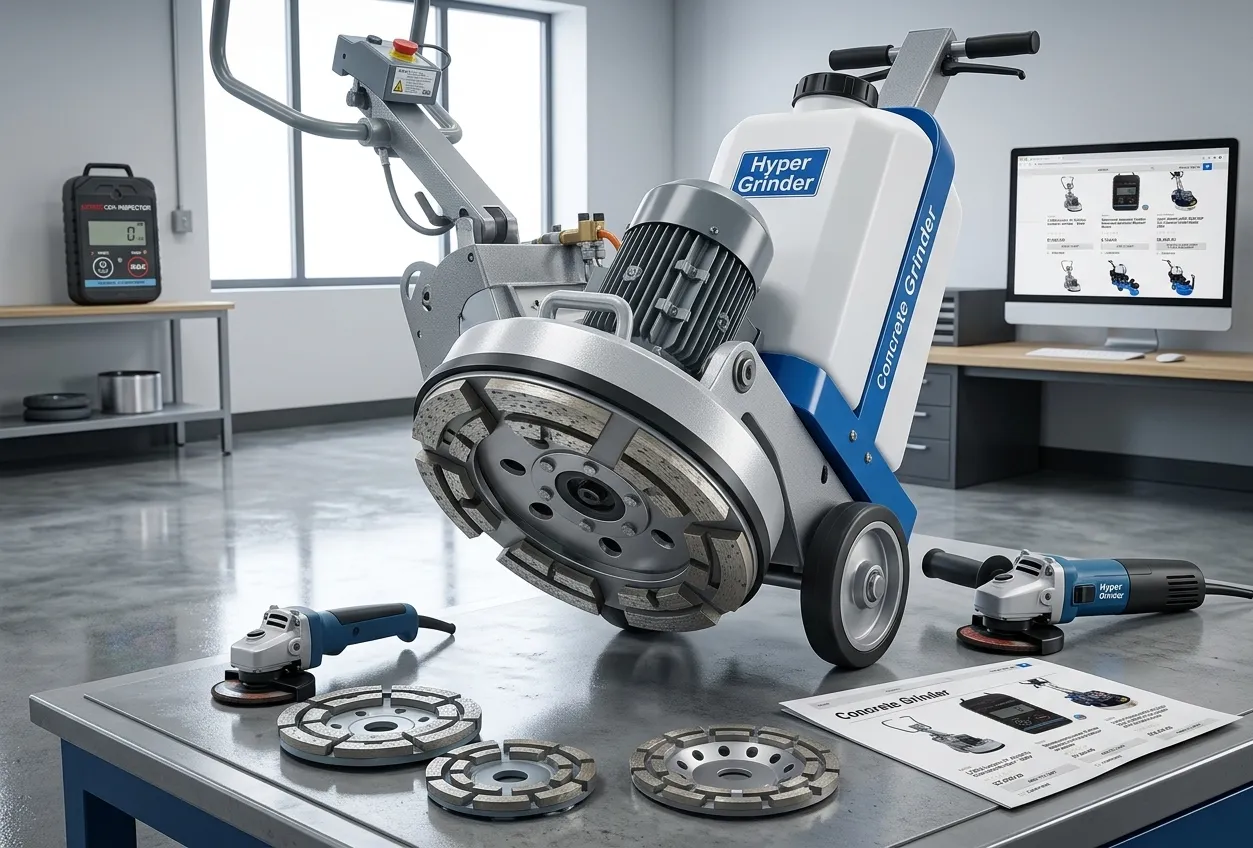
Your machine affects how each grit performs. Weight, speed, and head design change cutting rates and the pressure on the tooling. A heavier concrete floor grinder pushes harder into the floor, so it may cut faster but also wear tools sooner, while a lighter machine may need more aggressive grit choices to reach the same removal rate. Buyers researching models such as the aircross 300hxr should confirm verified specifications and recommended tooling with the manufacturer or a dealer before settling on a grit plan.
Common Mistakes to Avoid
A few errors cause most grit problems. Skipping grits leaves deep scratches, rushing passes causes uneven results, and failing to clean between steps lets coarse particles damage finer tools. Using tooling that is worn out can polish the surface instead of cutting it, which makes the next step harder. Another mistake is following a chart blindly without testing. Every slab is different, so try your plan on a small area, review the result in good light, and adjust before you move across the floor.
Keep Notes for Next Time
Experience turns a chart into a personal playbook. After each job, record the slab type, the tooling used, the grit steps, the speed, and the result. Over time, you will see which combinations work best for your typical floors and which ones to avoid. These notes also help you quote jobs more accurately, since you will know how many passes and how much tooling each project requires. A simple logbook becomes one of the most valuable tools on the truck.
Final Thoughts
A good grit chart removes guesswork, but it works best when you pair it with testing and careful inspection. Start with the right level of removal, move through the grits in order, and clean the floor between stages. Adjust for slab hardness, wet or dry methods, and the finish you want. With a sound plan and steady technique, your concrete grinder will deliver clean, consistent surfaces, whether the floor is headed for a coating or a polished shine.
















Sign in to leave a comment.