

Are you looking to customize your AR-15 but don\'t know where to start? Look no further! Building your own custom AR-15 using an AR-15 kit is an easy and cost-effective way to get the gun of your dreams. This post will provide tips and tricks for using AR-15 kits to customize your AR-15 and make it uniquely yours. So, if you\'re ready to start, let\'s dive in and learn how to use AR-15 kits to build your own custom AR-15!
Assembling the Upper Receiver
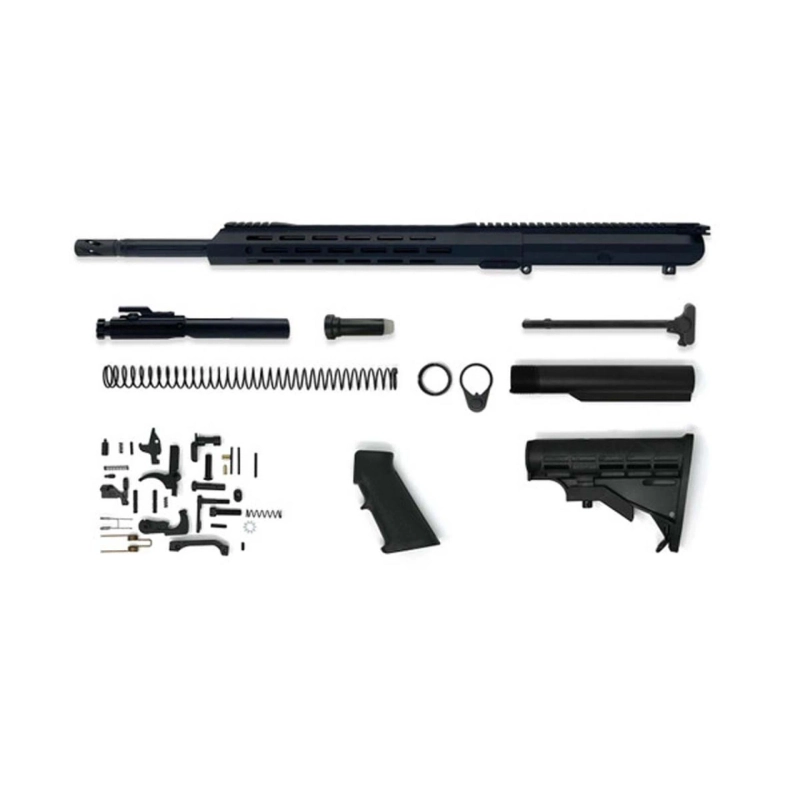
When you purchase an AR-15 kit, it usually comes with the upper receiver already pre-assembled. If you decide to build your own upper receiver, you\'ll need to get the components separately. You\'ll need the forward assist, dust cover, ejection port door, and the bolt carrier group. When you have all of the necessary parts, the assembly process is relatively easy.
To start, place the forward assist in its correct position on the left side of the upper receiver. Make sure it\'s centered and that the plunger is facing the right direction. After that, attach the ejection port door by fitting it into its grooves. Insert the pins and secure them with the tension screws. Once you\'ve completed that step, attach the dust cover and make sure that it fits tightly in place.
Finally, add the bolt carrier group. Slide it inside the upper receiver and then insert the charging handle into its slot. Push the handle down until it clicks into place. Once all of the components are in their proper positions, your upper receiver assembly is complete. With a quality ar 15 kits, you can easily build a strong and reliable custom AR-15.
Installing the Barrel
When building an AR-15, the barrel is one of the most important components to consider. Properly installing the barrel can be tricky and requires patience. Before beginning this step, make sure you have all the necessary parts and tools, including a barrel nut wrench.
The first step is to remove the existing barrel nut if it’s already installed. To do this, simply place the wrench onto the nut and twist it counterclockwise. Once it’s loose, you can remove it by hand. Next, grab your new barrel and slide it over the upper receiver. Make sure the gas block is still aligned before continuing.
Next, thread the barrel nut onto the receiver and make sure it is properly secured with a wrench. Now it’s time to torque the barrel nut. This is a crucial step and requires a torque wrench, which can be found at gunbuilders.com or other specialty stores. You will need to apply the correct amount of pressure to ensure a secure fit without causing any damage to the threads.
Once you’ve torqued the barrel nut, your barrel is securely attached and ready for use. Make sure to check that everything is in place and that there are no loose parts or areas that need attention before firing your gun. With a little bit of patience and the right tools, you’re well on your way to having a fully customized AR-15!