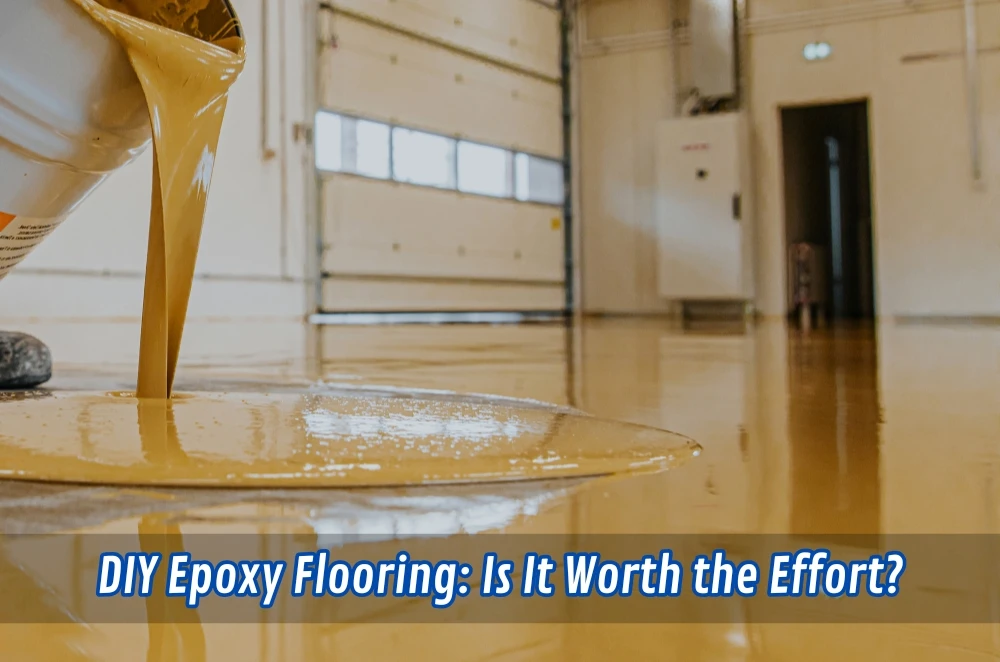
That tired, cracked concrete floor in your garage or the drab concrete slab on your patio – it's a common sight in many Aussie homes. You've probably seen those sleek, glossy epoxy floors in showrooms and workshops and thought, "That looks fantastic!" Now, the DIY bug has bitten, and you're wondering if tackling epoxy flooring yourself is a realistic project. After all, the finish is meant to be professional, but can a DIY approach achieve that? This journey into DIY epoxy flooring will guide you in making the right decision for your needs, but in terms of professional installation and quality work, consider to get a quote for epoxy flooring Sydney today if you would prefer to leave it to the professionals.
The world of DIY: epoxy flooring made easy
Epoxy flooring has become very popular because it is durable, aesthetically pleasing, and resistant to wear and tear. It is a two-part system consisting of resin and hardener, which, when mixed, create a rigid, protective coating. The DIY approach promises a cost-effective alternative to professional installation. The allure is understandable: saving on labour costs can be significant. However, "simple" is a relative term. It isn't rocket science but rather quite particular and involves several steps of proper preparation and implementation.
Basic steps:
- Preparation of surface: This is the most vital step in concrete cleaning, and it must be clean, dry, and free of dirt.
- Mixing epoxy is essential because if it is not measured precisely, curing may not happen correctly. The application method involves applying thin and uniform coats of roller or squeegee.
- Curing: Epoxy requires curing time, which varies according to the product and conditions in the environment.
Benefits of DIY epoxy flooring
The most significant benefit of DIY epoxy flooring is that it saves on labour costs and can keep your floors cool and protected in summer. You can save professional labour by doing the job yourself, which is a pretty appealing feature, especially for bigger spaces.
Other benefits are thought to include:
- Sense of accomplishment: There is that sense of achievement when you do it yourself for a home improvement project.
- Control: You have complete control over the material, colours, and finishes to be used.
- Flexibility: You can do it at your own pace, allowing you to schedule your other commitments as you see fit.
However, these benefits need a dose of realism. While savings are a good motivator, mistakes can sometimes be rectified at increased cost.
Key considerations: Assess your skill level and tools
Start by doing an honest self-evaluation before going into a DIY epoxy flooring project.
Consider the following:
- Physical aptitude: Working with epoxy demands physical effort, including bending, getting on one's knees, and often working in confined or awkwardly positioned areas.
- Attention to detail: The process calls for precision and attention to detail, especially in surface preparation and mixing.
- Time requirement: The project can take several days, depending on the size of the area and the complexity of the job.
You will also need the right tools and equipment, including:
- Concrete grinder or acid etching solution: To prepare the surface properly.
- Mixing buckets and drill mixer: This is to mix the epoxy components thoroughly.
- Rollers, squeegees, and brushes: These are used to apply the epoxy.
- Protective gear: Including gloves, eye protection, and a respirator.
Quality tools must be invested in. Cutting corners here can make all the difference in the final result.
Step-by-step guide: Unveiling the DIY process
Every epoxy product has its own set of instructions, but the general process is these steps:
- Prepare the surface: Clean, degrease, and acid etch any existing coatings if necessary. Concrete cracking could be repaired either mechanically or via acid etch.
- Mix the epoxy: Mix the resin and hardener carefully according to the manufacturer's instructions. Over- and under-mixing can trigger problems.
- Apply the primer (if required): The primer is another layer that binds the epoxy towards the concrete before applying the overlay mixture.
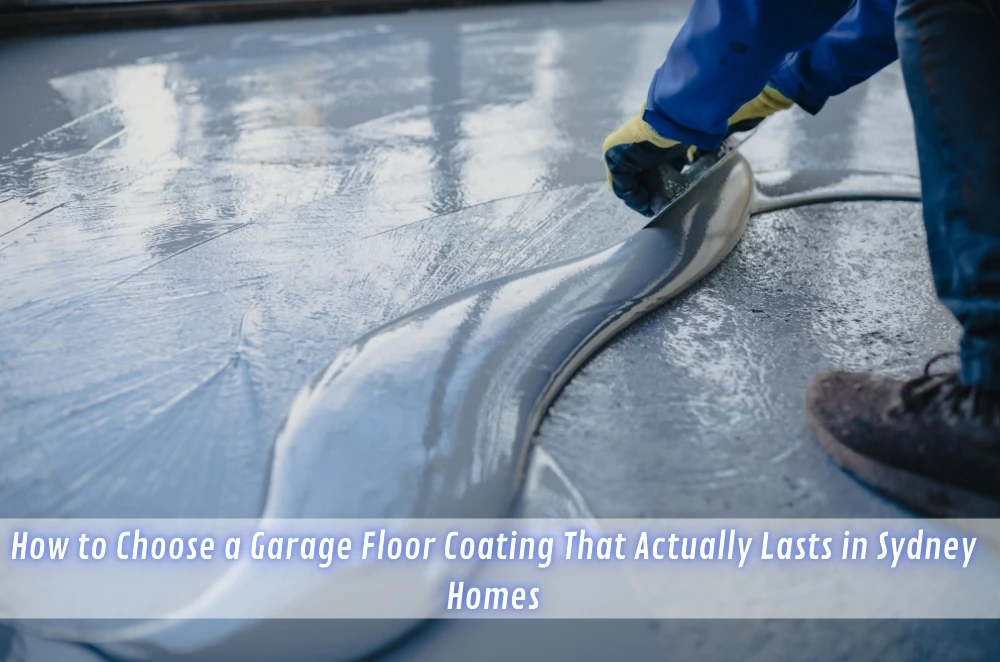
- Apply the epoxy coating: Pour the mixed epoxy over the surface and spread it evenly using a squeegee or roller. Multiple coats may be necessary.
- Add decorative flakes or other finishes (optional): These can be broadcast onto the wet epoxy for a decorative effect.
- Apply a topcoat (optional): A topcoat adds more protection and a glossy finish to it.
- Let the epoxy cure: This usually takes several days, depending on the product and environmental conditions.
It is always essential to be aware of the guidelines provided by the manufacturer of every product. That way, a good application and avoiding costly mistakes for home renovations and additions are guaranteed.
Tips for success: maximising results with expertise
More than the steps, getting a professional finish to your epoxy flooring requires the right tips to achieve maximum results.
- Test on a small area first: Apply the whole project only after testing the process on a small, inconspicuous area to get a feel for the application.
- Work in ideal conditions: The application of epoxy is best done in moderate temperatures and low humidity.
- Maintain a "wet edge": This prevents visible seams between sections of epoxy.
- Plan your work: Make clear plans for all the steps involved, and ensure that all of the necessary tools and materials are on hand.
As expected, careful planning and execution often do not spare DIY epoxy flooring from several inevitable challenges, like bubbles, uneven application, and curing problems. If you ever need epoxy flooring, consider whether doing it yourself could be the answer.
Conclusion
DIY epoxy flooring offers the possibility of massive savings in costs and the satisfaction of accomplishing a significant task. It involves careful planning, meticulous preparation, and a considerable time commitment. More importantly, it calls for an honest assessment of one's skills, resources, and the complexity of the project before settling for the DIY route. That generally means hiring an experienced flooring installer who will do quality work in installing epoxy flooring and hardwood floor installation, among other flooring options. However, this does cost more upfront but, in return, comes with peace of mind and durability. In all, it comes down to personal situations and your preferences. Will you invest in the time and effort needed for the DIY project, or do you want the comfort of ease and professional assistance? This article has given some insight into how to enable an informed decision to be made.


Sign in to leave a comment.