DIY Living Moss Wall: A Simple Guide
A living moss wall can transform any space, adding a touch of nature and tranquility. It’s a great DIY project that’s both fun and rewarding. In this guide, we\'ll show you how to create your own living moss wall with easy-to-follow steps.
Materials You’ll Need
- Live moss
- Frame or backing board
- Adhesive (liquid nails or spray adhesive)
- Landscape fabric
- Scissors
- Measuring tape
- Gloves
- Spray bottle
Step 1: Choose Your Moss
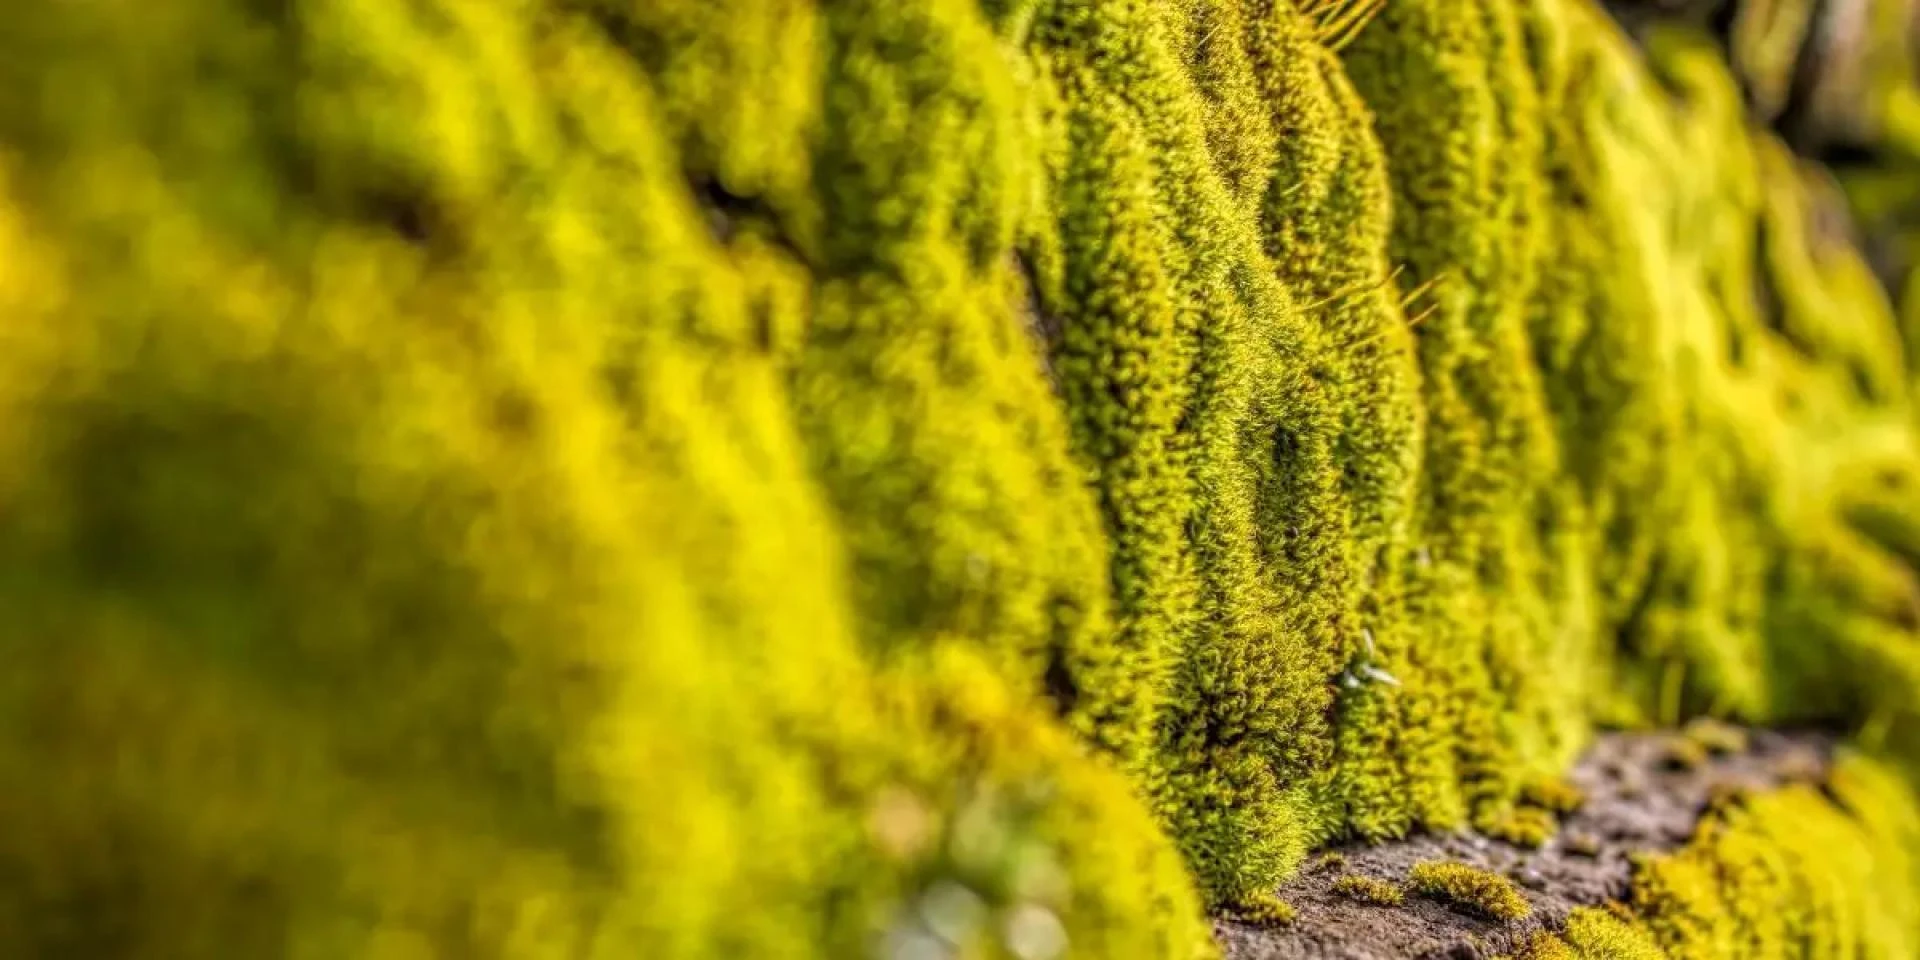
Select the type of live moss you want for your wall. Popular options include sheet moss, mood moss, and reindeer moss. Make sure the moss is fresh and healthy.
Step 2: Select a Frame or Backing
Choose a sturdy frame or backing board. Wooden frames or metal grids work well. Ensure the frame is strong enough to support the moss and any additional materials.
Step 3: Prepare the Backing
Cut a piece of landscape fabric to fit the backing board. This fabric helps retain moisture and provides a base for the moss to attach. Secure the fabric to the board using adhesive or staples.
Step 4: Measure and Cut the Moss
Measure the dimensions of your frame or backing. Cut the moss to fit these measurements using scissors. Be sure to wear gloves to protect your hands and the moss.
Step 5: Attach the Moss
Apply adhesive to the landscape fabric. Begin at one corner and work your way across, pressing the moss firmly into place. Ensure there are no gaps and the moss is evenly distributed. You can use a spray bottle to lightly mist the moss during this process to keep it hydrated.
Step 6: Arrange the Moss
Arrange the moss to cover the entire surface evenly. You can mix different types of moss for a more textured and natural look. Ensure the moss is securely attached and there are no loose pieces.
Step 7: Secure Loose Areas
Check for any loose areas and add more adhesive if needed. Press firmly to ensure all parts of the moss are attached. Lightly mist the moss again to keep it moist.
Step 8: Install Your Living Moss Wall
Once the moss is securely attached and the adhesive is dry, it’s time to hang your living moss wall. Use nails, hooks, or screws to mount it on your desired wall. Make sure it is level and securely fastened.
Maintenance Tips
- Watering: Mist the moss regularly with a spray bottle to keep it hydrated. Do not overwater.
- Light: Place the moss wall in an area with indirect sunlight. Avoid direct sunlight, which can dry out the moss.
- Humidity: Keep the moss wall in a humid environment if possible. Bathrooms and kitchens are ideal locations.
Benefits of a Living Moss Wall
- Air Quality: Live moss helps filter and clean the air.
- Natural Beauty: Adds a unique, natural look to any space.
- Stress Relief: The presence of greenery has been shown to reduce stress and promote relaxation.
- Eco-Friendly: Moss walls are sustainable and environmentally friendly.
Creating a living moss wall is a fantastic way to bring nature indoors. Follow these simple steps, and you’ll have a beautiful, thriving moss wall that enhances your space in no time!


Sign in to leave a comment.