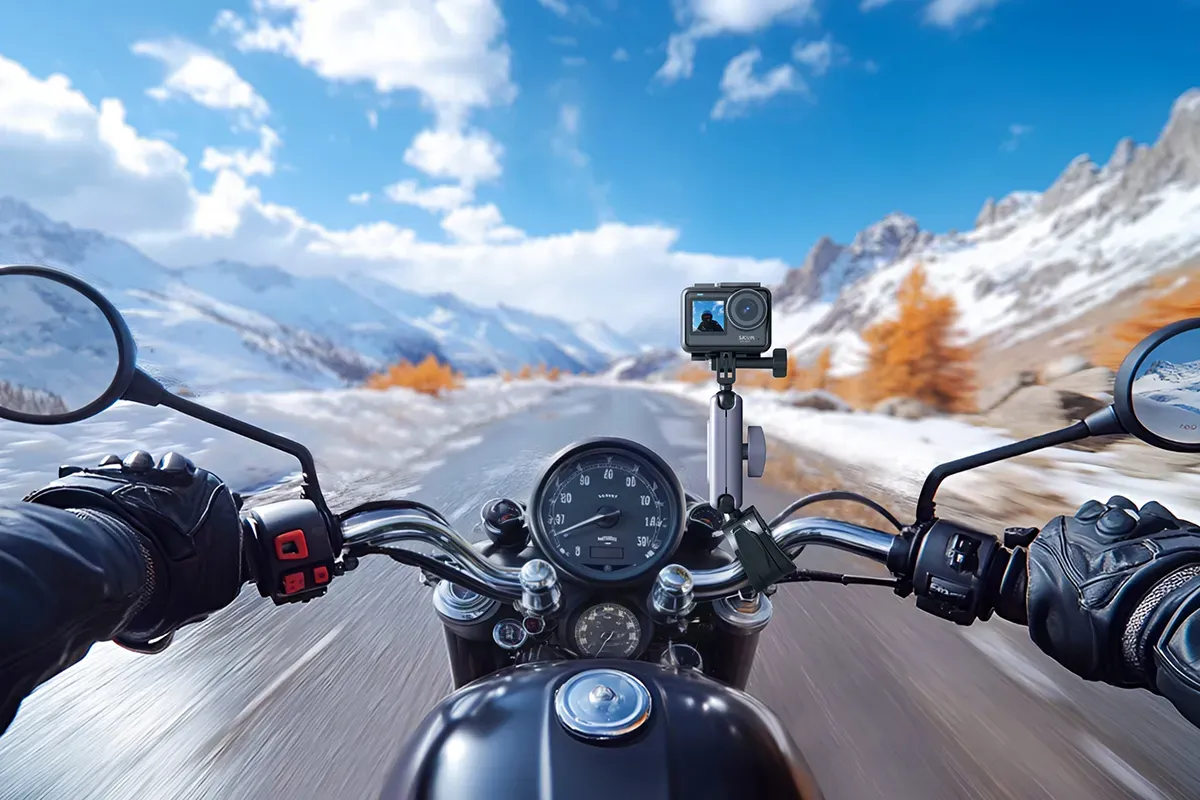

Essential Motorcycle Action Camera Accessories for Safer and Better Footage
A good motorcycle action camera is only part of a successful riding-video setup. The accessories you choose determine whether your footage is smooth or shaky, whether the camera stays secure at highway speed, whether audio is usable in the wind, and whether you can record long enough to capture the best parts of a road trip.
For motorcycle riders, the essential accessories are not always the most expensive ones. A strong mount, a safety tether, spare power, a reliable memory card, wind protection, and basic weatherproofing can make a much greater difference than buying unnecessary add-ons. The goal is to build a setup that improves video quality without creating distractions, interfering with motorcycle controls, or compromising rider safety.
This guide covers the most useful motorcycle action camera accessories for scenic rides, commuting, touring, adventure riding, and motorcycle vlogging.
Start With a Secure Mount
A mount is the most important accessory in any motorcycle action camera setup. If the mount is loose, poorly positioned, or incompatible with the camera, the recording may be shaky, tilted, or lost entirely. A secure mount protects both the camera and the rider.
The best type of mount depends on the view you want to capture.
| Mount type | Best for | Main advantage | Key precaution |
|---|---|---|---|
| Helmet chin mount | First-person riding footage | Natural rider’s-eye point of view | Must not affect visor movement, vision, or helmet fit |
| Helmet side mount | Dynamic POV footage | Can provide a unique angle | Carefully level the camera before riding |
| Handlebar clamp | Road-ahead recording | Fixed view; often easy to install | Must not interfere with steering, throttle, brakes, or cables |
| Windscreen/fairing mount | Touring and road ambience | More sheltered from wind | Check for vibration and clear visibility |
| Chest mount | Immersive riding footage | Can include tank, handlebars, and arms | Tighten straps to prevent bounce |
| Rear or frame mount | Group rides and rear-facing video | Captures riders behind you | Keep clear of wheels, chain, exhaust, and suspension |
| Magnetic mount | Quick setup when supported | Fast attachment and removal | Use only on secure, appropriate metal surfaces and add a tether |
For most riders, a chin-mounted or handlebar-mounted motorcycle action camera setup is the best starting point. A chin mount creates engaging POV footage, while a handlebar or fairing mount is useful for stable road recording and dash-cam-style use.
Choose short, rigid mounting hardware instead of long flexible extension arms. Long arms can amplify vibration and become unstable in high wind. Always inspect screws, buckles, clamps, and adhesive pads before a ride.
Use a Safety Tether
A safety tether is one of the smallest but most valuable accessories you can add. It provides a backup connection between the camera or mount and the helmet, motorcycle, chest harness, or another secure point.
If an adhesive pad loses grip, a clamp loosens, or a buckle fails, the tether can prevent the camera from flying into traffic, being lost on the road, or becoming a hazard to another rider.
Use a tether with every external motorcycle camera mount, especially for:
- Helmet-mounted cameras.
- Handlebar or mirror mounts.
- Rear-facing cameras.
- Cameras used at highway speed.
- Cameras attached to extension arms.
- Off-road, adventure, and rough-road riding.
- Rainy or cold conditions, where mounts can be exposed to additional stress.
The tether should be short enough that it cannot hang near the wheel, chain, exhaust, steering components, brake lever, clutch lever, or throttle. It should not interfere with your movement, helmet strap, visor, or motorcycle controls.
A tether is a backup—not a substitute for a properly installed mount. Always secure the main mount first, then attach the tether.
Add Vibration Damping
Motorcycle engines, suspension movement, rough roads, and handlebar resonance can make footage look shaky or create the “jello effect.” Even with electronic image stabilization, extreme vibration can be difficult for a camera to correct.
A vibration-damping mount or rubber-isolated adapter can help reduce the amount of vibration reaching the motorcycle action camera. This is especially useful for handlebar, frame, mirror, and windscreen mounts.
Vibration control is most important when:
- Riding a motorcycle with noticeable engine vibration.
- Using a handlebar-mounted camera.
- Riding on rough pavement, gravel, trails, or cobblestones.
- Recording at high resolution, where small shakes may be easier to notice.
- Using a heavy camera or battery accessory.
- Mounting close to the engine or on a rigid metal bracket.
Keep the camera as close as possible to the mounting point. A large camera positioned far from the motorcycle on an extension arm can create leverage and amplify shaking. A short mount paired with in-camera stabilization is generally the best solution.
Before a long trip, record a one-minute test on the type of road you expect to ride. Review the video on a larger screen if possible. If you see unstable footage, reduce the length of the mount, tighten hardware, reposition the camera, or add vibration damping.
Improve Audio With Wind Protection
Wind noise can overwhelm motorcycle footage, especially at highway speeds. A camera mounted on top of a helmet, on a mirror, or in open air may record loud rumble that hides voices, engine sound, and road ambience.
A windscreen, foam microphone cover, or furry wind muff can reduce direct airflow over the camera microphones. These accessories are particularly useful for helmet- and handlebar-mounted cameras.
A practical audio-improvement setup includes:
- A camera-specific foam microphone cover for moderate wind.
- A furry wind muff for stronger wind protection at higher speeds.
- In-camera wind-noise reduction, if the camera offers it.
- A sheltered mount position behind a windshield or fairing.
- An external microphone for spoken commentary.
A physical wind guard works because it disrupts the airflow before it reaches the microphone. This is more effective than relying only on editing software after recording. The SJCAM SJ30, for example, includes a detachable wind guard designed for high-speed activities, which attaches over the microphone area to reduce direct wind noise.
Remove foam and furry wind covers before using a waterproof housing or placing the camera in conditions where the material may become soaked. Wet fabric can hold moisture and may reduce audio quality.
Use an External Microphone for Narration
If you plan to speak while riding, record route commentary, or produce motorcycle vlogs, an external microphone can make a major difference. Built-in action-camera microphones are useful for ambient sound, but they are rarely ideal for understandable speech at speed.
A small wireless lavalier microphone can be placed inside the helmet near the cheek pad or chin curtain. This location keeps it close to your voice and protects it from direct airflow.
For better helmet-microphone audio:
- Use a compatible microphone system.
- Fit a small foam cover over the microphone capsule.
- Place the microphone slightly off-center from your mouth.
- Avoid placing it directly in front of your lips, which can create breath and popping sounds.
- Route cables beneath removable interior padding where possible.
- Keep wiring away from the visor mechanism, chin strap, retention system, and vents.
- Test the microphone at city and highway speeds before a long journey.
The SJCAM SJ30 supports the SJCAM M4 wireless microphone, allowing wireless audio recording without routing a cable between the camera and rider. The camera’s instruction manual describes pairing through its wireless microphone setting, and notes that the microphone can reconnect automatically after its first successful pairing.
If you are recording engine sound instead of narration, consider mounting the microphone in a sheltered area behind the fairing, near the instrument cluster, or beneath the seat. Keep it away from the exhaust outlet, extreme heat, moving parts, chains, wheels, brake components, and any location where a cable might snag.
Carry Spare Power and Charging Gear
Battery planning is essential for motorcycle action camera recording. Recording in 4K, using high frame rates, enabling stabilization, connecting to Wi-Fi, and keeping the display on can all reduce runtime.
For day rides and tours, carry:
- At least one fully charged spare battery, if your camera uses removable batteries.
- A compact power bank.
- A compatible USB charging cable.
- A protective battery case.
- A weather-protected charging solution for multi-day travel.
Do not attempt to manage charging cables or power banks while riding. Use external power only when the setup is secure and does not interfere with steering, controls, vision, or safe motorcycle operation.
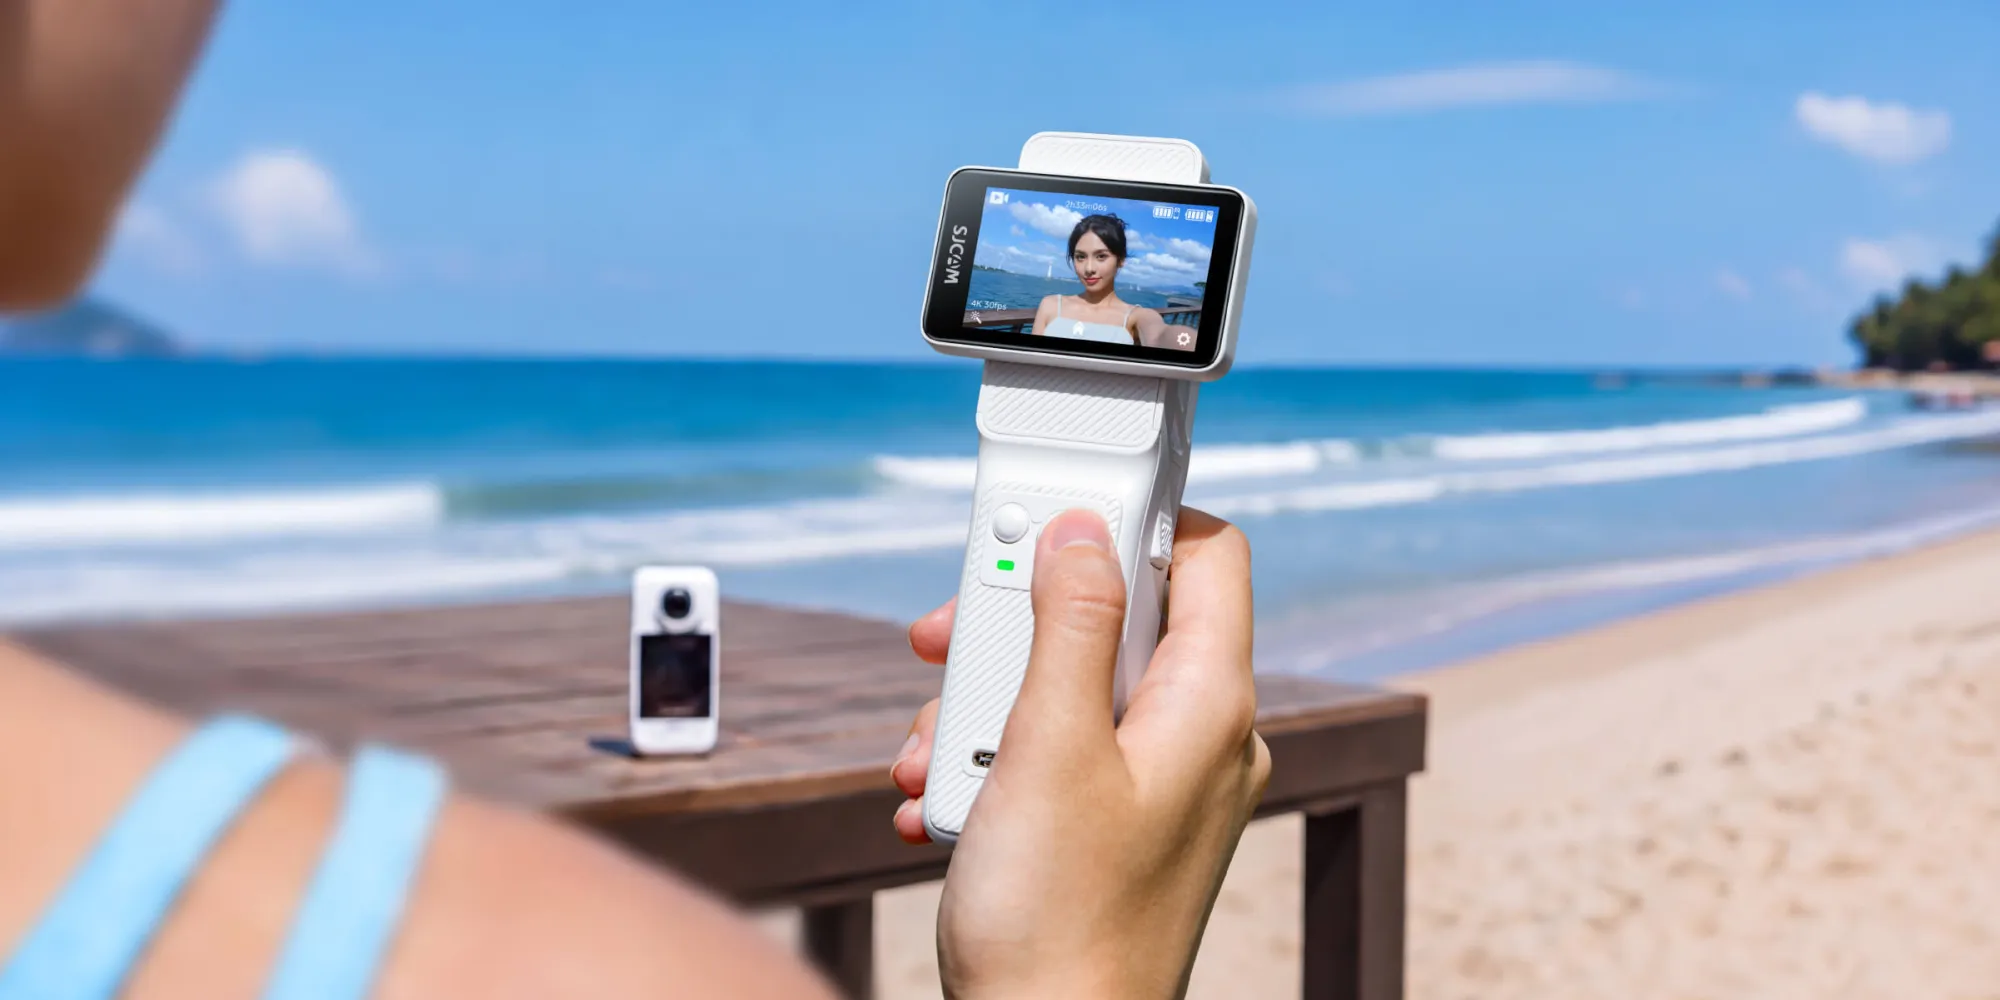
The SJCAM SJ30 has a built-in 2,000 mAh battery and can use an optional 4,200 mAh power handle for longer recording sessions. SJCAM lists up to 150 minutes of use at 4K/30 fps without the handle and up to 420 minutes with the handle under its specified test conditions. Actual runtime will vary with temperature, resolution, stabilization, screen use, and wireless features.
For road trips, record intentionally. Instead of capturing every minute of a six-hour ride, focus on departure, major viewpoints, memorable road sections, mountain passes, weather changes, roadside stops, and arrival. This produces more interesting edits while protecting battery life and memory capacity.
Choose a Fast, Reliable Memory Card
A high-quality microSD card is essential for stable recording. Slow, counterfeit, damaged, or low-capacity cards can cause interrupted recordings, file corruption, overheating warnings, or missing clips.
Choose a card that:
- Meets your camera manufacturer’s speed recommendations.
- Has enough capacity for your chosen resolution and trip duration.
- Comes from a reputable seller and recognized brand.
- Is formatted in the camera after backing up existing footage.
- Is carried in a waterproof protective case when traveling.
For 4K motorcycle footage, it is sensible to use multiple cards rather than depending on a single large card for an entire multi-day trip. This reduces the impact of card failure and makes footage organization easier.
Label cards by day or route. For example, “Day 1 Mountain Route,” “Day 2 Coast Road,” and “Day 3 Return Ride” can make editing much simpler after a trip.
Protect the Camera From Weather
Rain, mud, dust, bugs, road spray, and temperature changes can affect both the camera and the final footage. Weatherproofing accessories help preserve video quality and prevent damage.
Useful protection accessories include:
- A waterproof housing for heavy rain and wet-weather rides.
- A protective frame or camera cage for everyday use.
- A lens protector or replaceable lens cover.
- A microfiber cloth stored in a clean pouch.
- Anti-fog inserts for enclosed waterproof housings.
- A small dry bag or padded case for transport.
A waterproof housing is useful for heavy rain, off-road riding, river crossings, muddy trails, and adventure travel. However, it can affect built-in microphone audio. If audio quality matters, use the housing only when weather protection is necessary, then rely on an external mic or record natural sound separately.
The SJCAM SJ30 is rated waterproof to 5 meters without a case for splashes, rain, and shallow-water use. Its dedicated waterproof case extends protection to 30 meters, provided the seal is inspected and closed correctly before exposure to water.
Always clean water drops, bugs, dust, and fingerprints from the lens at fuel stops or scenic pauses. A small lens smear can ruin an otherwise excellent clip.
Small Accessories That Matter
Several small items make a motorcycle action camera setup more dependable:
- A microfiber cloth for lens cleaning.
- A compact protective case for the camera, mounts, batteries, and cards.
- Spare thumb screws, buckles, and adhesive mounts.
- Anti-fog inserts for waterproof housings.
- A mini tripod for stationary roadside shots.
- A short extension arm for controlled alternative angles.
- A magnetic mount or quick-release adapter where it is safely compatible.
- A phone mount or camera app for checking framing while stopped.
These accessories are useful because they reduce avoidable problems. A spare buckle can save a ride if one breaks. A microfiber cloth can save a scenic clip. A small tripod can turn a basic road trip into a more polished travel video by adding a few stationary shots of the motorcycle, rider, and landscape.
Safe Setup Checklist
Before every ride, complete this quick inspection:
- Confirm that the camera is charged and the memory card has free space.
- Tighten all mount screws, straps, and clamps.
- Attach a safety tether.
- Ensure the camera does not block your view, mirrors, lights, controls, gauges, or steering movement.
- Enable stabilization and wind-noise reduction if available.
- Check that the lens is clean.
- Confirm waterproof doors, port covers, and housing seals are properly closed when needed.
- Record a short test clip and verify the angle while stationary.
- Make all adjustments before moving the motorcycle.
Recommended Camera: SJCAM SJ30
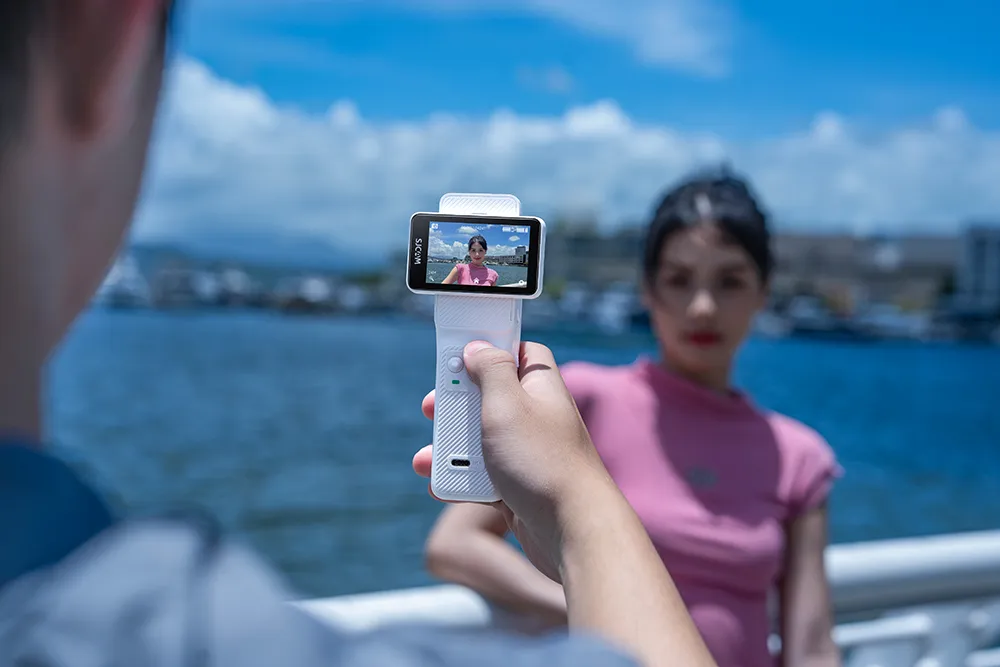
For riders seeking a versatile motorcycle action camera that works well with the accessories above, the SJCAM SJ30 action camera is a strong recommendation. It offers 4K video at up to 60 fps, six-axis stabilization, a 140-degree field of view, and a flip touchscreen that can make it easier to check framing before a ride. Its dual-lens design combines a daylight sensor with a starlight sensor, providing more flexibility for daytime touring and lower-light travel footage.
The SJ30 is particularly suitable for motorcycle use because it supports the SJCAM M4 wireless microphone, includes a detachable wind guard for high-speed wind reduction, and can be paired with a 4,200 mAh power handle for extended recording. Its built-in 2,000 mAh battery, 5-meter body waterproofing, and optional 30-meter waterproof case provide useful flexibility for road trips, rain riding, and adventure travel.
For a dependable setup, combine the SJCAM SJ30 with a short, vibration-damped handlebar or fairing mount, a helmet chin mount for POV footage, a safety tether, the detachable wind guard, a compatible wireless microphone for narration, a fast microSD card, and spare power. This combination helps riders create smoother, safer, clearer, and more reliable motorcycle footage on daily rides and long-distance journeys.
























Sign in to leave a comment.