

Ready-to-assemble cabinets can create a clean, built-in kitchen, but assembling the cabinet boxes is only part of the job. The finishing details determine whether the completed installation looks intentional or unfinished.
Toe kicks, end panels, fillers, and related trim pieces cover exposed construction areas and help separate a professional-looking kitchen from a row of visible cabinet boxes.
If you are comparing rta kitchen cabinets online, plan for these finishing components at the same time you plan cabinet sizes and layout. Express Kitchen offers ready-to-assemble options in different door styles, finishes, and framed or frameless configurations, so the exact finishing requirements can vary by design.

Why RTA Cabinets Need Finishing Parts
A cabinet box is designed primarily to provide structure and storage. Certain sides, gaps, and installation areas are not necessarily intended to remain visible once the kitchen is complete.
Cabinet finishing parts solve those visual and functional gaps. An RTA toe kick covers the recessed area beneath base cabinets. An RTA end panel creates a finished surface where the side of a cabinet is exposed. Fillers can close gaps between cabinets and walls, while additional trim may help complete transitions.
These pieces matter because kitchens are viewed as complete runs rather than individual boxes. A perfectly aligned cabinet can still look incomplete if an exposed side does not match the doors or an unfinished toe space remains visible along the floor.
Planning these parts before installation also reduces the chance of discovering late in the project that a necessary panel or trim piece was never ordered.
What Does an RTA Toe Kick Do?
Base cabinets usually sit above the floor with a recessed space along the front bottom edge. This recess gives your feet somewhere to go while you stand at the countertop.
The RTA toe kick is the finished strip installed across that lower area. Rather than treating every cabinet as a separate unit, a continuous toe kick visually connects neighboring base cabinets into one consistent run.
Toe kicks also hide installation details that should not remain visible, including cabinet legs, shims, gaps, or unfinished lower cabinet edges depending on the cabinet system.
For a clean result, consider the entire base cabinet run before cutting individual sections. Long, continuous pieces generally create fewer joints. Where joints are unavoidable, placing them in less noticeable locations can produce a cleaner appearance.
Floor conditions matter as well. If the floor is uneven, the toe kick may require careful trimming or scribing so its lower edge follows the floor without leaving obvious gaps.
Where RTA End Panels Belong
An RTA end panel is typically used where the side of a cabinet will remain visible after installation.
Consider a row of base cabinets running from one wall toward an open doorway. The cabinet against the wall may not need a decorative outer side because nobody will see it. The final cabinet facing the doorway is different. Its exposed side becomes part of the kitchen's visible finish.
Common locations for end panels include:
- The exposed end of a base cabinet run
- The side of a wall cabinet that faces an open room
- Refrigerator or appliance surrounds
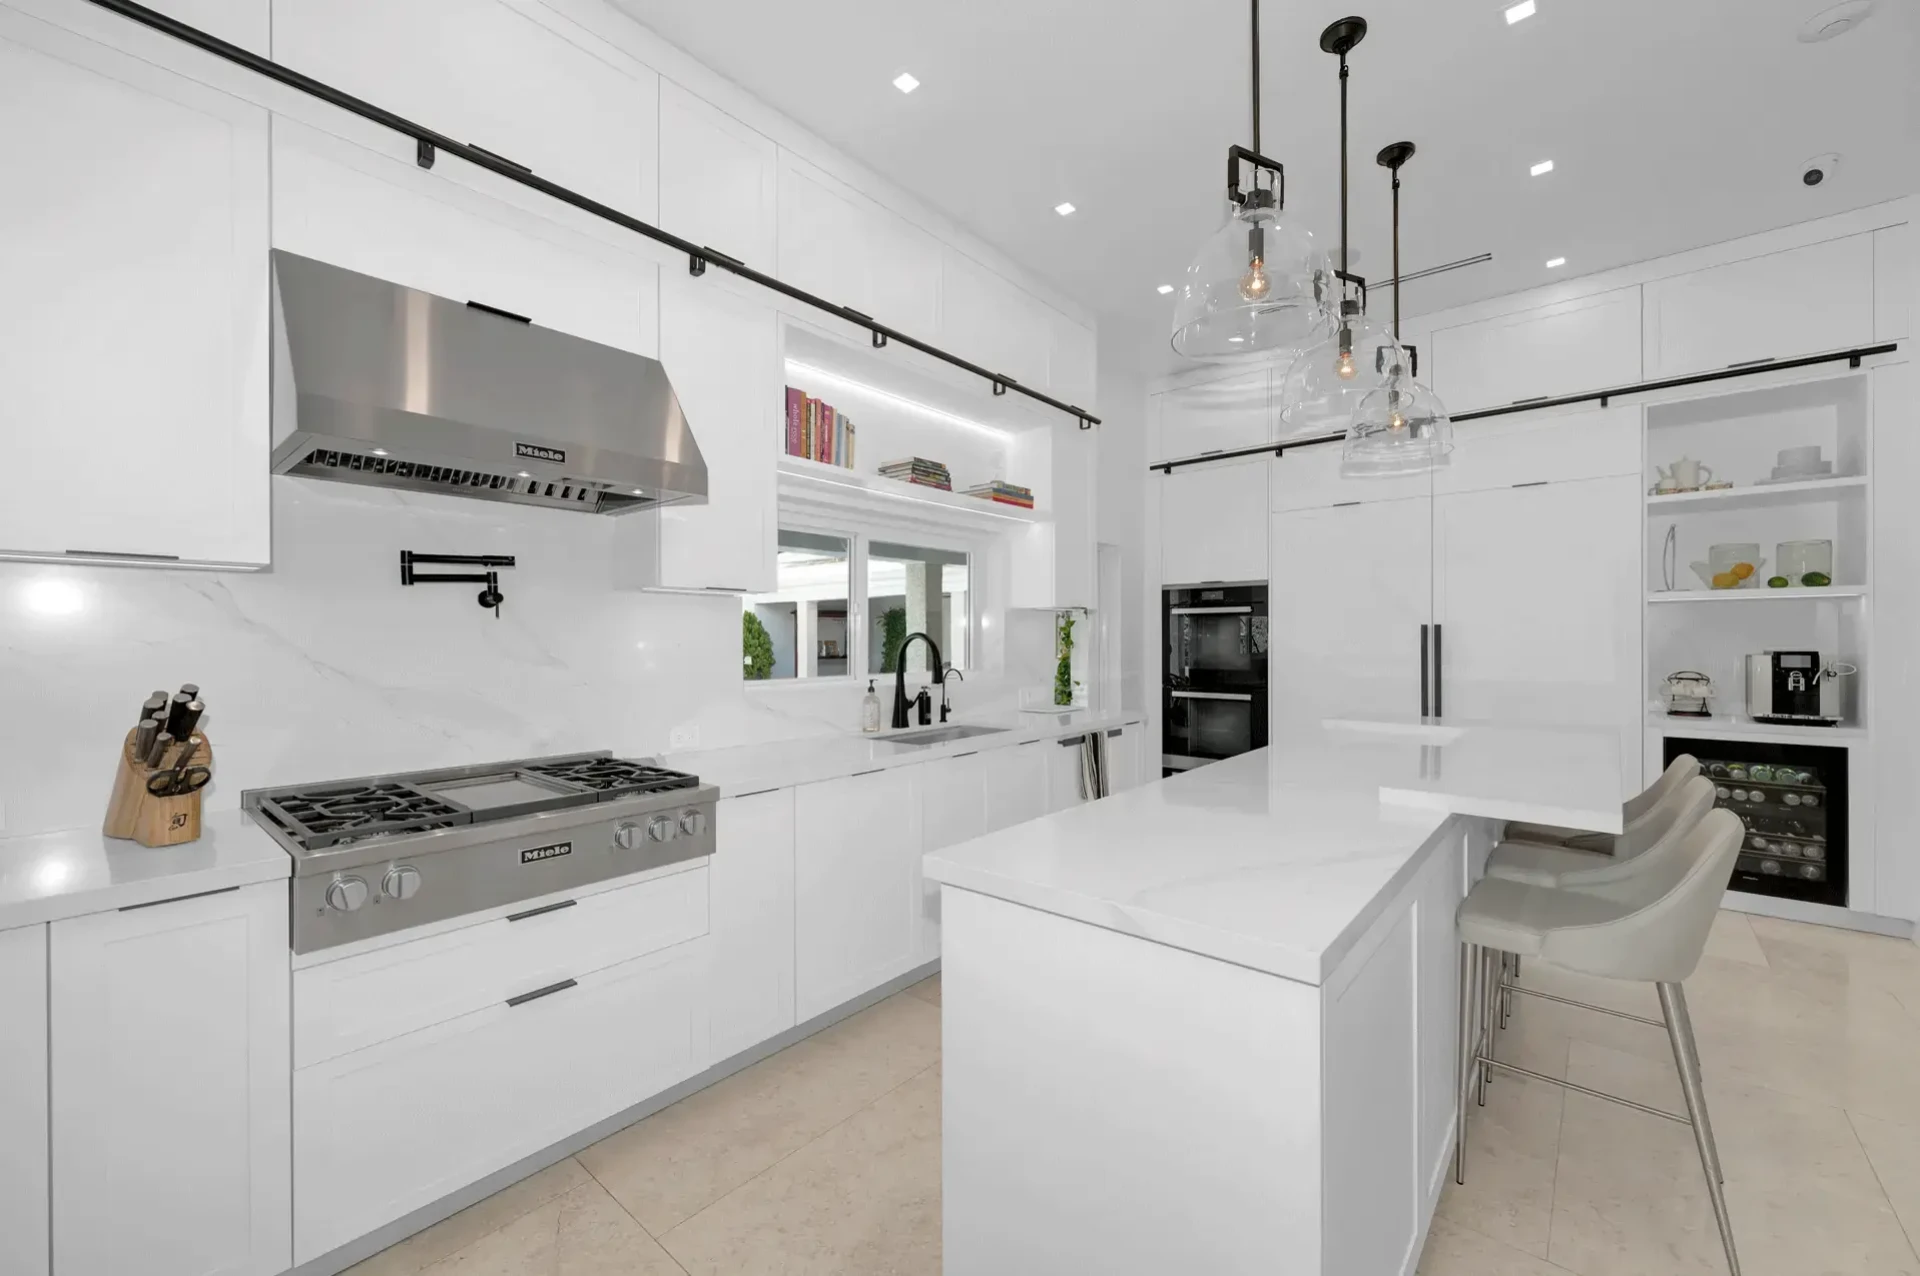
- Kitchen islands and peninsulas
- Tall pantry cabinet ends
- Cabinet sides visible from adjoining living spaces
An end panel can make the exposed surface coordinate with the cabinet doors and surrounding finishes. Depending on the cabinet line, panels may be flat finished pieces or decorative panels designed to complement the door style.
Do not assume every exposed cabinet side automatically has the appearance you want. Check what surfaces are supplied with the specific cabinet line before ordering.
Plan Panels Before Finalizing Cabinet Measurements
End panels have thickness, and that thickness occupies space.
This sounds minor until a kitchen layout has been planned down to a fraction of an inch. Adding panels after cabinet dimensions have already consumed the available wall length can cause problems around appliances, fillers, doors, or adjacent walls.
Suppose a cabinet run ends beside a refrigerator. The layout needs to account for the cabinet, any required end panel or refrigerator panel, appliance width, installation clearances, and surrounding trim. Ignoring one component can change the final fit.
This is particularly important in narrow kitchens where there is little extra space to absorb measurement errors.
Before ordering unassembled kitchen cabinets, mark every exposed cabinet side on the plan. Then determine whether each location requires a finished side, decorative end panel, filler, or another trim component.
Toe Kicks, End Panels, and Fillers Have Different Jobs
These cabinet finishing parts are sometimes treated as interchangeable trim, but each solves a different installation problem.
A toe kick finishes the recessed lower section of base cabinets. An end panel covers or decorates a visible cabinet side. A filler closes intentional space between a cabinet and another surface, often a wall or appliance.
For example, a cabinet installed tightly against a wall may create problems if the door or drawer needs additional clearance to operate without contacting the wall. A properly planned filler can create necessary separation while producing a finished transition.
End panels should not automatically be used to solve dimensional gaps, and fillers should not be treated as substitutes for decorative exposed sides. Knowing the function of each component makes ordering more accurate.
Finish Islands and Peninsulas From Every Viewing Angle
Wall-mounted cabinet runs are usually viewed mainly from the front. Islands and peninsulas are different because several sides may remain visible.
That makes finish planning especially important.
An island assembled from ready to assemble kitchen cabinets may require finished end panels on both ends plus treatment for the back. Depending on its configuration, the rear may use matching panels or another decorative solution rather than exposing cabinet backs.
Countertop overhangs also affect what remains visible. A panel that looks properly proportioned before countertop installation may appear different once the countertop extends beyond the cabinet.
Think about the island as a piece of finished furniture rather than simply a collection of storage boxes. Inspect the front, back, ends, corners, and transitions before determining which panels and trim pieces are required.
Install the Cabinet Boxes Before Making Final Trim Cuts
Accurate planning is essential, but final trim dimensions are best verified against the actual installed cabinets.
Walls are rarely perfectly straight. Floors can rise or fall across a cabinet run. Corners may not be exactly square. Small differences can become visible when long finishing pieces meet those surfaces.
Install, level, and secure the cabinet boxes first. Then verify the dimensions for toe kicks and other field-fitted trim before making final cuts.
End panels that affect the layout may need to be incorporated earlier in the installation sequence, so follow the requirements for the particular cabinet system.
This distinction matters: plan and order finishing materials early, but avoid assuming every final cut can be determined solely from the original room measurements.
Watch the Installation Sequence
A good cabinet installation follows a deliberate order.
First, establish the cabinet layout and reference lines. Assemble the RTA boxes correctly and confirm they are square. Position and level the cabinets, then fasten neighboring boxes and secure the run according to the installation requirements.
After the main structure is stable, finish visible areas with the appropriate panels, fillers, toe kicks, and moldings.
Rushing to install decorative pieces before the cabinet run is properly aligned can create uneven joints or force pieces to be removed later.
Also protect finished surfaces during cutting and installation. Decorative panels and trim are among the most visible parts of the completed kitchen, so chipped edges or poorly positioned fasteners can be difficult to disguise.
Order Finishing Parts With the Cabinets
One of the easiest mistakes in an RTA project is creating a cabinet list that includes every box but overlooks the pieces required to finish those boxes.
Review the kitchen elevation rather than relying only on a floor plan. Elevations make exposed ends, appliance surrounds, wall cabinet sides, and other visible surfaces easier to identify.
Create a finishing-parts checklist that covers toe kicks, end panels, fillers, moldings, and any island or peninsula panels required by the design. Confirm the exact specifications for the chosen cabinet line before purchasing because components and construction can differ.
This is also a good reason to double-check an order before assembly begins. Some trim and accessory items can have different return restrictions than unopened cabinet boxes, so confirming quantities and dimensions early can prevent expensive ordering mistakes. Express Kitchens, for example, lists moldings, fillers, panels, and other cabinet trim among items that cannot be returned.
A Finished Kitchen Starts With the Small Details
RTA cabinets do not look complete simply because every cabinet box is assembled and attached to the wall. The final appearance depends heavily on how exposed sides, floor-level recesses, wall gaps, and cabinet transitions are handled.
Plan the RTA toe kick, RTA end panel locations, fillers, and other cabinet finishing parts while developing the cabinet layout, not after installation. Account for their dimensions where necessary, but verify field-cut pieces against the installed kitchen. With those details handled carefully, unassembled kitchen cabinets can become a coordinated installation that looks intentionally designed from the floor to the final exposed end.






















Sign in to leave a comment.