
Ever made crumbed chicken only to watch half the coating fall off in the frying pan? Or perhaps the breadcrumbs turned soggy instead of crispy?
Making gluten-free crumbed chicken at home can be straightforward once you understand how to prepare the chicken and apply the coating properly. With a few simple techniques, you can make golden, crunchy chicken schnitzels for an easy family dinner.
Why Does Gluten-Free Chicken Coating Fall Off?
A common problem with homemade crumbed chicken is poor adhesion. This usually happens when the chicken is too wet, the flour layer is too thick or the breadcrumbs haven't been pressed firmly into place.
Cooking the chicken before the coating has settled can also cause it to separate. The solution is a simple three-stage process using gluten-free plain flour, beaten egg and gluten-free breadcrumbs.
Ingredients for Gluten-Free Crumbed Chicken
To make approximately four servings, you'll need:
- 2 large chicken breasts, sliced into four thin pieces.
- ½ cup gluten-free plain flour.
- 2 eggs, lightly beaten.
- 1½ cups gluten-free breadcrumbs.
- ½ teaspoon paprika.
- Salt and pepper to taste.
- Cooking oil for frying.
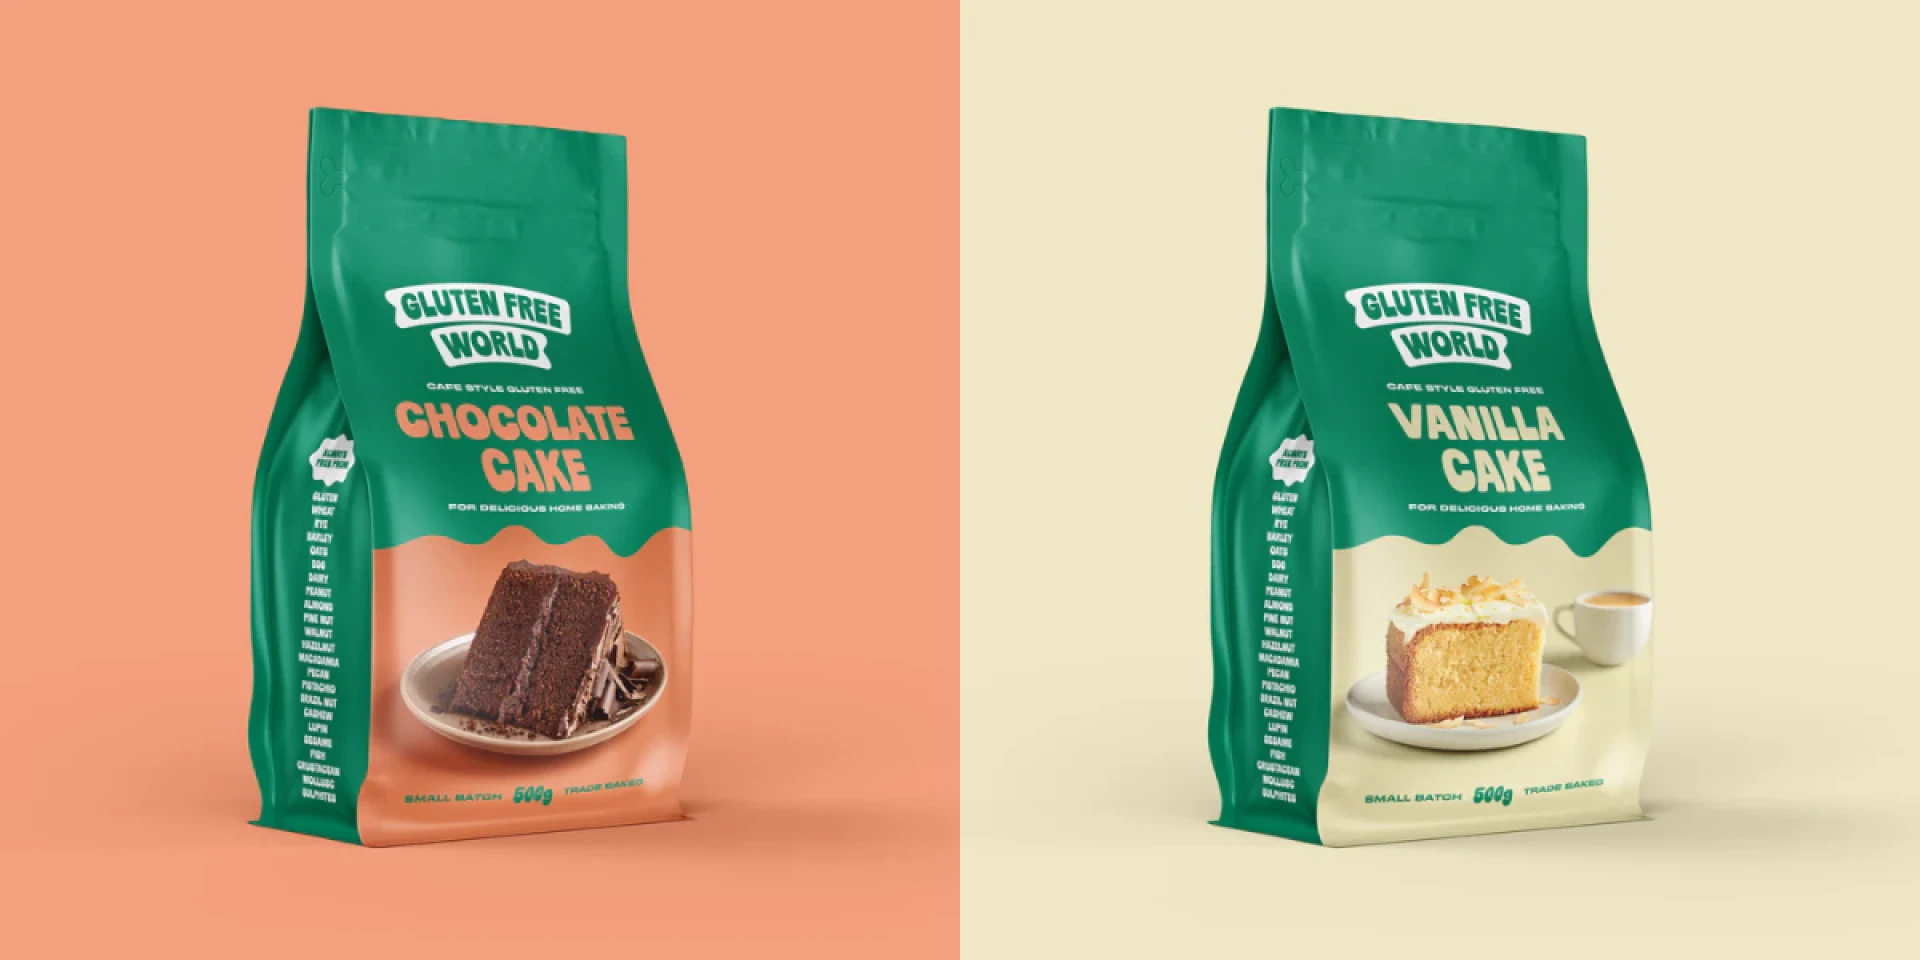
For the flour coating, you can use Gluten Free World Plain Flour 1 kg. Its plain flour is suitable for the initial dusting stage before adding egg and breadcrumbs.
How to Make Crispy Gluten-Free Crumbed Chicken
Follow these simple steps for a coating that stays in place.
- Prepare the chicken: Place each piece between sheets of baking paper and gently flatten to an even thickness.
- Pat the chicken dry: Use a paper towel to remove excess surface moisture.
- Coat with flour: Lightly dust each piece in seasoned gluten-free flour, shaking off the excess.
- Dip into egg: Coat thoroughly with beaten egg, allowing any excess to drip away.
- Add breadcrumbs: Press the breadcrumbs firmly onto both sides.
- Rest before cooking: Refrigerate the coated chicken for 15–20 minutes to help the crumb layer settle.
This three-stage method creates a better gluten-free chicken coating and reduces the chances of breadcrumbs separating during cooking.
Pan-Frying, Oven-Baking or Air-Frying?
Each cooking method produces a slightly different texture. Pan-frying: Heat a shallow layer of oil over medium heat. Cook until golden on both sides, turning carefully. Avoid overcrowding the pan. Oven-baking: Place the chicken on a lightly oiled baking tray. Bake at approximately 200°C, turning partway through cooking.
Air-frying: Lightly spray the coated chicken with oil. Cook at around 190°C, turning halfway through for more even browning. Whichever method you choose, chicken must reach an internal temperature of at least 75°C in the thickest part, as recommended by Food Standards Australia New Zealand. Check using a food thermometer.
Troubleshooting Common Coating Problems
If your crispy gluten-free chicken isn't turning out as expected, check these common issues.
- Breadcrumbs falling off: Dry the chicken thoroughly and allow the coating to rest before cooking.
- Uneven browning: Keep the chicken pieces similar in thickness and avoid overcrowding.
- Soggy coating: Make sure the cooking surface is properly heated and avoid using excessive oil spray.
- Burnt crumbs: Reduce the cooking temperature and check that the chicken cooks through safely.
For a classic gluten-free chicken schnitzel, serve with lemon wedges, mashed potatoes or a fresh garden salad.
Conclusion
Successful gluten-free crumbed chicken starts with dry chicken, a properly layered coating and careful temperature control. Pressing the breadcrumbs firmly into place and allowing the coating to rest can make a noticeable difference to the finished texture. Make your next gluten-free chicken schnitzel with quality baking ingredients from Gluten Free World. Contact us for product guidance.

















Sign in to leave a comment.