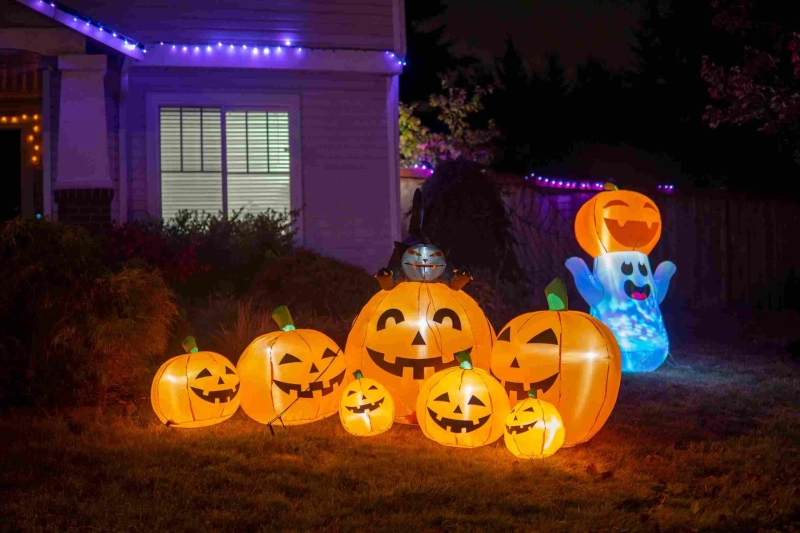
If you want to give your home a scary yet cool look to your home, then creating unique Halloween special effects & lighting can make it happen for you. But how can you create these effects? Here are the steps on how to create a 3D Halloween projection mapping display:
Choose your surface:
The first step is to choose the surface, like your house, a tree, or even a rock that you want to project your image onto.
Measure your surface:
Once you have chosen your surface, you need to measure it to calculate the size of the image that you need.
Create your image:
You can create your image using a variety of software programs, such as Photoshop or After Effects. You can find pre-made Halloween images online or create your own.
Project your image:
Once you have created your image, you need to project it onto your surface. You can use a projector that is specifically designed for projection mapping, or you can use a standard projector.
Adjust your image:
Once you have projected your image, you may need to adjust it so that it fits the surface properly. You can do this by zooming in or out, or by moving the projector closer or farther away.
Add special effects:
You can add special effects to your projection mapping display to make it more spooky. This could include things like fog, lasers, or sound effects.
If you are looking for Halloween lighting Effects to give your 3D projection mapping display special effects, check out the Glendale Halloween store today!


