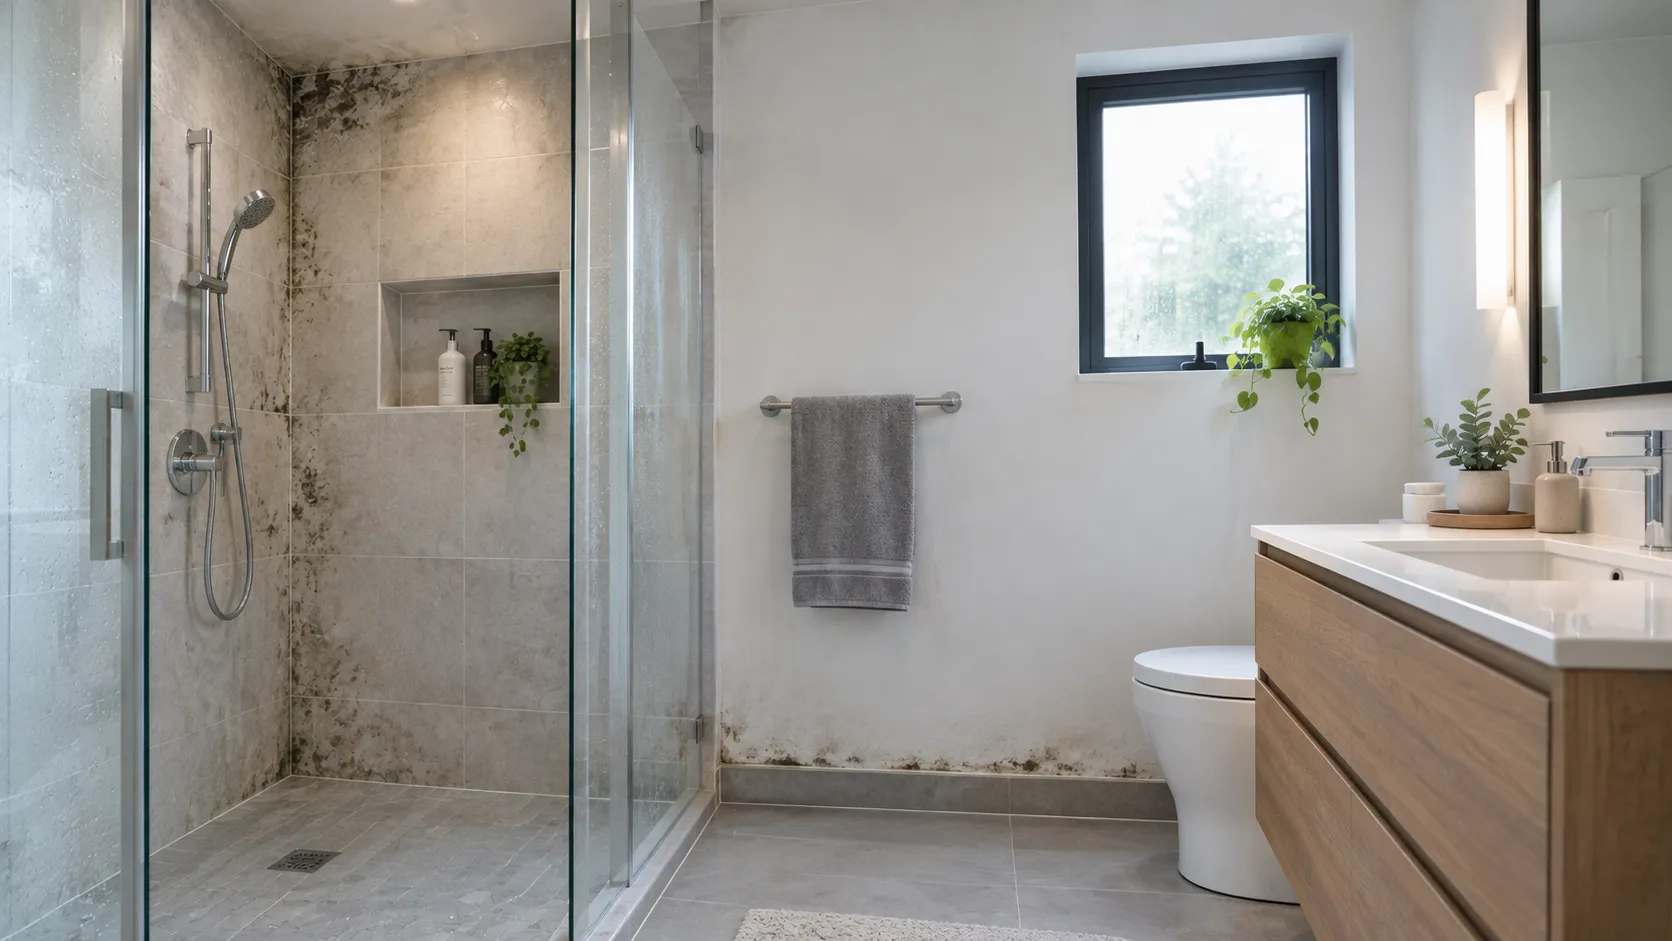

A freshly finished bathroom should feel like a reward - new tile, a sleek vanity, better lighting, and a layout that finally works for your family. But that reward can turn into a headache fast if moisture finds its way into the wrong places. Every bathroom renovation Niagara Falls homeowners invest in deserves to last for years without musty smells, peeling paint, or hidden mold behind the walls.
The good news? Mold and moisture problems after a renovation are almost always preventable. Most issues trace back to a handful of avoidable mistakes in ventilation, sealing, or material choices. In this guide, we'll walk through exactly what causes moisture damage after a remodel and the practical steps you can take to stop it before it starts.
Why Bathrooms Are So Prone to Moisture Problems
Bathrooms combine three ingredients mold loves: warmth, humidity, and limited airflow. Every shower or bath releases water vapor into the air, and if that moisture has nowhere to go, it settles on cool surfaces - grout lines, drywall, the underside of cabinets, and behind tile. Over weeks and months, that trapped moisture becomes the perfect breeding ground for mold spores that are already present in almost every home.
A renovation is actually the best time to get ahead of this problem, because walls and plumbing are exposed and materials are new. Getting the fundamentals right now saves you from tearing everything out again in a few years.
1. Install (or Upgrade) a Proper Exhaust Fan
An underpowered or poorly placed exhaust fan is the single biggest cause of post-renovation moisture problems. Your fan should be sized correctly for your bathroom's square footage and vented directly outside - never into an attic or crawl space, where moist air just relocates and causes damage elsewhere.
Practical tips:
- Run the fan during every shower and for at least 20–30 minutes afterward.
- Consider a humidity-sensing fan that switches on automatically when moisture levels rise.
- Have the fan inspected annually to make sure the ductwork isn't blocked or disconnected.
2. Choose Moisture-Resistant Materials From the Start
The materials behind your walls matter just as much as the finishes you see. Standard drywall absorbs and holds moisture, which is why it should never be used in wet zones.
Look for:
- Cement board or moisture-resistant backer board behind tiled shower and tub surrounds.
- Mold-resistant drywall (often green or purple board) for the rest of the bathroom.
- Porcelain or ceramic tile rather than porous natural stone in high-splash areas, or make sure stone is properly sealed.
This is one of the details a qualified bathroom renovation contractor Niagara Falls homeowners trust will always confirm before closing up the walls because once tile goes on top, these materials are hidden for good.
3. Seal Everything the Right Way
Grout and caulk are your bathroom's first line of defense, and they're also the most common failure point. Grout is porous and needs a quality sealant, especially in shower floors and corners where water pools. Caulk should be used - not grout - at every transition point: where tile meets the tub, where the vanity meets the wall, and around any fixture penetrating the surface.
A few rules of thumb:
- Reseal grout lines every 12–18 months.
- Replace caulk at the first sign of cracking, gaps, or discoloration.
- Never paint over caulk lines with standard interior paint; use a bath-rated product if painting is necessary.
4. Get the Slope and Drainage Right
Shower floors and tub surrounds need a slight, consistent slope toward the drain - typically about a quarter inch per foot. If the slope is off, even slightly, water pools instead of draining, soaking into grout and subfloor over time. This is a detail that's easy to overlook during a fast renovation but extremely costly to fix afterward, since it usually means removing the entire shower pan.
During any bathroom installation Niagara Falls project, ask your contractor to confirm the pre-slope and waterproofing membrane were installed correctly before tile goes down - not after.
5. Waterproof Behind the Tile, Not Just On Top
Tile itself is not waterproof, it's the membrane behind it that keeps water out of your walls and floor structure. A proper waterproofing system (sheet membrane or liquid-applied membrane) should cover the entire wet area, including seams, corners, and any niche or bench built into the shower.
Skipping this step is one of the most expensive mistakes a homeowner can make, since problems often stay hidden until mold or rot has already spread through the wall cavity.
6. Manage Humidity Beyond the Shower
Moisture control doesn't stop once you step out of the shower. A few simple habits go a long way:
- Wipe down glass shower doors and tile after each use.
- Leave the bathroom door open when not in use to encourage airflow.
- Use a squeegee on shower walls to cut down on standing water.
- Keep a small dehumidifier running in bathrooms with limited natural ventilation.
7. Inspect New Plumbing Connections
New fixtures mean new plumbing connections, and even a minor leak behind a wall can cause significant hidden damage. Ask your contractor to pressure-test all connections before the walls are closed and to do a final walkthrough checking under sinks, behind the toilet, and around the tub or shower valve for any signs of moisture.
8. Plan for Long-Term Maintenance, Not Just the Renovation Day
A renovation is the beginning of your bathroom's lifespan, not the end of the project. Set a simple seasonal routine: check caulk and grout twice a year, test that your exhaust fan is still pulling air properly, and look for any early signs of discoloration near baseboards or under the vanity. Catching a small issue early is far cheaper and far less disruptive - than dealing with mold remediation later.
Choosing Materials for Long-Term Protection
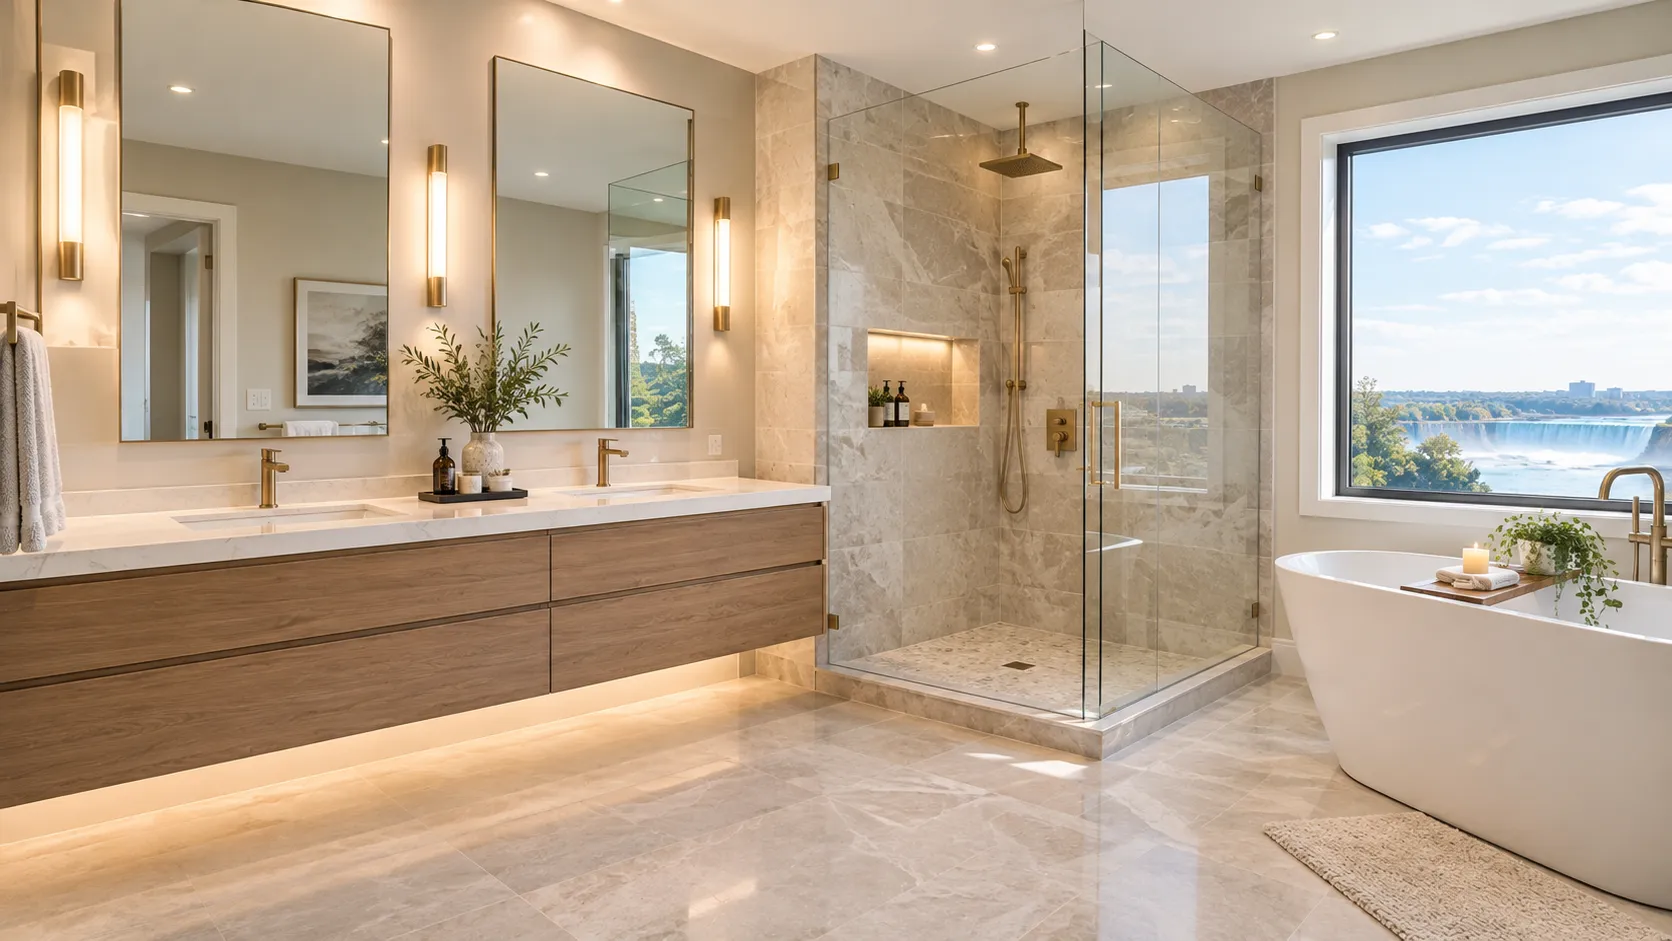
If you're planning a higher-end remodel, it's worth knowing that premium materials often come with better moisture resistance built in. Luxury bathroom renovations Niagara Falls Ontario homeowners are increasingly choosing - think large-format porcelain slabs, frameless glass with proper drainage channels, and engineered stone vanities - tend to hold up better against humidity than budget alternatives, simply because the materials themselves are denser and less porous.
Final Thoughts
Mold and moisture damage aren't inevitable outcomes of bathroom ownership - they're almost always the result of a shortcut somewhere in the ventilation, waterproofing, or sealing process. When these details are handled correctly from the start, a bathroom renovation Niagara Falls homeowners complete today can stay dry, healthy, and beautiful for well over a decade.
At Amar Royal Renovations, we build every project around these fundamentals, because the parts of a bathroom you never see are exactly what determine how well it lasts. If you're planning a remodel and want a team that treats waterproofing and ventilation as seriously as the finishes, reach out to Amar Royal Renovations to talk through your project.























Sign in to leave a comment.