

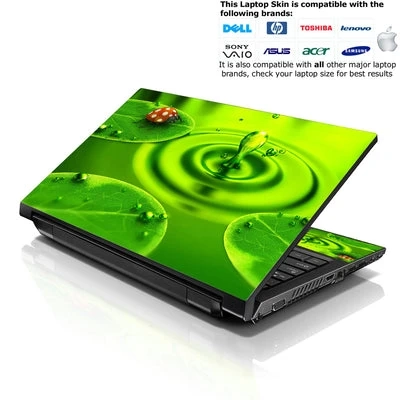
laptop skins are a great way to personalize your device while protecting it from scratches and wear. However, applying and removing laptop skins can be tricky and potentially damage your laptop if not done correctly. Here are some tips on using and removing laptop skins without harming your device.
Applying Laptop Skins
Step 1: Clean the Surface of Your Laptop Before applying a skins for laptops, clean your device's surface. Use a microfiber cloth and rubbing alcohol to remove dust, dirt, or residue.
Step 2: Align the Skin Carefully align the laptop skin with your device. Start at one corner of the laptop and gradually work across the device. Avoid stretching the skin as you apply it to prevent misalignment.
Step 3: Smooth Out Air Bubbles Use a credit card or squeegee to smooth out any air bubbles or wrinkles in the laptop skin. Start at the center and work your way to the edges.
Step 4: Trim the Excess Skin Use a sharp pair of scissors or a utility knife to trim any excess skin around the edges of your laptop.
Removing Laptop Skins
Step 1: Heat the Skin. Use a hair dryer or heat gun to warm up the laptop covers skins. This will loosen the adhesive and make removing your device easier without damaging.
Step 2: Peel Off the Skin Slowly and gently peel off the laptop skin starting at one corner. Use a plastic card or your fingernail to help lift the skin off the device.
Step 3: Remove Any Remaining Adhesive. If there is any remaining adhesive on your laptop after removing the skin, use rubbing alcohol to remove it. Be sure to wipe away all residue before applying a new laptop skin.
Tips for Applying and Removing Laptop Skins
Avoid applying laptop skins to dirty or greasy surfaces.Do not remove the laptop skin forcefully, as this can damage your device.If you have trouble drawing a laptop skin, try heating it again with a hair dryer or heat gun.In conclusion, laptop skins are a great way to customize and protect your device. By following these tips on applying and removing laptop skins without damaging your laptop, you can enjoy the benefits of laptop skins while keeping your device in pristine condition.