Adjusting the desktop features in the best possible way makes your device to perform well as you like to see. To do this, you have to calibrate your device with software and hardware tools. Today, the computer is used widely across the globe for official and general works. If the user wants to have their system runs as they desire, then they must calibrate their system monitor. It helps them to view all their documents, editing, and creating presentations properly. Calibration adjusts all the software as well as the hardware system of the device to give you the best results.
Benefits of Calibrating Window Screen
To calibrate a monitor, users must have a professional version installed on their device. It’s a hassle-free task that enhances the quality and the appearance of your monitor. It helps in removing eye strains with various updated editions of display technologies such as HDR (High Dynamic Range”, curved monitors, 4K UHD display resolution, and much more. These screens provide a soothing display and picture resolution that reduces the harmful rays coming out from the screen.
Before proceeding forward, you should know the specs and limitations of your device. Follow these steps to know how to calibrate your device:
- First and foremost, Switch On your device screen half-hour prior before performing calibrate operation. It helps your screen to warm up completely to the normal computing state.
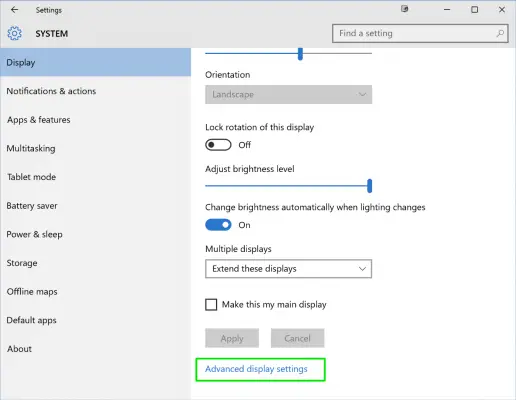
- Now, set up your screen resolution to the native form (default display resolution.)
- Ensure that your system is in a room where the ambient lighting is available. Make sure that your room doesn’t turn dark at any stage.
- Now, be friendly to the screen resolution control system of your device. It might locate on your monitor or somewhere on your keyboard. It can also be situated inside the control panel of the particular OS.
Using Built-in Tools to Calibrate Desktop on Windows
Windows OS holds with built-in tools to calibrate your screen running on Windows 10, but these features are slightly limited and differ from one display edition to another.
Follow these instructions if you wish to use a built-in screen calibration tool on Windows:
- First and foremost, enter the keyword “Color Calibration” in the search bar of Windows and tap enter to proceed.
Note: If you are using previous versions of OS, then this tool comes as a separate utility feature located under the display segment of your Control Panel. This Control Panel is located just under the section of “Personalization and Appearance.”
- Next, after getting into the calibration tool feature of your device, abide by the upcoming on-display indications that will help you in selecting various options such as color adjustments, color balance set-up, screen gamma, etc.
- After that, make adjustments as per your choice.
- When the Calibration set-up finishes, ensure to select the option of Current Calibration. In case you are not comfortable with the selection, you can return to the previous calibration set up the panel.
- Now, the updated calibration set up will be saved in the form of the “.ics” or “Color Calibration” file. It will be saved under the section of “Color Management” as ICC (International Color Consortium).
- If you wish to search for the available color calibration profile, then insert “Color Management” into the search panel and hit the enter key.
- After that, select the most relevant option there.
Note: Select your monitor for the ICC profile. It will show you all the details regarding the color calibration of your device.
Using MacOS built-in tools to Calibrate Mac Screen
In Mac Devices, the Screen Calibrator feature is located inside the System Preferences section of the “Display” tab. The Display button is situated in the Color section.
- In case, you are unable to search the feature, then enter “calibrate” into the Spotlight section for scanning. It will scan all your systems and provides you with the best possible results. Then the result will show an option to launch the feature through the section of “System Preferences.”
- After that, abide by the onscreen directions for calibrating the Mac screen. Mac will provide a series of instructions for the same.
- You can select various options between admin access, name, color adjustment, and white point.
- Once you have set-up all the adjustments related to your screen, then the newly updated color profiles came into the display.
- In case you are unable to create your desired adjustment, then hit the “New Profile” option.
- Next, select the “Open Profile” option. This action will launch a fresh page with all the features related to color profile and adjustment. You can select one to fetch additional information about the same.
- If you wish to adjust your monitor’s display color and enhancements via online mode, then there are a number of calibration tools available online for your support. They provide various features for customized and convenient calibration.
Emily Johnson is a Microsoft product expert and has been working in the technology industry since 2002. As a technical expert, Emily has written technical blogs, manuals, white papers, and reviews for many websites such as office.com/setup.
Source: https://emilyjohnso731.wordpress.com/2020/03/02/how-to-calibrate-your-monitor-on-windows-10/


