rceThe crackle and pop of a vintage record spinning on a turntable – it's a music lover's sweet nectar. But that sonic magic relies on a humble, often overlooked hero: the needle. Keeping your needle in tip-top shape is crucial for preserving your precious vinyl collection and getting the best possible sound. So, when that iconic "skip-skip-skip" replaces the smooth melody, it's time to face the inevitable: needle replacement.
But fear not, vinyl warriors! Changing your needle isn't rocket science. With a little guidance and basic tools, you'll be back to grooving in no time. So, grab your favorite record, a clean workspace, and let's embark on this needle-changing adventure!
Step 1: Know Your Turntable
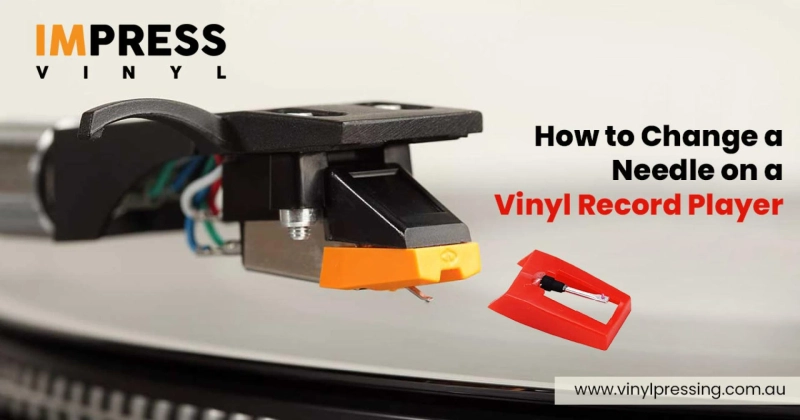
Before fiddling with delicate parts, understanding your turntable is key. Different models have different needle/cartridge setups. Some use detachable cartridges where you only replace the stylus (the tiny diamond tip), while others require replacing the entire cartridge unit. Consult your turntable's manual to identify your setup and locate the specific stylus or cartridge replacement you need.
Step 2: Gather Your Arsenal
Like any good warrior, you need the right tools for the job. Here's your needle-changing kit:
New stylus or cartridge: Ensure it's compatible with your turntable model.Tweezers or needle nose pliers: For grabbing and handling the old stylus carefully.Soft brush: To dust off any debris around the cartridge area.Turntable stylus gauge (optional): For precise alignment of the new stylus (check your turntable's manual if needed).Step 3: The Dethroning
Now, it's time to gently remove the old needle. Here's how:
Power down and unplug your turntable. Safety first!Secure the tonearm: Most turntables have a tonearm rest or lock. Engage it to prevent the arm from moving accidentally.Locate the cartridge: It's the housing unit at the end of the tonearm where the needle is attached.Detach the cartridge (if replaceable): Some cartridges have screws or clips holding them in place. Consult your manual for specific instructions.Grip the old stylus with your tweezers or pliers. Avoid touching the delicate tip.Pull the stylus straight out of the cartridge carefully. Don't force it!Step 4: The Coronation
With the old needle gone, it's time to welcome the new one!
If you replaced the cartridge, carefully insert the new one back into its slot. Secure it with the screws or clips as per your manual's instructions.If you're just replacing the stylus, gently slide it into the appropriate slot in the cartridge. You might hear a click when it's properly seated.Double-check the alignment: If your turntable has a stylus gauge, use it to ensure the new needle is perfectly aligned with the tonearm. Otherwise, visually check that it's parallel to the arm and perpendicular to the record's surface.Step 5: The Victory Lap
You've conquered the needle change! Time to enjoy the fruits (or rather, grooves) of your labor.
Rebalance the tonearm: Most turntables have a counterweight to adjust the pressure the needle applies to the record. Consult your manual for specific instructions on setting the correct weight for your new stylus.Place your favorite record on the turntable.Cue the needle gently onto the record's lead-in groove.Sit back, relax, and let the music spin!Bonus Tips for Needle Nirvana:
Handle your new stylus with care. Oils from your fingers can damage the delicate tip.Clean your records regularly. Dust and dirt can wear down your needle and affect sound quality.Invest in a stylus brush. Use it gently before each play to remove dust from the needle tip.Store your records properly. Keep them in cool, dry places away from direct sunlight and dust.Upgrade your stylus regularly. Consult your turntable manual or cartridge manufacturer's recommendations for replacement intervals.With a little care and attention, your vinyl records will continue to reward you with years of sonic bliss. So, go forth, brave needle-changer, and keep the music spinning!
Source: Tips to change vinyl record needle


