

How to draw rabbit step by step? May seem daunting at first, but with some basic guidelines and a bit of practice, it can be a fun and rewarding experience. In this tutorial, we will go over the six basic steps for drawing a rabbit, including sketching the basic shape, adding details, and shading to bring your bunny to life.
Step 1: Sketch the Basic Shape
Start by sketching the basic shape of your rabbit using light, simple lines. Begin by drawing a large oval for the body and a smaller circle for the head, making sure to leave enough space between them for the neck. Then, add two smaller circles for the cheeks, and connect them to the head with curved lines to form the snout. Finally, sketch two long, curved lines for the ears, starting at the top of the head and curving down towards the body.
Step 2: Refine the Shape
Once you have the basic shape of your rabbit down, it's time to refine it and add more detail. Use darker lines to define the curves of the body and head, and add more definition to the snout and cheeks. Then, draw in the details for the ears, including the inner ear and any fur tufts or markings. Take your time with this step, as it will set the foundation for the rest of your drawing.
Step 3: Add Facial Features
Now that you have the basic shape of your rabbit down, it's time to add some personality to your bunny with facial features. Start by drawing two large, expressive eyes towards the top of the head, and add a small triangle for the nose between the cheeks. Then, draw in the mouth using a curved line, and add a few whiskers on each side of the snout. Make sure to take your time with this step, as the facial features will really bring your rabbit to life.
Step 4: Add Fur Texture
Now that your rabbit has some basic features, it's time to add some texture to the fur. Start by lightly sketching in some lines along the body and head to represent the fur. Then, use short, curved lines to add shading and texture to the fur, focusing on the areas where the fur is thickest, such as around the cheeks and tail. Take your time with this step, as it will really make your rabbit stand out.
Step 5: Shade and Define
With the basic shape and features of your rabbit complete, it's time to add some depth and dimension with shading. Start by adding darker shading to the areas of the body and head where the fur is thickest, and use lighter shading on the areas where the fur is thinner, such as the face and legs. Then, use a blending tool or your finger to blend the shading together for a more natural look. Finally, use a darker line to define the edges of the body and head, and add any final details, such as the paws or tail.
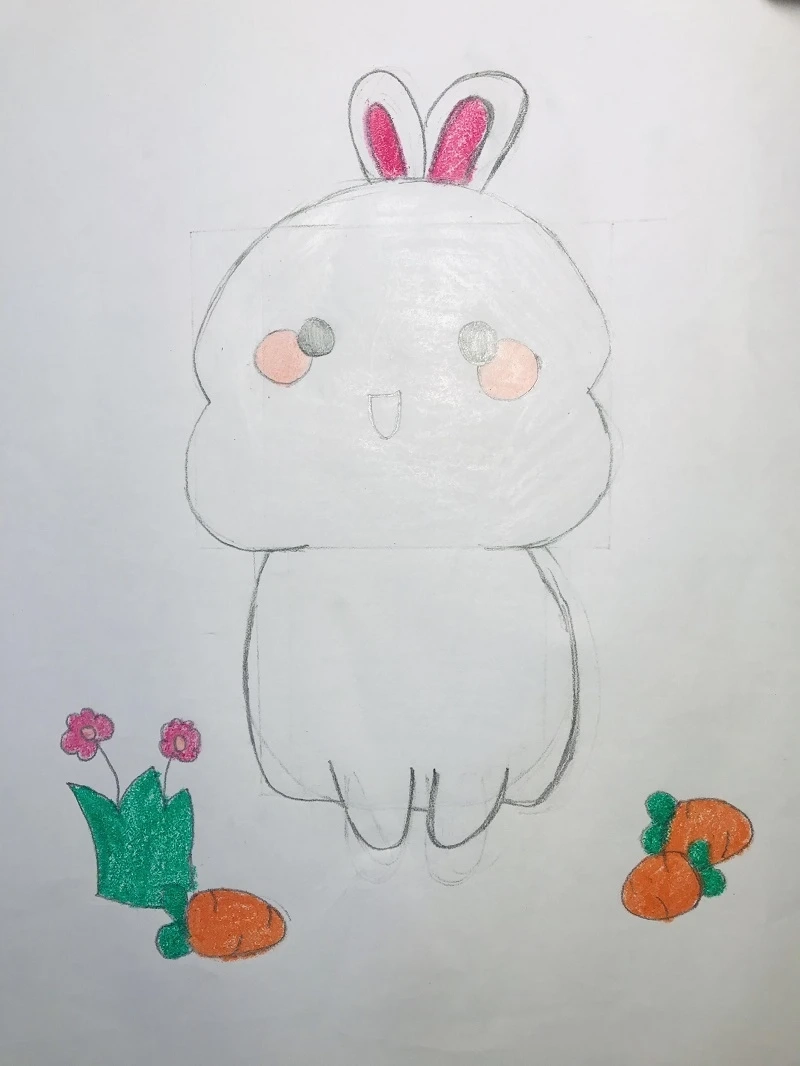
Step 6: Finish with Background and Details
Now that your rabbit is complete, it's time to add some finishing touches to the drawing. Start by adding a background, such as some grass or a flower patch, to give your bunny a setting to exist in. Then, add any final details, such as highlights in the eyes or shading on the nose, to really make your rabbit stand out. And there you have it – a cute and cuddly bunny drawing that you can be proud of!
Conclusion
Drawing a rabbit can be a fun and rewarding experience, and with some basic guidelines and a bit of practice, anyone can do it. By following these six steps, you can create a cute and cuddly bunny drawing that will be the envy of all your friends. So grab a pencil and some paper, and start drawing your own bunny today!
Read more: https://coloringgamesonline.com/draw-rabbit-step-by-step/