
Many friends are very familiar with led electronic lightboxes. Because it is applied more frequently now. However, the number of resistances of the LED electronic lightbox and the connection method of the resistance in the LED electronic lightbox are not familiar to everyone. Today, easybom will give you a detailed introduction to the connection method of the resistance in the LED electronic lightbox.
How much is the resistance of the led electronic lightbox?
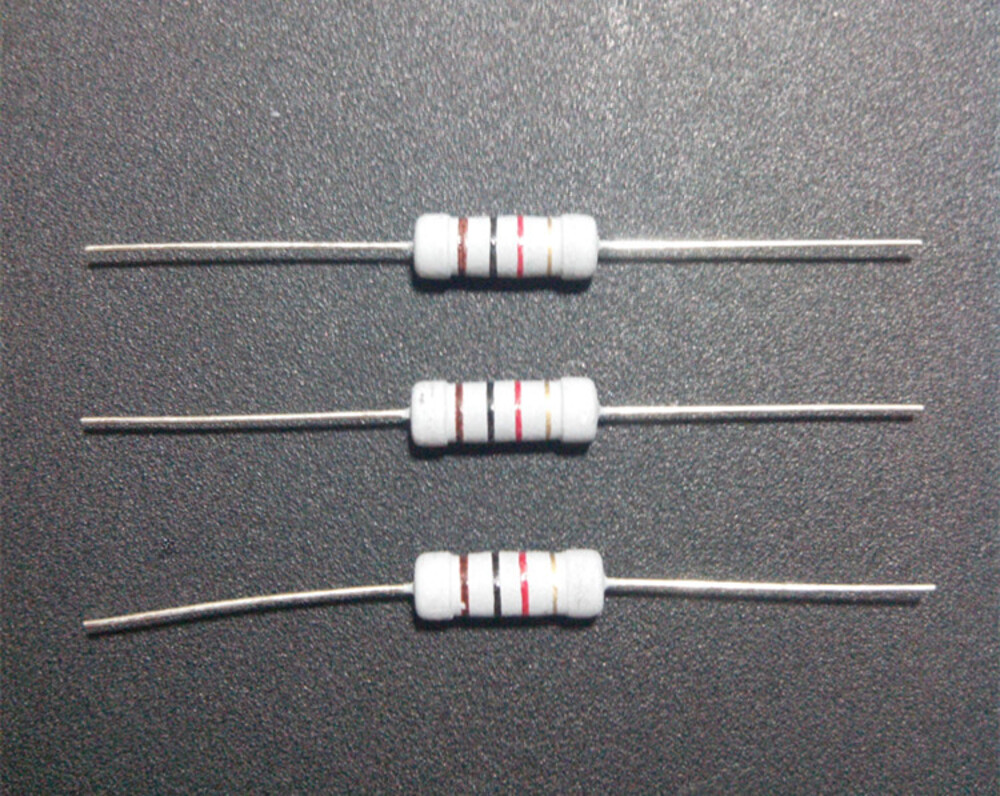
We generally use 2W1K resistors, one resistor is enough for a string of 60-100 units. The LED electronic light box controller has a common terminal. We use common terminals or always-on and flashing terminals to connect resistors. This is connected to the other end of the lamp bead according to your needs. LED lights have positive and negative poles, do not connect them in reverse.
How many LED lights do you use to connect to the resistor?
We generally use one hundred LED lights to connect to the resistor.
How to connect led electronic lightbox resistance?
The first step is to install the led electronic lightbox. Three ways to install are as follow:
A. Suspended Installation
- Punch holes in the lightbox and roof according to the size of the lightbox.
- Tighten the expansion bolts on the roof.
- Hook on the shore at the punching position of the lightbox (the hook should be installed on the frame in advance).
- After the lightbox is installed, connect it with a hanging chain.
B. Cantilever Installation
- For the supporting arm, first punch the supporting arm on the wall according to the size of the lightbox (if the lightbox is relatively large, install the supporting arm up and down).
- Fix the support arm on the wall with expansion bolts.
- Tighten the lightbox and the supporting arm with rivets.
C. Floor Installation
- Measure out the size of the lightbox.
- Use triangle iron to weld out the size of the lightbox according to the size of the lightbox.
The second step is to connect the resistance in the led electronic lightbox. In this step, we need to connect the lightbox with the triangle iron.
- There are wires on both sides of the controller. There are two red wires on one side and 6 wires on the other side (from bottom to top: one red wire/one yellow wire/one green wire/three yellow wires).
- The one with two red lines on one side is the incoming line. They are the side we want to plug.
- The red wire means that all the wires of the positive electrode of the lamp bead are connected here.
- The yellow line means that some characters are always on without flashing (connect to the negative line of the desired effect lamp bead).
- The green line refers to the flashing effect of the main characters in the middle (connect the negative poles of all main characters to this line).
The current limit of the red light source should not exceed 20MA. The blue and green luminous sources should not exceed 15MA.
The easiest and safest method is to use an LED electronic light box tester. Its main functions are: preparing resistance (it can test out how big the resistance of a string of lights needs to be matched); troubleshooting; leakage detection.
Conclusion
Through the above content, everyone has already understood the setting and connection status of the LED electronic light box resistance. When installing the LED electronic lightbox, we need to focus on the above aspects.


