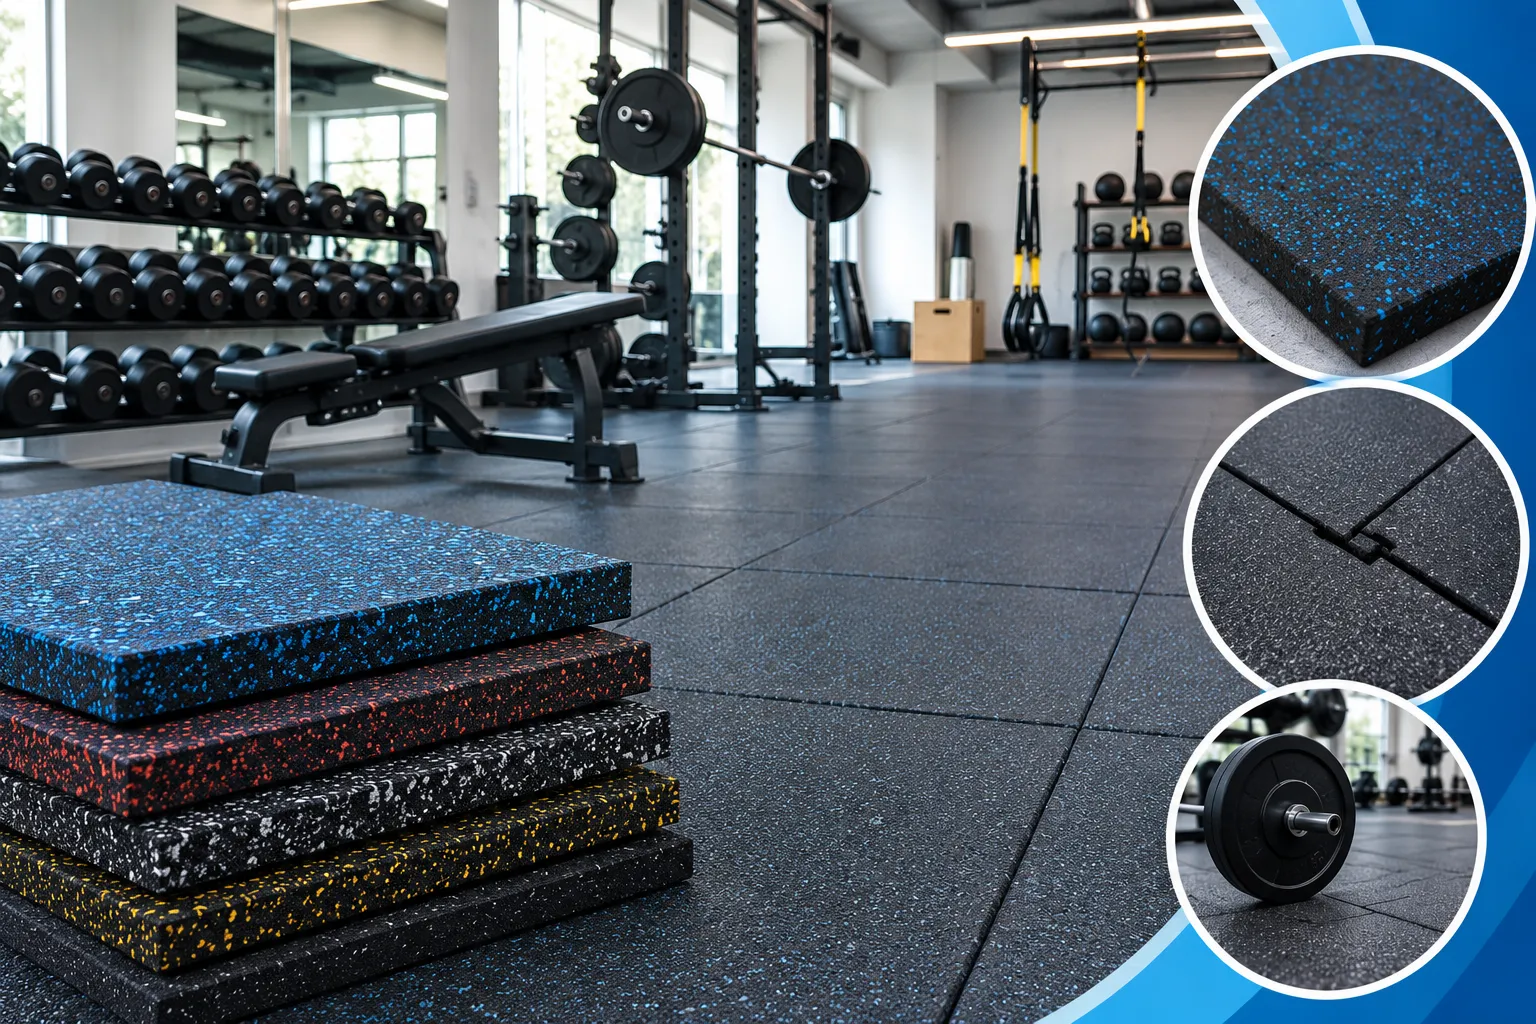

Rubber gym tiles are a popular flooring solution for gyms, fitness centres, home workout areas, and weight-training spaces. They provide cushioning, help absorb impact, and can withstand heavy equipment and frequent foot traffic. However, proper installation is important to create a stable, safe, and long-lasting gym floor.
Here is a simple step-by-step guide to installing rubber gym tiles.
1. Prepare the Floor
Start by ensuring the existing floor is clean, dry, level, and free from dust, oil, moisture, and loose debris. Uneven areas or cracks should be repaired before installation. A properly prepared surface helps prevent movement, gaps, and uneven tile placement.
Concrete floors are commonly used as a base, but the suitability of other surfaces should be checked before installation.
2. Measure the Area
Measure the length and width of the installation area to determine how many rubber tiles are required. Plan the layout before placing the tiles, especially around walls, corners, pillars, and equipment areas.
It is generally helpful to start from a straight reference line or a prominent area of the room. This can make the finished installation look more uniform.
3. Choose the Right Installation Method
Rubber gym tiles can be installed using different methods depending on the application and tile type. Some installations use loose-lay placement, while high-traffic or permanent installations may require a suitable rubber flooring tile adhesive.
For adhesive installation, always select an adhesive compatible with both the rubber tiles and the underlying surface. Follow the adhesive manufacturer's recommended application and curing instructions.
4. Place the Rubber Tiles
Begin placing the tiles according to the planned layout. Keep the edges closely aligned and maintain consistent joints between tiles. Avoid forcing tiles into position, as this can create uneven surfaces or gaps.
For areas around walls and columns, tiles may need to be accurately measured and cut using appropriate tools.
5. Apply Proper Pressure
After positioning the tiles, apply suitable pressure to ensure good contact with the floor or adhesive. For adhesive-based installations, rolling the surface can help improve contact and reduce air pockets, depending on the adhesive system being used.
6. Allow the Floor to Set
If adhesive has been used, allow sufficient curing time before placing heavy gym equipment or allowing regular foot traffic on the floor. The exact curing period depends on the adhesive, temperature, humidity, and installation conditions.
7. Inspect and Maintain the Floor
Once installation is complete, check the surface for loose edges, gaps, uneven areas, or movement. Regular cleaning and prompt attention to damaged tiles can help extend the flooring's service life.
Final Thoughts
A properly installed rubber gym floor can provide durability, impact absorption, comfort, and improved floor protection in demanding fitness environments. Choosing suitable rubber tiles, a compatible gym rubber tile binder or adhesive, and following correct installation procedures can help create a safer and more durable workout space.




























Sign in to leave a comment.