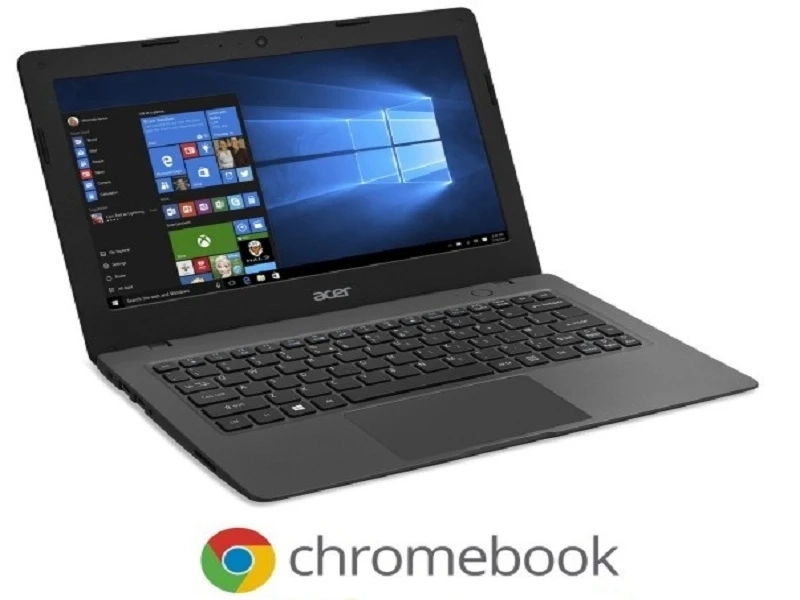
Chrome users love the lightweight operating system of a Chromebook, but it doesn’t take much time for them to realize the need for Windows apps. Chrome users also need Windows 10 for native app support. If you are also looking forward to using Windows on your Chromebook, then stay tuned as in this article, we will tell you how to run Windows on your Chromebook.
[caption class="snax-figure" align="aligncenter" width="662"][/caption]
Remove the Write Protect Screw
Chromebook comes with a hardware feature to prevent any BIOS modifications. To disable this feature, you need to open the Chromebook and remove the write protection screw on the motherboard. In a few Chromebooks, you may find a write protection switch instead.
Enable Developer Mode
Once you remove the write protection screw, now you can easily modify the Chromebook’s software. To do that, press the Escape+Refresh+Power button while your Chromebook is off. Once you do that, your Chromebook will boot up and show a message saying that your Chrome operating system is missing or damaged. After that, press Ctrl+D and press Enter to turn off the OS Verification and enable developer mode.
Once you enable the developer mode, your Chromebook will reset itself to the default settings. Sign in with your Google account and sync the important data.
Flash the New BIOS
Now, you can flash your new BIOS within ChromeOS. Open a terminal window by pressing on Ctrl+Alt+T. Type “shell” into the terminal and click on the Enter button. Once you do that, you gain access to a robust Linux shell environment.
Download and run the below-mentioned script to replace the BIOS of your Chromebook:
cd ~; curl -L -O http://mrchromebox.tech/firmware-util.sh; sudo bash firmware-util.sh
After that download, the http://mrchromebox.tech/firmware-util.sh script files and run it with root privileges.Type 3 and press Enter and choose the “Custom coreboot Firmware” option.Type Y to agree to flash your firmware and then type U for UEFI firmware installation.’Now, you will get a backup copy of the original BIOS, make sure to save it somewhere safe for future use.Once your backup process is complete, the script will download the Coreboot firmware replacement and flash it on your Chromebook.Once it is done, turn off your Chromebook.Create a Windows Installation Drive
Once you are done with the changes mentioned above, you can easily install Windows onto your Chromebook. But make sure you install the media first. To do so, download an ISO and burn it on a USB drive with the help of a tool called Rufus. Now, download the Windows from Microsoft by clicking on the “Download tool now” option. Directly, plug a USB drive into your PC and use this for the Windows installer.
Install Windows
Now comes the last step: Installation of Windows. Plugin the USB drive into your Chromebook and turn it ON. From the USB it will automatically boot and show you the Windows Installer. Go through the installation process normally and install Windows on your Chromebook.
JEANNE E. WINFIELD arrived on the cyber security scene in the early 2000s when virus and malware were still new and slowly evolving. Her longtime affair with writing with an interest in the cybersecurity industry, combined with her IT degree, has contributed to experience several aspects of security suite industry such as blogging at mcafee.com/activate.


