

Planning a smart home system before renovation begins means your walls are only opened once, your wiring is done right the first time, and every device works together seamlessly from day one. Start by mapping out which rooms need automation, choose a central hub or protocol, and brief your ID and electrician early ideally before hacking begins.
Renovating your home is one of the best windows you will ever get to build a truly integrated smart home system. Once the walls are sealed and the tiles are laid, retrofitting becomes expensive, disruptive, and often incomplete. In Singapore, where most homeowners renovate their HDB flats or condos once every eight to ten years, getting it right during the renovation phase is not just convenient it is cost-efficient.
This guide walks you through every planning stage, from initial design to final commissioning, so your automation setup is future-proof, clean, and genuinely useful.
Why Smart Home Planning Must Happen Before Renovation Starts
Most homeowners think about smart devices after renovation. That is the single biggest mistake in home automation wiring. By the time your walls are plastered and painted, adding concealed conduits, data points, or sensor wiring becomes a hacking job adding cost and undoing finished work.
According to the Building and Construction Authority (BCA) of Singapore, electrical works in residential units must comply with the SS 638 Code of Practice for Electrical Installations. Planning your smart home layout alongside your electrical drawings ensures all low-voltage wiring, smart switch placements, and controller locations are BCA-compliant from the start.
When you plan early, you also avoid the messy reality of visible cable trunkings, Wi-Fi extenders patching dead zones, and smart switches that do not fit existing gang boxes.
Step 1: Define What You Actually Want to Automate
Before speaking to any contractor or smart home vendor, write down what problems you want to solve. Not what gadgets you want to buy what outcomes you want to achieve.
Common automation goals for Singapore homeowners include:
- Turning off all lights and air conditioners with one tap before leaving home
- Controlling curtains or blinds to manage afternoon heat and glare
- Monitoring energy usage to reduce utility bills
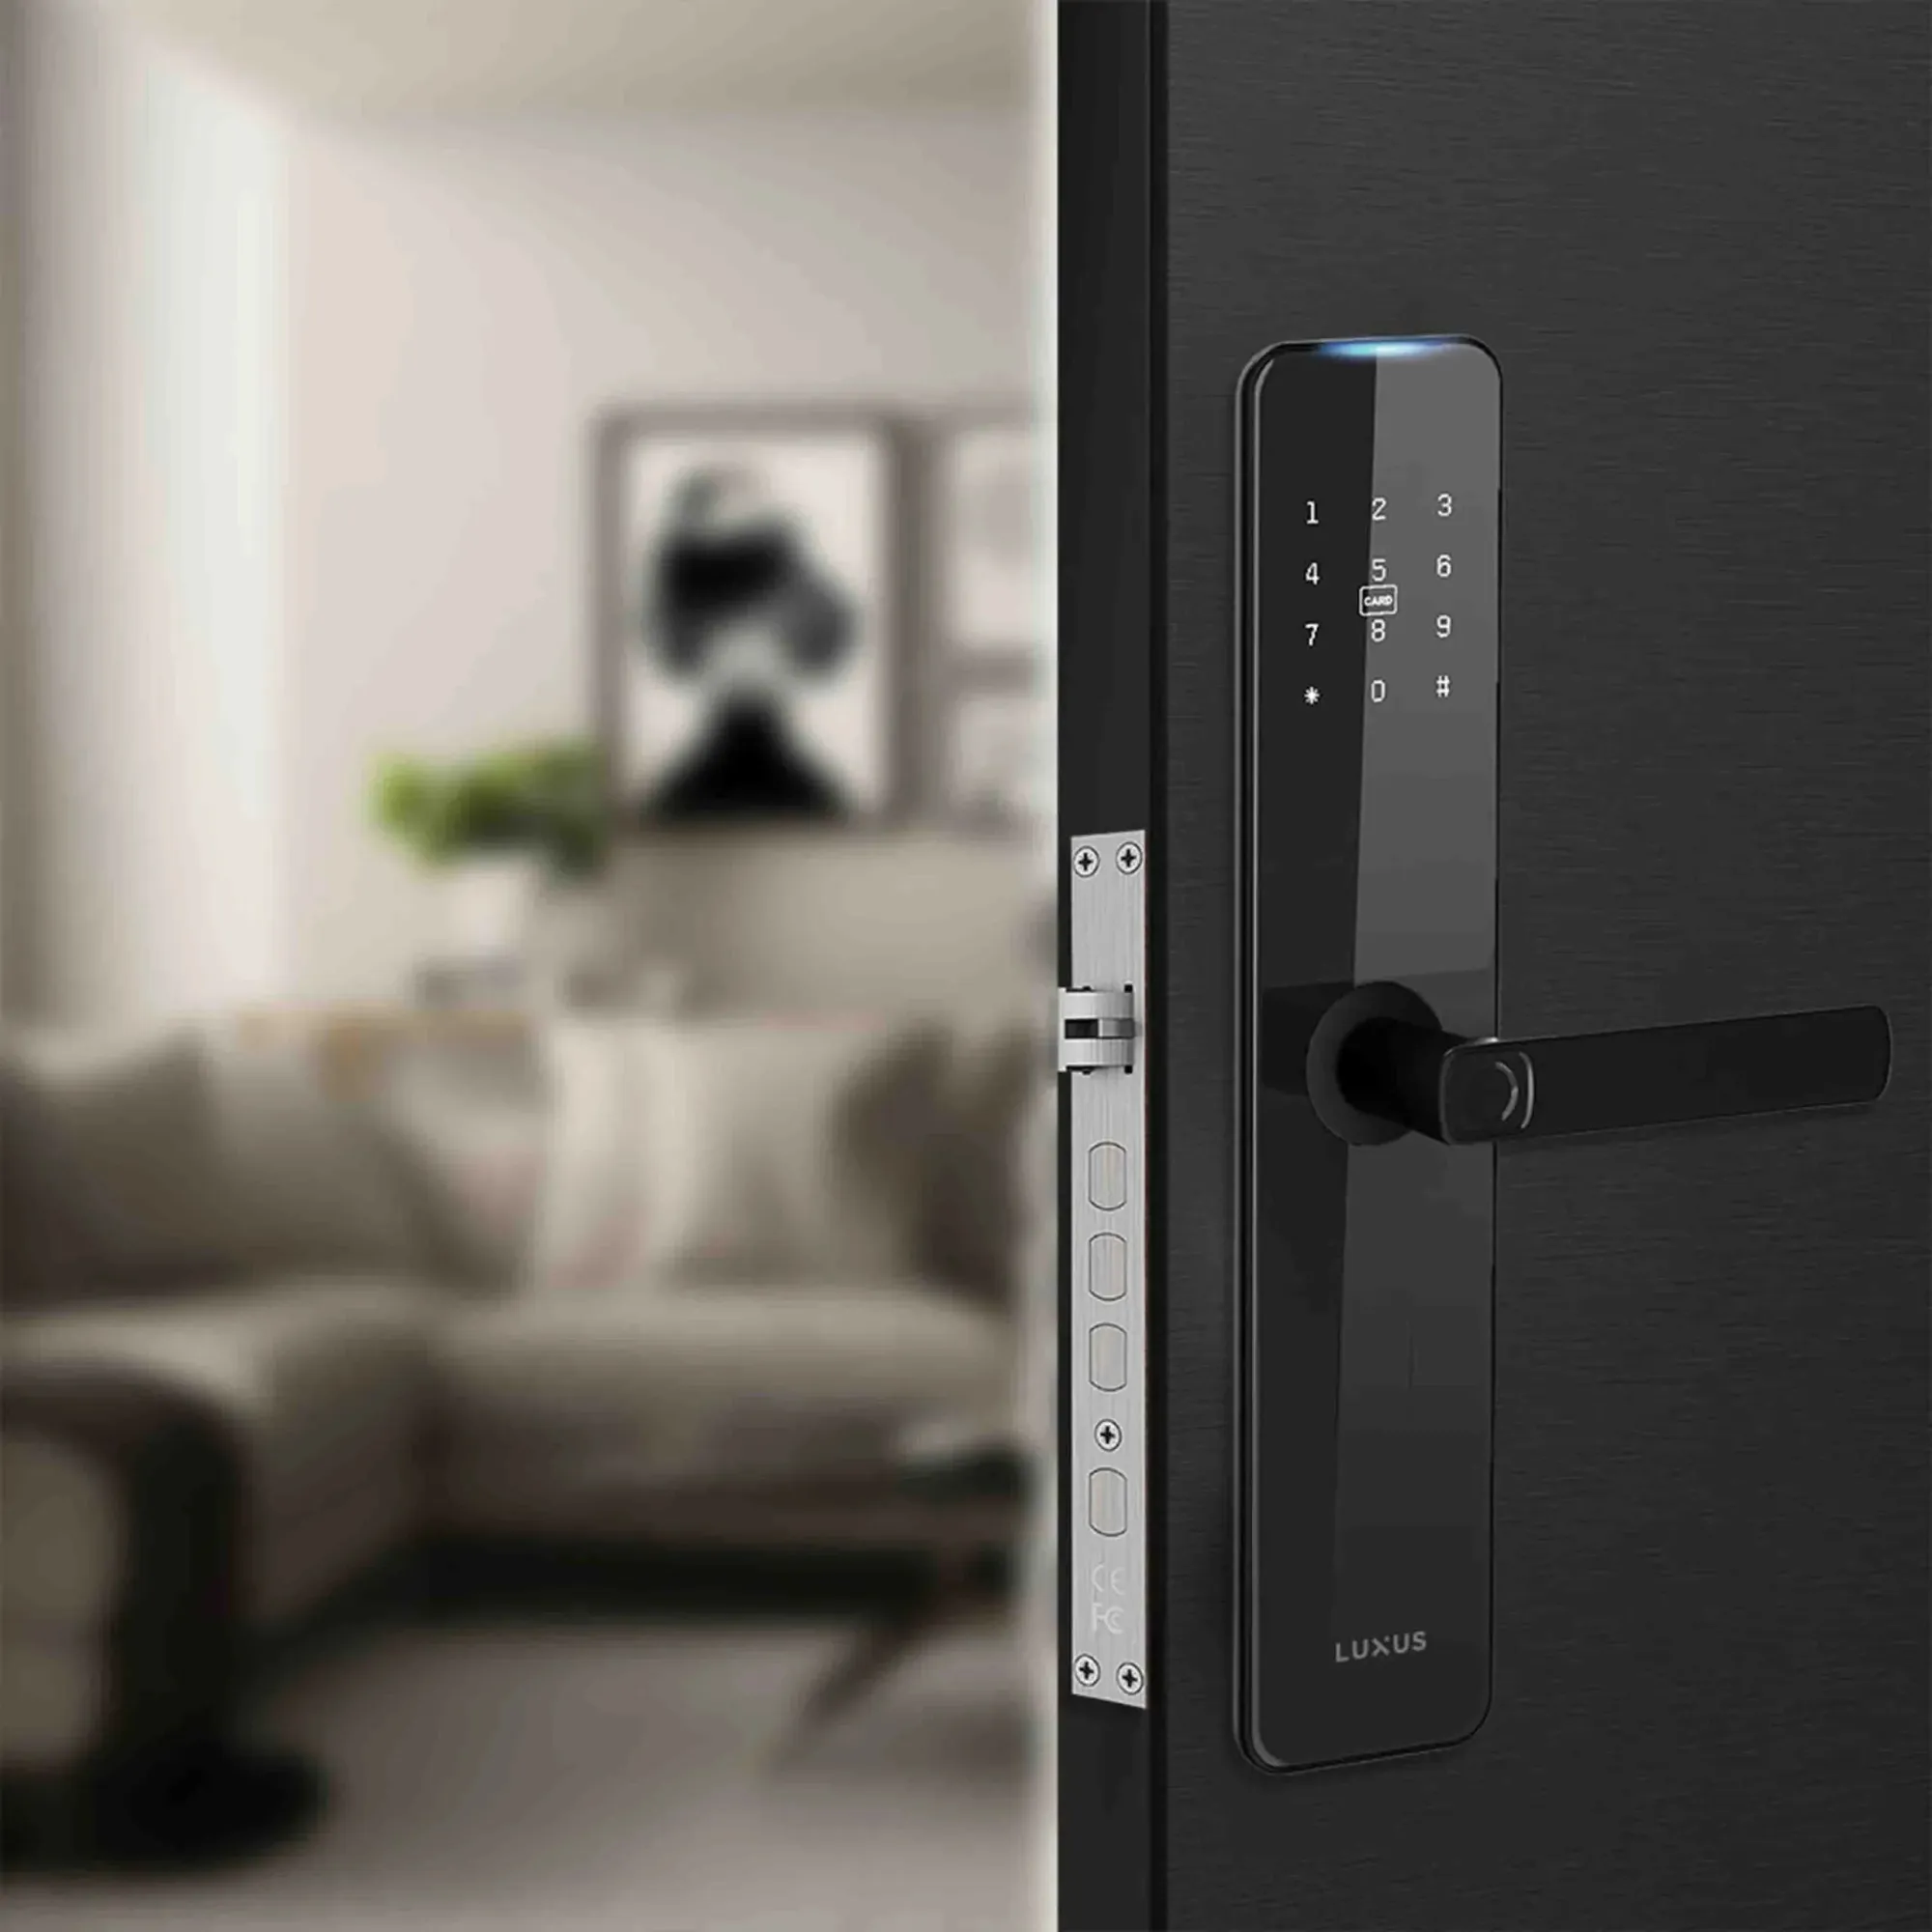
- Automating door access for family members and domestic helpers
- Setting lighting scenes for different moods dining, movie night, sleep
Once you have a clear list of goals, group them by room. This becomes the foundation of your smart home renovation Singapore brief a document you hand to your interior designer (ID) and electrician before any work starts.
Step 2: Choose Your Ecosystem and Protocol Early
This is where most DIY smart home projects go wrong. Devices from different brands often use different communication protocols Zigbee, Z-Wave, Wi-Fi, or Bluetooth. If you mix them without a compatible hub, you end up with five apps and zero integration.
Common Smart Home Protocols at a Glance
| Protocol | Best For | Wiring Needed |
|---|---|---|
| Zigbee / Z-Wave | Lighting, sensors | Neutral wire recommended |
| KNX | Whole-home integration | Dedicated bus cable required |
| Wi-Fi | Cameras, smart plugs | Minimal additional wiring |
| Matter | Cross-brand compatibility | Depends on device type |
If you are planning a whole-home setup, a wired or hybrid system will always outperform a purely wireless one in terms of reliability. For Singapore HDB flats, Zigbee-based systems with a local hub offer a good balance of cost, stability, and flexibility.
Step 3: Work With Your ID and Electrician as a Team
Your interior designer controls where walls are hacked, where false ceilings are built, and where conduits are run. Your electrician determines switch placement, circuit loads, and cable routing. Your smart home vendor knows what wiring each device needs.
These three parties must talk to each other ideally in one joint meeting before hacking begins. Here is what to align on:
- Neutral wire provision: Most smart switches require a neutral wire. Older Singapore homes may not have this in every gang box. Ask your electrician to run neutral wires to all switch points during renovation.
- Conduit sizing: Smart home wiring especially for KNX or structured cabling needs wider conduits than standard electrical wire. Plan for this before walls are sealed.
- False ceiling access: Ceiling-mounted sensors, speakers, and motorised curtain tracks all need access points. Coordinate with your ID before the false ceiling is plastered.
- Network points: Identify where you need wired Ethernet drops TV console, study desk, and network cabinet location. Wi-Fi alone is not sufficient for a reliable smart home.
Step 4: Plan Your Network Infrastructure First
A smart home is only as reliable as its network. This is the part most homeowners underestimate during smart home planning. A mesh Wi-Fi system thrown in after renovation rarely covers every corner of a Singapore flat cleanly especially in concrete-heavy HDB construction.
During renovation, install a structured cabling system with a central network cabinet. Run Cat6 Ethernet cables to key points: living room, bedrooms, and wherever your smart home hub or NVR will sit. This gives you a wired backbone that no wireless dead zone can disrupt.
Place your Wi-Fi access points on the ceiling not on a shelf and run a wired backhaul to each. This dramatically improves coverage and reduces latency for all connected devices.
Step 5: Prioritise Lighting Automation in Your Layout
Lighting is the most impactful and most visible element of any smart home. It is also the most wiring-intensive, which is why it must be planned before renovation, not after.
During renovation, work with your ID to consolidate lighting circuits. Instead of individual switches for every light, group lights into zones entrance, living, dining, bedroom and connect them to smart dimmers or relay modules in a central DB (distribution board) or in-wall location.
If you plan to use motorised curtains or smart blinds, the motor tracks must be installed before false ceilings close up. This is one of the most common missed steps in Singapore renovations.
Step 6: Map Out Sensor and Camera Positions
Motion sensors, door and window sensors, and security cameras all need considered placement not just a spot that is convenient after the fact.
Sensor placement tips for Singapore homes:
- Place motion sensors at corridor entry points and living areas, not bedrooms, to avoid false triggers
- Door sensors on main entrance and service entrance for real-time alerts
- Camera positions should cover main door, car porch (landed), and common corridor (check HDB guidelines before installation)
- Smart doorbell position must account for viewing angle not just aesthetics
Run conduits or cable sleeves to all planned camera positions during renovation. Even if you install cameras later, having the cable path ready saves significant rework.
Step 7: Commission and Test Before Renovation Handover
Once renovation is near completion, schedule a commissioning session with your smart home vendor before your ID does the final handover. This is the phase where all devices are paired, scenes are programmed, and automations are tested.
Testing before handover means any issues a switch that is not responding, a sensor in the wrong position, a Wi-Fi dead zone can be fixed while access to walls and ceilings is still relatively straightforward.
Create a simple home automation guide for your household. Document which scenes do what, how to control the system manually during a network outage, and who to contact for support.
Common Smart Home Renovation Mistakes to Avoid

- Skipping neutral wires: The single most common issue in Singapore smart switch installations
- Buying devices before confirming compatibility: Always check protocol and hub compatibility before purchasing
- No network cabinet: Leaving your router and hub on a shelf leads to messy cabling and poor performance
- Ignoring future-proofing: Install slightly larger conduits so you can pull new cables five years from now
- No offline fallback: Always ensure lights and locks can be controlled manually if the internet goes down
For homeowners looking for a comprehensive starting point, Luxus offers a structured Smart Home Package Suite designed specifically for Singapore renovations covering lighting control, climate automation, security, and network infrastructure in one integrated solution. Visit Luxus to explore the full range.
Frequently Asked Questions
When should I start planning my smart home system during a renovation?
Start planning before hacking begins ideally at the same time you brief your interior designer. This ensures conduits, neutral wires, and data points are built into the renovation from the start, avoiding costly rework later.
Do smart home systems work in HDB flats in Singapore?
Yes. Most smart home systems are compatible with HDB flats. However, older HDB units may lack neutral wires at switch points, so ask your electrician to provision these during renovation for full smart switch compatibility.
What wiring is needed for a smart home in Singapore?
At minimum, you need neutral wires at all switch points, Cat6 Ethernet to key locations, and conduits sized for future cabling. For whole-home systems using KNX, a dedicated bus cable is also required throughout the unit.
How much does a smart home system cost during a Singapore renovation?
Costs vary widely based on scope. A basic lighting and climate setup for a 4-room HDB can start from a few thousand dollars, while a full whole-home system with security, motorised curtains, and structured cabling can range significantly higher.
Can I add smart home features after renovation is complete?
Yes, but retrofitting is more expensive and limiting. Without pre-run conduits and neutral wires, options are restricted to wireless devices, which are less reliable. Planning during renovation always gives you better integration and a cleaner finish.
What is the most important smart home feature to plan for first?
Network infrastructure is the foundation everything else depends on it. After that, lighting automation has the highest impact on daily convenience and should be coordinated with your electrician before walls and false ceilings are closed.























Sign in to leave a comment.