Plucking a wig is an important step to take when wearing a real hair wig. The hairstylist has done this for centuries to obtain natural-looking hair for their clientele. Although some wigs come pre-plugged, you can pluck it to create a realistic hairline that no one will notice.
There are numerous variations, but the leading and most popular is the pre-plucked lace front wig. The narrow hairline that creates a natural looking hairline is what makes them popular. Many women want them because they give them a natural appearance. Plucking wigs develop a type of baby hair directly on the hairline to mimic the natural hairline.
Women prefer plucked wigs to unplucked wigs since you don't have to spend time and effort manually plucking them. If you want a perfectly plucked hairline, you can still pluck the previously plucked wigs. It generally takes a long time, but if you are patient and have prior experience, you may complete it in less than 30 minutes.
However, if the wig is not pre-plucked, it may appear strange. To acquire a great wig, you must manually pluck on the wig. The following are some easy modification techniques you can do with unplucked wigs.
If you do not have a pre-plucked wig, these procedures will assist you in achieving the required natural look. Plucking wigs on a human hair wig, lace front wigs, and curly human hair wigs may appear difficult at first, but it will become easier as you get used to it.
You'll need a lunas cap with adjustable straps and combs, a dummy, hair mousse, and coconut oil.
Plucking Human Hair Wigs:
Step 1: Bleach Your Wig's Knots
To make the knots disappear, bleach them. The wigs will appear more natural this way. This step is completely optional, and you can skip it if you are unsure. Begin by bleaching the knots that surround the little dots at the base of the cap. It is where the majority of the hair in a wig is attached.
Take two scoops of bleach powder and mix it in a developer of your choice. Keep the developer's consistency slightly thicker so that it does not soak into the hair. Apply the above combination to the hair with caution. Applying too much pressure will allow the bleach to soak directly into the hair.
Step 2: Wash The Wig Cap
Allow the bleach to sit for at least 30 to 45 minutes for the best results. Shampoo the section of the cap where the knot has been bleached next. Allow it to sit for 3–4 minutes before rinsing.
Although bleaching the hair knots provides you a natural-looking wig, it is strongly recommended that you get professional assistance for better results. If you are concerned that bleach will damage your wig, add foundation within the lace to achieve a seamlessly blended hair wig.
Step 3: Remove the Wig
This is the crucial stage in which the wig is plucked. Place the hair on a mannequin and begin personalizing the hairline. Less plucking is required for wigs that have previously been pre-plucked.
Please add a small amount of mousse around the hairline once you have finished plucking it. To help push hair back, use a curling wand. Using mousse will make tweezing your hair easier.
Step 4: Dry Your Wig's Hair
After completing step 3, make sure to dry the hair because drying makes the hairline more visible. Apply a small bit of coconut oil to your hair after that. Begin the plucking process by obtaining the best tweezers.
For best results, use high-quality tweezers. Begin tweezing at the hairline and remove any knots of hair that have not been adequately bleached. To separate the hair and tweeze it back into the hairline, proceed to the following step.
Avoid solely plucking hair in the front, as this does not remove any excess hair. This will make it bulky and spoil the overall appearance. When tweezing, be careful not to focus on one place for too long. Excessive tweezing can also result in bald areas.
Step 5: Section Off More Hair
I'm sectioning some more hair. Remember to pluck some hair from the less thin regions than the other parts this time. The frontals will appear more natural since it provides a gradation effect with the hairline.
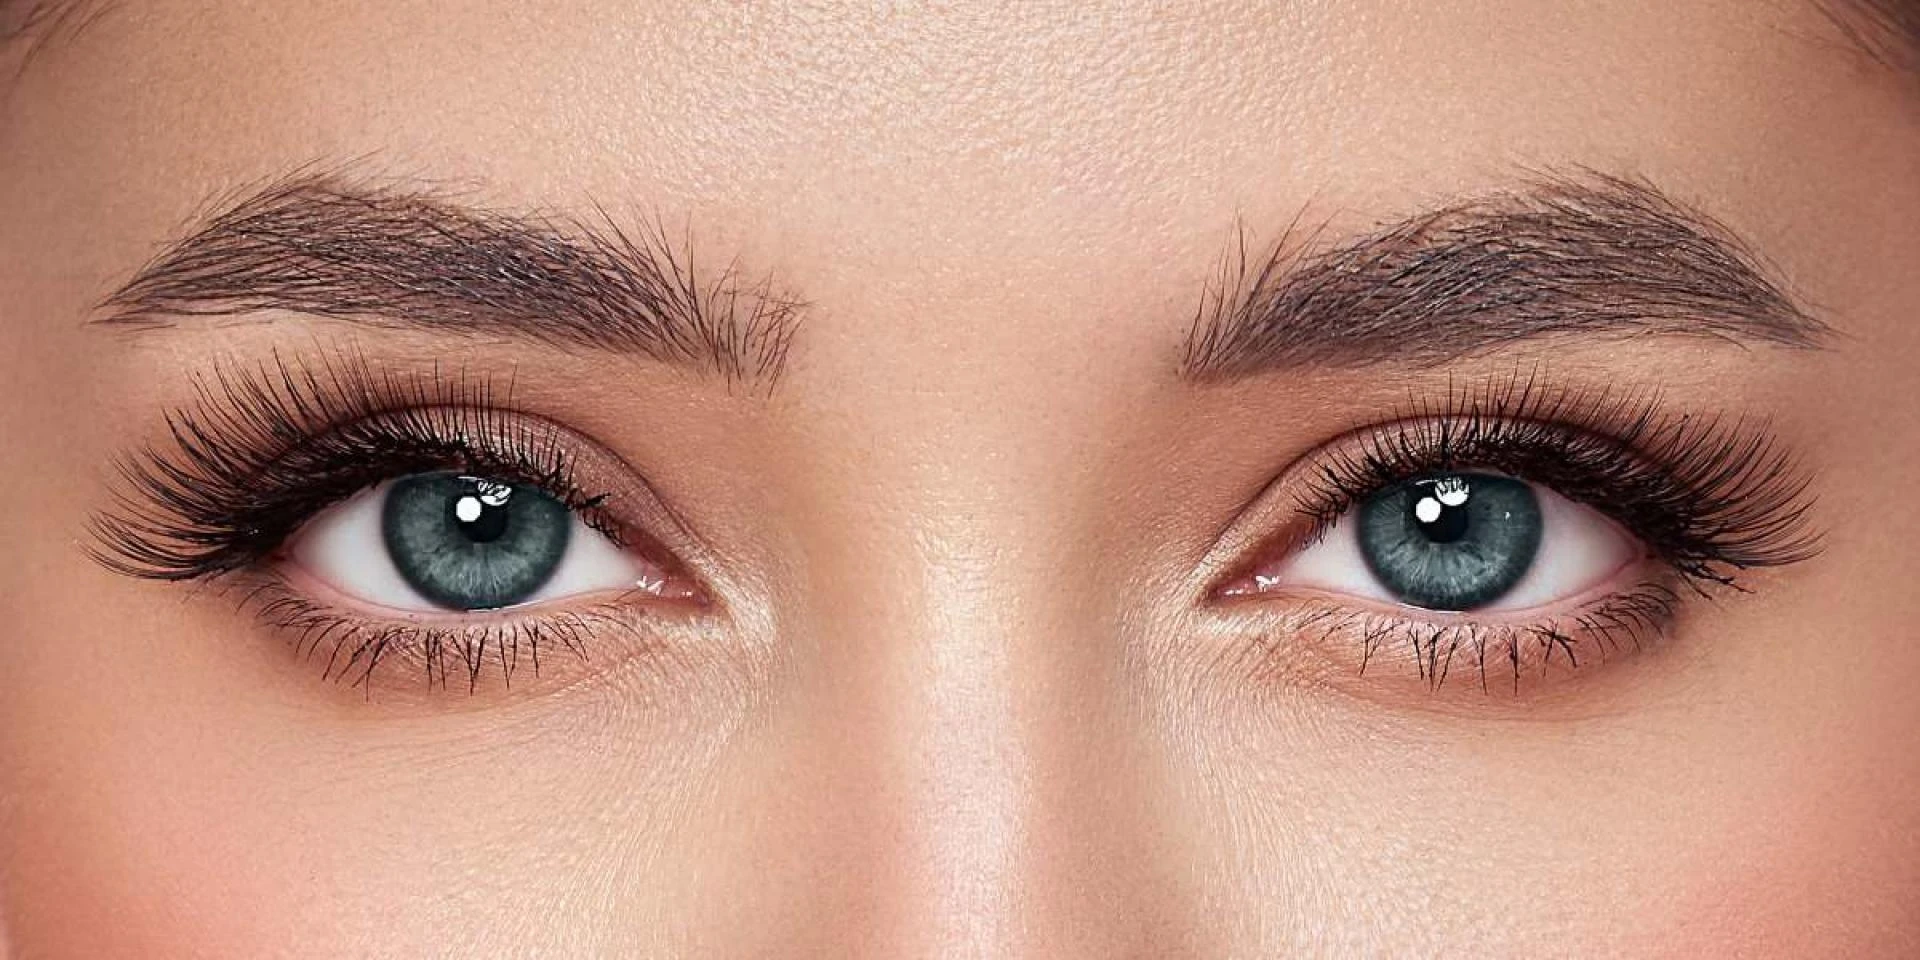
6th Step: Baby Hair
After finalizing the natural hairline, clip a little strand of hair from the front area of the wig to replicate some newborn hair. This gives the hairline a natural appearance, and your wig is now ready to wear.
You can pluck a wig without a mannequin or a tweezer. When you don't have a tweezer, pluck the hair using your long nails. It may be difficult for some, but it is not impossible. When you don't have a mannequin, place your wig straight on your head.
Keep a firm grip on your lace to avoid over-plucking. Some individuals prefer this method since you can precisely determine which direction you want your hairline to be when wearing a wig.
Tip #1: Photograph your natural hairline to use as a guide for your Curly Wigs later on.
Tip #2: Make a narrow hairline separation based on the photographs. To avoid excessive hair loss, make a narrow or thin parting.
Tip #3: Gather the remaining hair and pluck the excess. Once you've defined your hairline, work on establishing gradual density.
Tip #4: Separate some hair, noting that the width does not have to be uniform. You can now begin plucking hair.
Tip #5: Continue sectioning out hair by plucking some hair from the less thin regions than the other parts. The frontals will gradually begin to appear natural.
Tip #6: The final and most critical stage is to determine whether any wig area appears denser than others. If you find a dense section, pluck away the surplus hair immediately away. Following the correct methods will assure an accurate result, and the wig will appear natural when worn.
Tip #7: Once you've accomplished all of the plucking hair operations, you can wear or install wigs with ease. Take the wig and insert your head inside the wigs. For a suitable fit, tug it well on the sides and tighten the straps and clips. Style it as you like and sport the wigs like you've never seen before.
With these simple methods, anyone can appear effortlessly elegant while securely styling wigs of any hair texture. Wig plucking improves the appearance of any wig; your hair seems less fake, and you may wear wigs with confidence and ease. Just recall the steps, and you'll be wearing a lovely natural-looking human hair wig in minutes.


Sign in to leave a comment.