Radon is a silent, odorless, and invisible threat that can be present in your home. This naturally occurring radioactive gas is the second leading cause of lung cancer after smoking. According to the Environmental Protection Agency (EPA), approximately 1 in 15 homes in the United States have elevated radon levels. Because of the serious health risks associated with radon exposure, it is crucial to test for radon and take necessary mitigation steps if high levels are detected. This article will guide you through how to prepare your home for radon testing and mitigation, ensuring that your living environment is safe for you and your family.
What is Radon?
Radon is a radioactive gas that forms from the natural breakdown of uranium in soil, rock, and water. It can seep into homes through cracks in floors, walls, and foundations, accumulating in indoor air. Unlike other environmental hazards, radon is undetectable by human senses, making it especially dangerous. Long-term exposure to high levels of radon can cause serious health problems, primarily lung cancer.
Why is Radon Testing Important?
Radon testing is essential because it is the only way to determine if your home has elevated levels of this harmful gas. Without testing, you could be unknowingly exposing yourself and your loved ones to a significant health risk. Testing is straightforward and affordable, and it provides peace of mind knowing that your home environment is safe. The EPA and the Surgeon General recommend testing all homes below the third floor for radon.
Types of Radon Tests
There are two main types of radon tests: short-term and long-term tests. Short-term tests measure radon levels for a period ranging from 2 to 90 days, while long-term tests measure levels for more than 90 days. Short-term tests are useful for initial screening, but long-term tests provide a more accurate picture of your home’s average radon level throughout the year.
Short-term Tests
Short-term radon tests are typically used for initial screening. These tests involve placing a radon detector in the lowest living area of your home for a period of 2 to 7 days. Common short-term tests include charcoal canisters, electret ion chambers, and continuous radon monitors.
Long-term Tests
Long-term radon tests provide a more accurate assessment of your home’s radon levels. These tests are conducted over a period of 90 days to one year. Because radon levels can fluctuate due to changes in weather and other factors, long-term tests offer a better understanding of the average radon concentration in your home.
How to Prepare Your Home for Radon Testing
Preparing your home for radon testing is straightforward but requires some specific steps to ensure accurate results. Here’s how to do it:
1. Choose the Right Test
First, decide whether you need a short-term or long-term test. If you’re testing for the first time or need quick results, a short-term test is appropriate. For a more accurate assessment, opt for a long-term test.
2. Find a Qualified Radon Tester
You can either purchase a radon test kit and conduct the test yourself or hire a professional. If you choose to hire a professional, ensure they are certified by the National Radon Proficiency Program (NRPP) or the National Radon Safety Board (NRSB).
3. Close Windows and Doors
Before starting the test, close all windows and doors at least 12 hours before and during the test. This ensures that the test measures radon levels accurately without interference from outside air.
4. Place the Detector in the Right Location
Place the radon detector in the lowest lived-in area of your home, such as the basement or ground floor. Avoid placing the detector in kitchens, bathrooms, or hallways, as these areas can affect the accuracy of the test.
5. Follow the Instructions Carefully
Each radon test kit comes with specific instructions. Follow them carefully to ensure accurate results. This includes the duration of the test, proper placement of the detector, and how to seal and send the detector to the lab if required.
Interpreting Radon Test Results
After completing the test, you’ll receive results indicating the radon level in your home, measured in picocuries per liter (pCi/L). The EPA recommends taking action if your home’s radon level is 4 pCi/L or higher. Even levels between 2 and 4 pCi/L warrant consideration for mitigation, as there is no safe level of radon exposure.
Steps to Take if Your Home Has High Radon Levels
If your radon test results show high levels, it’s essential to take action to mitigate the radon and reduce the risk to your health. Here’s what you should do:
1. Hire a Radon Mitigation Professional
Radon mitigation should be handled by a qualified professional. Look for a certified radon mitigator who is knowledgeable and experienced in reducing radon levels in homes.
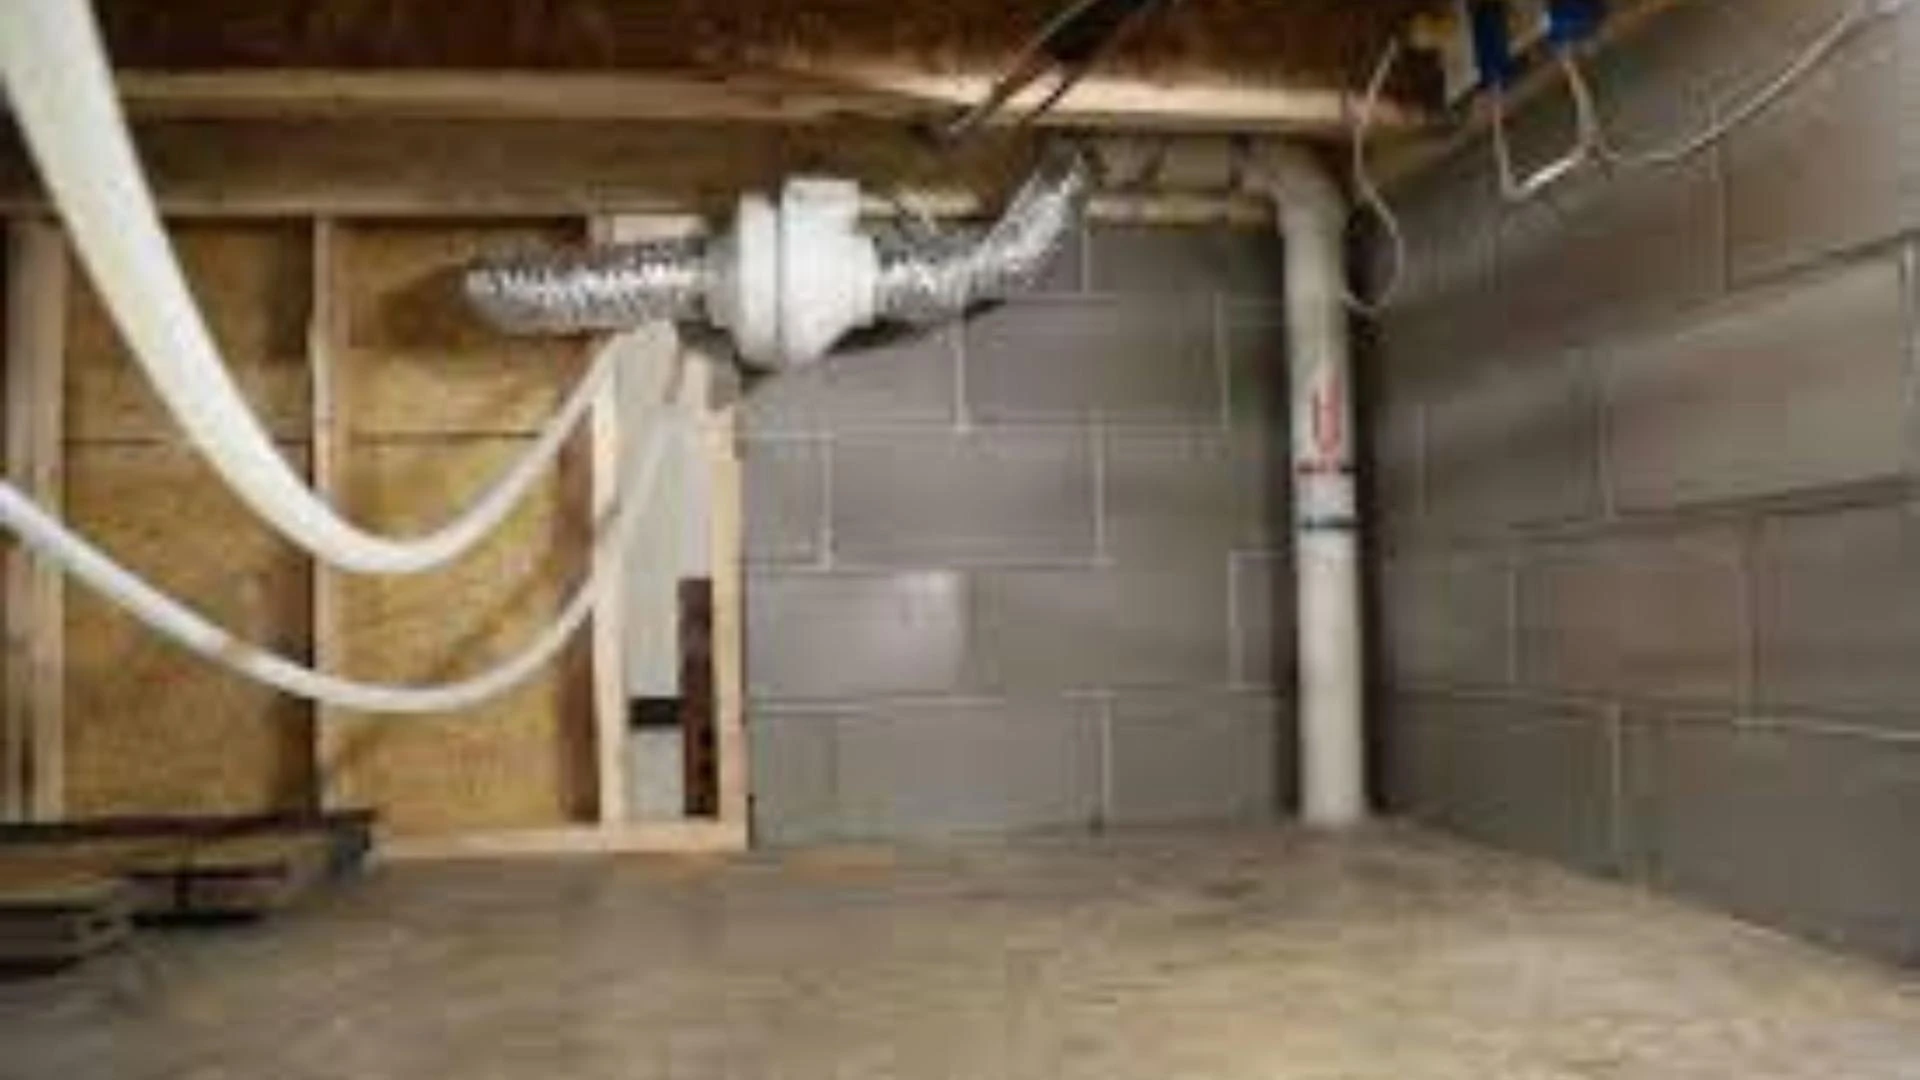
2. Install a Radon Mitigation System
A radon mitigation system typically involves a vent pipe system and fan that pulls radon from beneath the house and releases it outside. This is known as sub-slab depressurization and is the most common and effective method for reducing radon levels.
3. Seal Cracks and Openings
Sealing cracks and openings in your home’s foundation can help reduce the amount of radon entering your home. However, sealing alone is not enough and should be part of a comprehensive radon mitigation strategy.
4. Increase Ventilation
Improving the ventilation in your home can help reduce radon levels. This can be done by opening windows, using fans, and installing a heat recovery ventilator (HRV) or energy recovery ventilator (ERV).
5. Retest Your Home
After the mitigation system is installed, retest your home to ensure that radon levels have been reduced to a safe level. Continuous monitoring is also a good practice to maintain a safe living environment.
Preventing Radon from Entering Your Home
Prevention is always better than cure. Here are some steps you can take to prevent radon from entering your home:
1. Test Before You Buy
If you’re buying a new home, test it for radon before you purchase it. This can save you the hassle and cost of mitigating high radon levels later.
2. Build Radon-Resistant Homes
If you’re building a new home, consider incorporating radon-resistant construction techniques. These include installing a radon barrier, creating a gas-permeable layer beneath the foundation, and providing a vent pipe to safely release radon outside.
3. Regular Testing
Regular testing is crucial, even if your home has previously tested low for radon. Radon levels can change over time due to changes in the home’s structure or the surrounding environment.
Understanding Radon Zones
The EPA has identified three radon zones based on potential radon levels:
- Zone 1: Highest potential (average radon levels above 4 pCi/L)
- Zone 2: Moderate potential (average radon levels between 2 and 4 pCi/L)
- Zone 3: Low potential (average radon levels below 2 pCi/L)
Understanding which zone your home is in can help you determine the likelihood of elevated radon levels and the necessity of regular testing and mitigation.
Common Myths About Radon
Several myths and misconceptions about radon can lead to a false sense of security or unnecessary panic. Here are some common myths debunked:
Myth 1: Radon Testing is Expensive
Fact: Radon testing is affordable, and many local health departments offer free or discounted test kits.
Myth 2: New Homes Don’t Have Radon Problems
Fact: Radon can be a problem in any home, regardless of its age. Newer homes can even have higher radon levels due to better insulation and tighter construction.
Myth 3: Radon Mitigation is Complicated and Costly
Fact: While mitigation does involve an investment, the cost is reasonable compared to the potential health risks. The process is straightforward and effective when performed by a qualified professional.
Myth 4: Only Certain Areas Have Radon Problems
Fact: Radon is found in homes in every state. The only way to know your home’s radon level is to test it.
The Role of Professional Organizations
Professional organizations play a crucial role in ensuring that radon testing and mitigation are conducted safely and effectively. These organizations provide certification programs, set industry standards, and offer resources for both professionals and homeowners. Some of the key organizations include:
- National Radon Proficiency Program (NRPP)
- National Radon Safety Board (NRSB)
- American Association of Radon Scientists and Technologists (AARST)
The Importance of Awareness and Education
Raising awareness about radon and educating the public on the importance of testing and mitigation is vital. Homeowners should be informed about the risks of radon, how to test for it, and the steps to take if high levels are detected. Community programs, public service announcements, and educational resources can help spread this critical information.
Conclusion
Radon is a serious health hazard that should not be ignored. Testing your home for radon is a simple yet crucial step in ensuring a safe living environment. Prompt mitigation can effectively reduce the risk if elevated radon levels are detected. By understanding the importance of radon testing, preparing your home properly, and taking appropriate mitigation steps, you can protect yourself and your loved ones from this invisible threat. Remember, regular testing and staying informed are key to maintaining a radon-free home. Take action today to ensure the safety and health of your household. For more information on radon testing, visit Rochester Radon Mitigation.


Sign in to leave a comment.