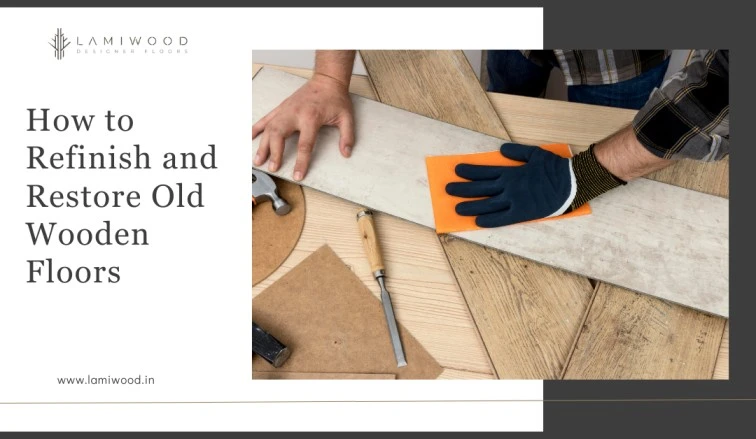
Refinishing and restoring old wooden floors can breathe new life into your home, revealing the natural beauty and character of the wood. Over time, wooden flooring in Mumbai can become worn, scratched, or discolored. This guide provides step-by-step instructions on how to refinish and restore your wooden floors, ensuring they look as good as new.
Assessing the Condition of Your Floors
Before you begin the refinishing process, assess the condition of your floors to determine the extent of the work needed. Look for the following:
Surface Scratches and Wear: Minor surface scratches and general wear can often be addressed with sanding and refinishing.
Deep Gouges and Damage: Deep gouges or damage may require filling or replacing individual planks.
Stains and Discoloration: Stains and discoloration can usually be removed through sanding, but severe cases may need more intensive treatment.
Gathering the Necessary Tools and Materials
To refinish your wooden floors, you will need the following tools and materials:
Sandpaper (Various Grits): Coarse, medium, and fine-grained sandpaper for sanding the floors.
Floor Sander and Edge Sander: Rent or purchase a drum sander and an edge sander for the project.
Vacuum and Tack Cloths: To clean up dust and debris.
Wood Filler: To fill any gaps or deep scratches.
Stain (Optional): If you want to change the color of your floors.
Polyurethane Finish: To protect and seal the floors.
Brushes and Rollers: For applying the stain and finish.
Protective Gear: Safety goggles, dust mask, and ear protection.
Preparing the Area
Before you start sanding, prepare the area:
Remove Furniture and Cover Fixtures: Clear the room of all furniture and cover any fixtures or vents to protect them from dust.
Clean the Floor: Thoroughly vacuum and clean the wooden flooring to remove any dirt or debris that could interfere with the sanding process.
Sanding the Floors
Sanding is the most labor-intensive part of the process but is crucial for a smooth finish:
Start with coarse-grit sandpaper: Use coarse-grit sandpaper (36-40 grit) to remove the old finish and level the surface. Move the sander in the direction of the wood grain.
Progress to Medium Grit Sandpaper: Switch to medium grit sandpaper (60-80 grit) to smooth out scratches from the coarse sanding.
Finish with Fine Grit Sandpaper: Use fine-grit sandpaper (100-120 grit) for the final sanding pass to achieve a smooth surface.
Sand the Edges and Corners: Use an edge sander or hand sand the areas that the drum sander cannot reach.
Cleaning and Filling
After sanding, clean the floor thoroughly:
Vacuum and Wipe Down: Vacuum the floor to remove all dust and wipe it down with tack cloths to pick up any remaining particles.
Fill Gaps and Cracks: Use wood filler to fill any gaps, cracks, or deep scratches. Allow the filler to dry completely, then sand it smooth with fine grit sandpaper.
Staining the Floors (Optional)
If you wish to change the color of your floors:
Apply Stain Evenly: Apply the wood stain evenly using a brush or roller, working in small sections. Wipe off excess stain with a clean cloth.
Allow to Dry: Let the stain dry according to the manufacturer's instructions, typically 24 hours.
Applying the Finish
The final step is to apply a protective finish:
Choose Your Finish: Polyurethane is a popular choice for its durability and ease of application. Decide between oil-based (more durable, longer drying time) and water-based (faster drying, less odor) finishes.
Apply the First Coat: Apply the first coat of polyurethane using a brush or roller, working with the grain of the wood. Allow it to dry completely.
Sand Between Coats: Lightly sand the floor with fine grit sandpaper (220 grit) between coats to ensure a smooth finish. Clean the floor with a tack cloth after sanding.
Apply Additional Coats: Apply at least two to three coats of polyurethane, allowing each coat to dry completely and sand between coats.
Final Steps
Once the final coat is dry:
Reinstall Furniture: Carefully move the furniture back into the room, using felt pads under the legs to prevent scratching.
Enjoy Your Restored Floors: Admire the revitalized beauty and durability of your newly refinished wooden floors.
Conclusion
Refinishing and restoring old wooden floors is a rewarding project that can significantly enhance the beauty and value of your home. By carefully assessing the condition of your floors, using the right tools and materials, and following the steps outlined above, you can achieve professional-quality results and enjoy the timeless elegance of restored wooden flooring.


Sign in to leave a comment.