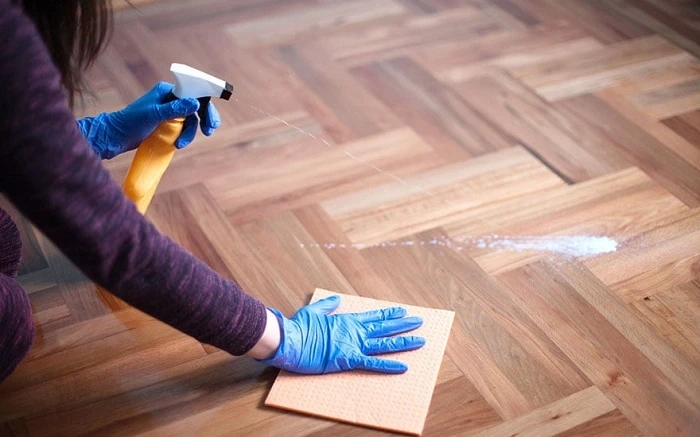
So, you've decided it's time to give your hardwood floors a fresh start, huh?
Well, if you've got an acrylic finish that needs to go, you've come to the right place. Removing that stubborn coating might seem like a daunting task, but fear not! With the right materials and a little bit of elbow grease, you'll have those floors looking brand new in no time.
In this guide, we'll walk you through the step-by-step process of removing that pesky acrylic finish from your hardwood floors. So, grab your gloves and let's get started!
Gather Necessary Materials
First, gather the necessary materials for removing acrylic finish from your hardwood floors. To effectively remove the acrylic finish, you'll need a few key items. Begin by obtaining a bucket, mop, or a microfiber cloth for cleaning purposes.
Next, acquire a commercial floor stripper specifically designed for hardwood floors. Ensure that you have a putty knife or scraper to aid in the removal process. Additionally, you'll need a pair of rubber gloves to protect your hands from any harsh chemicals.
Lastly, gather old towels or rags to absorb any excess liquid during the stripping process. Remember, having all the necessary materials on hand will make the task of removing the acrylic finish from your hardwood floors much more efficient and hassle-free.
Prepare the Hardwood Floors
To prepare the hardwood floors for removing the acrylic finish, thoroughly clean the surface using a mild cleaner and a mop or microfiber cloth.
This step is crucial as it ensures that the floors are free from any dirt, debris, or grease that may hinder the effectiveness of the acrylic removal process.
Begin by sweeping the floor to remove loose dirt and dust. Then, mix a mild cleaner with warm water according to the manufacturer's instructions.
Use a mop or a microfiber cloth dipped in the cleaning solution to wipe the entire surface, making sure to reach all corners and edges. Avoid using excessive water, as it can damage the wood.
Allow the floor to dry completely before proceeding to the next step.
Apply the Stripping Solution
Mix the stripping solution with warm water according to the manufacturer's instructions. Make sure to follow the recommended proportions to achieve the desired results.
Using a bucket or a spray bottle, combine the solution and warm water, ensuring that they're thoroughly mixed.
Start by applying the stripping solution to a small section of the hardwood floor using a clean mop or sponge. Work in small areas to prevent the solution from drying before you can remove it.
Allow the solution to sit on the floor for the recommended amount of time specified by the manufacturer. This will allow the solution to penetrate the acrylic finish and loosen it from the hardwood surface.
Remove the Acrylic Finish
Once the stripping solution has sat for the recommended amount of time, you can now remove the loosened acrylic finish from the hardwood floor.
To do this, you'll need a plastic scraper or a putty knife with a rounded edge. Begin by gently scraping the surface of the floor, working in small sections. Be careful not to apply too much pressure, as this can damage the wood.
As you scrape, you'll notice the acrylic finish coming off in small flakes. Continue scraping until all the finish has been removed. It's important to regularly clean the scraper or putty knife to prevent the buildup of removed finish.
Clean and Restore the Hardwood Floors
Clean and restore your hardwood floors by thoroughly removing any remaining residue from the acrylic finish. After successfully removing the acrylic finish, it's important to take the necessary steps to bring back the natural beauty of your hardwood floors. Here's how you can clean and restore your hardwood floors:
Begin by sweeping or vacuuming the entire floor to remove any loose dirt and debris.Use a mild hardwood floor cleaner that's specifically formulated for your type of hardwood.Apply the cleaner onto the floor using a clean mop or cloth, and gently scrub the surface in a circular motion.Rinse the mop or cloth frequently to avoid spreading dirt or residue.Finally, dry the floor completely using a clean, dry cloth or mop.Conclusion
Removing an acrylic finish from hardwood floors requires gathering the necessary materials, preparing the floors, applying a stripping solution, and carefully removing the acrylic finish.
It's important to follow the proper steps and use caution to avoid damaging the hardwood. Once the finish is removed, cleaning and restoring the hardwood floors will help bring back their natural beauty.


