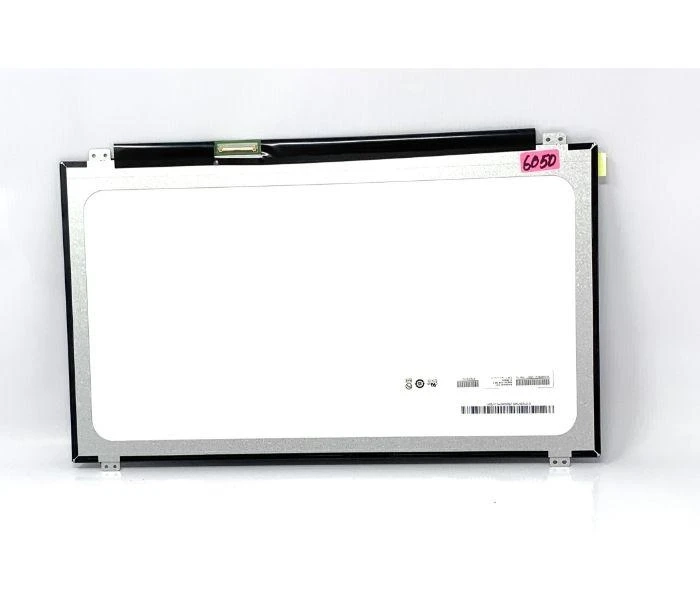
Replacing a laptop screen can be a delicate process, but by following these five easy steps, you can replace a Lapgrade laptop screen:
Step 1: Gather the necessary tools and prepare the workspace
Before starting the replacement process, gather the following tools: a small screwdriver set, an anti-static wristband (optional but recommended), and a clean, soft cloth. Ensure you have a well-lit and static-free workspace to prevent damage to the components.
Step 2: Power off and disconnect the laptop
Shut down the laptop completely and disconnect it from the power source. Remove the battery if possible. This step ensures your safety and prevents any accidental damage during the replacement process.
Step 3: Remove the bezel and disconnect the old screen
Using a small screwdriver, carefully remove the plastic bezel around the screen. Start from one corner and work your way around, gently prying it off. Be cautious not to apply excessive force to avoid damaging the bezel or the screen itself. Once the bezel is removed, you'll see the screen held in place by screws or brackets. Unscrew them and carefully disconnect any cables or ribbons connected to the screen. Take note of the cable connections for reassembly later.
Step 4: Install the new screen
Take the new Lapgrade laptop screen and connect the cables or ribbons to their respective connectors on the screen. Ensure they are securely fastened. Carefully position the new screen in the frame and reattach any screws or brackets that held the previous screen in place. Make sure the screen is aligned properly before tightening the screws.
Step 5: Reassemble and test
Once the new screen is installed, carefully reattach the plastic bezel around the edges. Apply gentle pressure to ensure it snaps back into place. Double-check all connections and screws to ensure they are secure. Finally, reconnect the laptop to the power source and turn it on to test the new screen. If the display appears properly and functions as expected, the replacement process is complete.
It's important to note that laptop screen replacement can be challenging and delicate, especially for those without prior experience. If you're unsure or uncomfortable with performing the replacement yourself, it's recommended to seek professional assistance from Lapgrade or a certified technician to avoid any damage to your laptop.


