So, staying home and having too much time on your hands has caught up with you, so you thought starting a hobby would be a good idea, and crafting was the first thing that came to your mind.

Well, unleashing your creativity is a good thing, and things get a lot easier if you have the right tools to help you turn your ideas into reality. One manufacturer makes a wide variety of tools that can assist home crafters, called Cricut.
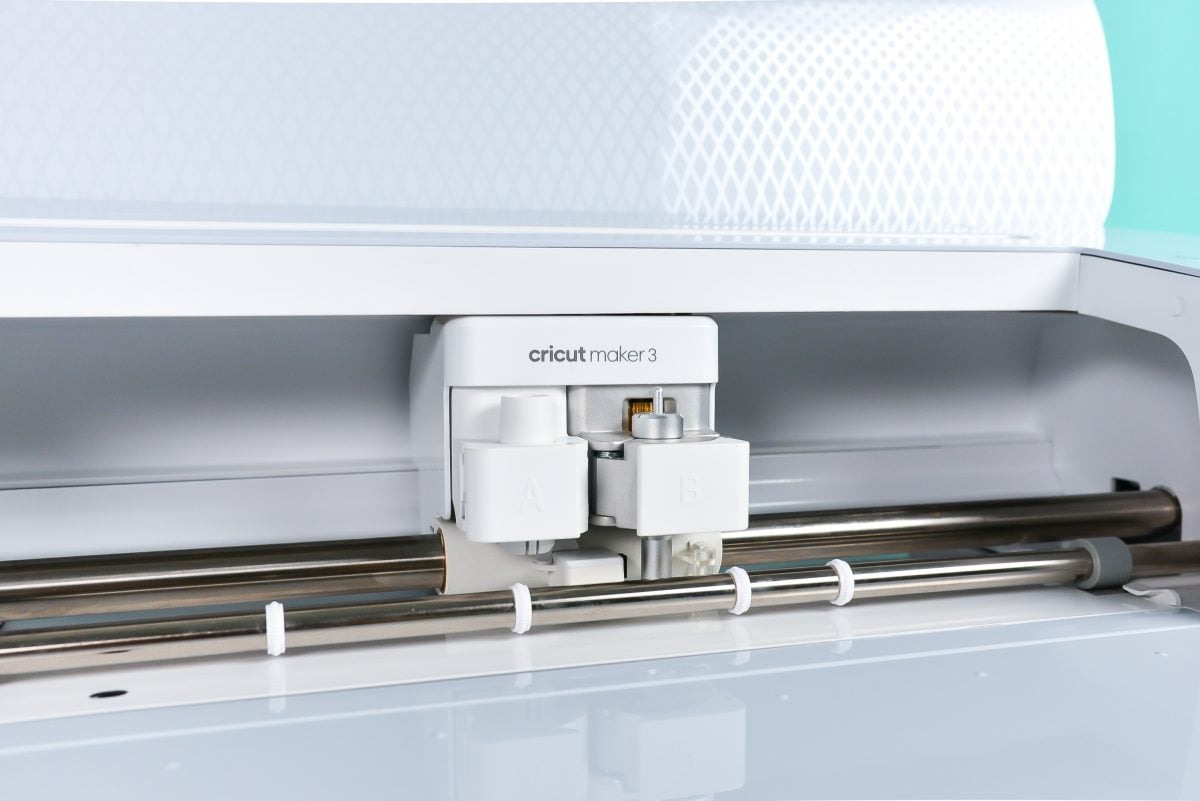
Cricut’s machine is the Cricut Maker, with the Cricut Maker 3 later bringing many improvements over the first generation of machines. Unfortunately, not everyone knows how to set up a Cricut Maker 3, and even though most of you probably know your way around it, there’s a high possibility that you are not using it to its full possibility. Not using it, and you may lose it—some amazing features.
What Is a Cricut Maker 3 And How Does It Works?
The Cricut Maker 3 is one of the next generations of Cricut machines, which also has the Explore Air 3 machine. These re-engineered cutting machines give you even more methods to create unique craft projects with the Cricut machine.
It is an upgraded version of the Cricut Maker machine. Here are the silent features of this cutting machine:
- It cut more than 300+ different types of materials, from paper to leather and wood.
- Draw and write with different Cricut pens and markers.
- It can cut out the fabric and make stitch marks.
- Score, deboss, emboss, perforate and add foil line art accents.
What’s Included In The Cricut Maker 3 Box?
In the Cricut Maker 3 machine package, you will find the following:
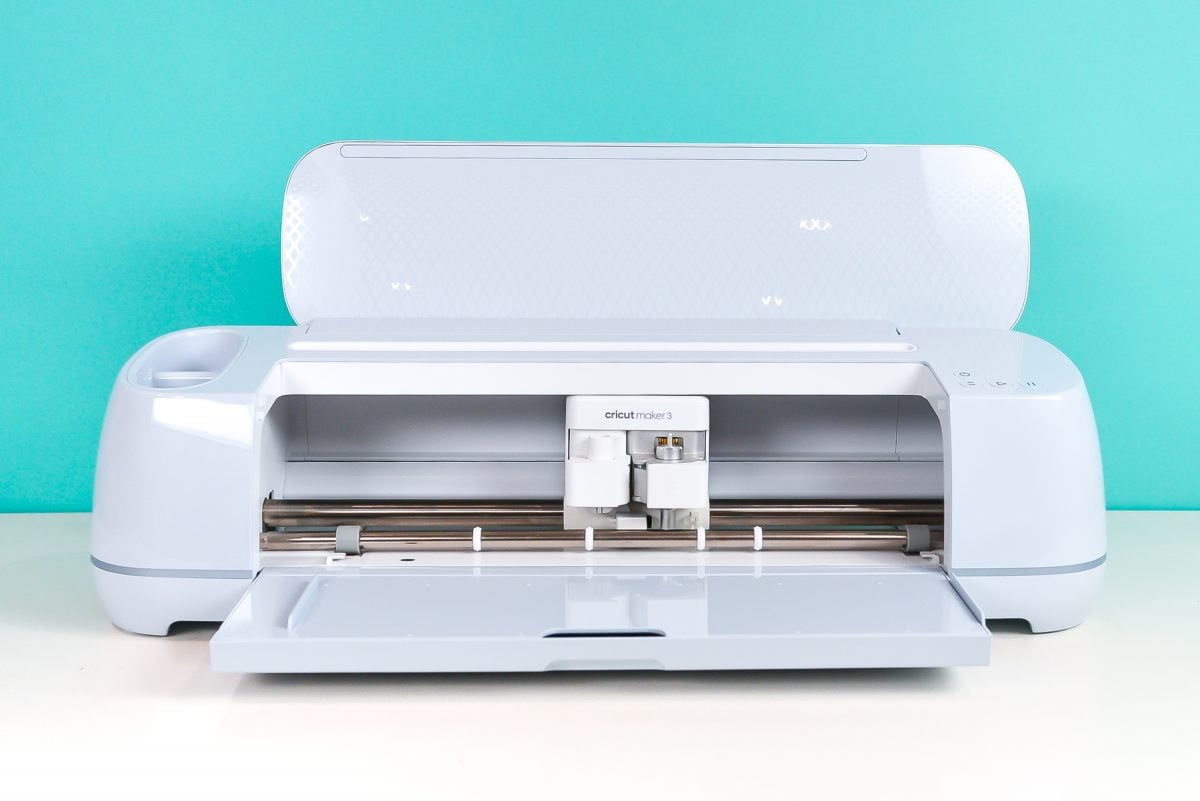
- Cricut Maker 3 machine
- A USB cable for connecting to your PC or smartphone
- A power adapter
- Sample materials for creating your first craft project
- Premium Fine-Point Blade + blade housing
- Free trial plan of Cricut Access
What’s The Main Difference Between The Cricut Explore 3 And Cricut Maker 3?
The major differences between the Cricut Explore 3 and Cricut Maker 3 involve the tool and cutting power—the Explore 3 machine pulls the blade into the material, while the Maker 3 machine works by positioning the blade and cutting as needed. It allows the Maker 3 machine to cut more different types of materials with 10 times the power up to 300+ wide variety of materials, everything the Explore 3 machine cuts things such as fabric, leather, and basswood. And this allows the Maker 3 machine to use more tools, including a rotary blade, knife blade, deboss tools, engraving tools, and scoring wheels. So the Explore 3 machine works with 6 tools, while the Maker 3 machine works with 13 tools. The Maker 3 machine has an expandable set of tools to expand with it.
How To Set Up a Cricut Maker 3 On Windows/Mac?
In order to set up a Cricut Maker 3 on your Windows or Mac system, follow the procedures given below:
- First, you must plug in the Cricut Maker 3 machine.
- Next, turn on the cutting machine as well as your Windows or Mac PC.
- After that, connect the machine to your operating system.
- Then, connect the machine and your PC using a USB cable.
- Also, you can use Bluetooth to connect the machine to your PC if you don’t have a USB cable.
- Now, go to the official website of Cricut at “cricut.com/setup.“
- After that, download and install the Design Space software on your operating system.
- Follow the on-screen directions to complete the setup procedure.
- Now, log in with your “Cricut ID“ and “Password.“
- You will be notified of a test project when the setup is done.
How To Set Up a Cricut Maker 3 On Android/iOS?
Here’s a guide to setting up a Cricut Maker 3 on Android and iOS devices. Let’s start with the setup process in the section below:
- To get started, plug in the Cricut Maker 3 machine.
- Turn on the cutting machine as well as your Android or iOS device.
- You must download the Design Space app on your device.
- From “Google Play Store,” install the Design Space app for Android devices.
- From the “App Store,” install the Design Space app for iOS devices.
- Open the Design Space app and log in with your “Cricut ID“ and “Password.“
- If you use the cutting machine for the first time, create a new Cricut account.
- Go to the “Menu“section and select “Machine Setup.“
- On the next screen, choose your Cricut cutting machine to start.
- Follow the on-screen prompts to complete the setup procedure.
- You will be notified of a test job when the setup is complete.
0


