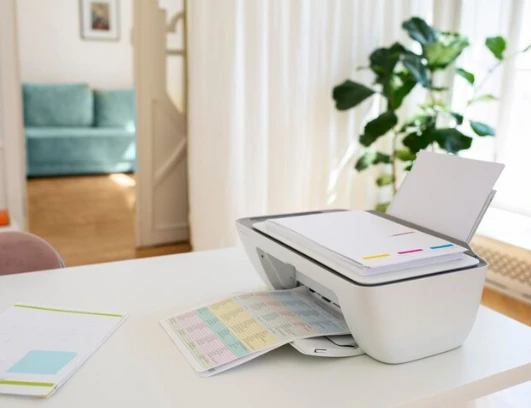
Setting up a wireless printer is an essential skill for modern-day home and office setups. It allows you to print documents and photos without the hassle of cables, making it convenient for multiple devices to connect to the printer from anywhere within your Wi-Fi range. Whether you're setting up a brand-new printer or connecting an existing one to a new network, this guide will walk you through the process, step by step.
What You'll Need:
- A wireless printer (with Wi-Fi capability)
- A wireless router with an active internet connection
- A device (computer, smartphone, or tablet) to connect to the printer
- The printer’s manual (in case specific steps are required)
Step 1: Unbox and Set Up Your Printer
- Unbox the Printer: Carefully remove the printer from its box and ensure all parts are intact. You’ll likely have a power cord, ink or toner cartridges, and paper tray.
- Install the Ink/Toner Cartridges: Open the printer’s front or side panel and install the ink or toner cartridges as instructed in the manual. Be sure to remove any protective covers or plastic from the cartridges before inserting them.
- Load Paper: Insert paper into the paper tray or feeder.
- Power On the Printer: Plug in the power cable and turn on the printer using the power button.
Step 2: Connect the Printer to Your Wireless Network
Now that your printer is powered on, it’s time to connect it to your wireless network. The process varies slightly depending on the printer brand, but most modern printers follow similar steps:
Option 1: Using the Printer’s Control Panel
- Access the Printer's Menu: On the printer’s display screen (if it has one), navigate to the Wi-Fi or Network settings. This may be under a "Setup" or "Settings" menu.
- Choose Wireless Setup: Select the option to connect the printer to Wi-Fi. Some printers will automatically search for available networks, while others may prompt you to enter your Wi-Fi details manually.
- Select Your Network: Choose your Wi-Fi network from the list of available networks. If your network is hidden, you may need to enter the network name (SSID) manually.
- Enter the Wi-Fi Password: Using the on-screen keyboard, input your Wi-Fi password. Ensure that you enter it correctly, as Wi-Fi passwords are case-sensitive.
- Confirm the Connection: After entering the password, confirm the settings and allow the printer to connect to the network. The printer should display a confirmation message or a Wi-Fi icon when connected.
Option 2: Using WPS (Wi-Fi Protected Setup)
Some routers and printers support WPS, a quick and secure way to connect the printer to your network.
- Locate the WPS Button: On your router, find the WPS button (it may be labeled as “WPS” or a similar term).
- Activate WPS on the Printer: On the printer, select the WPS option in the wireless setup menu. This will prompt the printer to search for the router.
- Press the WPS Button: Within a couple of minutes, press the WPS button on your router to initiate the connection. The printer should automatically connect to the network.
- Confirmation: Once the connection is successful, the printer will display a confirmation message.
Step 3: Install Printer Software on Your Computer or Device
After the printer is connected to the Wi-Fi network, you’ll need to install the printer drivers and software on your computer or mobile device to complete the setup.
For Windows or Mac Computers:
- Download the Software: Go to the printer manufacturer’s website (e.g., HP, Canon, Epson) and search for your printer model. Download the latest drivers and software for your operating system (Windows or Mac).
- Run the Installation: Launch the downloaded file and follow the on-screen instructions. During the installation process, you’ll be prompted to choose the connection type. Select the “Wireless” option and let the software search for your printer on the network.
- Connect the Printer: Once the software detects the printer, follow the prompts to complete the installation. The software will configure your computer to communicate with the printer over Wi-Fi.
- Print a Test Page: After installation, you may be prompted to print a test page to confirm the printer is set up correctly.
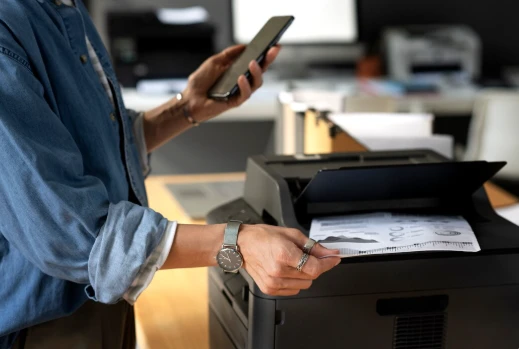
For Smartphones or Tablets:
For iOS (iPhone/iPad) and Android devices, you don’t need to install additional software for basic printing. Most modern printers support AirPrint (iOS) or Google Cloud Print (Android). Here's how to connect:
- Ensure Both Devices Are on the Same Wi-Fi Network: Make sure your smartphone/tablet and the printer are connected to the same Wi-Fi network.
- Select the Printer: On your device, open the document or image you want to print, and tap the “Share” or “Print” option. From there, select the printer from the available list.
- Print: Adjust print settings as needed (number of copies, page range, etc.) and hit “Print.”
Step 4: Test the Printer
After installation, it’s a good idea to print a test page or document to ensure everything is functioning correctly.
- From a Computer: Open a document or image, select "Print" from the file menu, and choose your wireless printer from the list of available printers.
- From a Smartphone: Select the document or photo, tap the print option, and choose the wireless printer.
If the test print is successful, congratulations! Your wireless printer is set up and ready for use.
Troubleshooting Tips
If you encounter issues during setup, here are a few troubleshooting steps:
- Check the Wi-Fi Connection: Ensure the printer is connected to the correct Wi-Fi network and that the network is functioning properly.
- Restart Devices: Sometimes, simply restarting your printer, computer, or router can resolve connection issues.
- Update Printer Firmware: Check the printer manufacturer’s website for any firmware updates that may improve functionality or fix known issues.
- Check for Printer Compatibility: Make sure your device’s operating system is compatible with your printer model and the latest drivers are installed.
- Contact Support: If all else fails, consult the printer's user manual or contact the manufacturer's customer support for further assistance.
Conclusion
Setting up a wireless printer can be straightforward if you follow the right steps. By connecting the printer to your Wi-Fi network and installing the necessary software on your devices, you can enjoy the convenience of wireless printing from anywhere in your home or office. Once everything is set up, you’ll be able to print documents and photos quickly, without the clutter of cables.


Sign in to leave a comment.