One of the most important things that you need to do when installing any new device is getting it set up properly. In order to do this successfully, you will need to know about Canon Pixma MG2522 Setup quickly and easily. By following these tips on how to set up your new printer, you will be able to get the most out of this device and avoid any potential problems that might arise in the future.
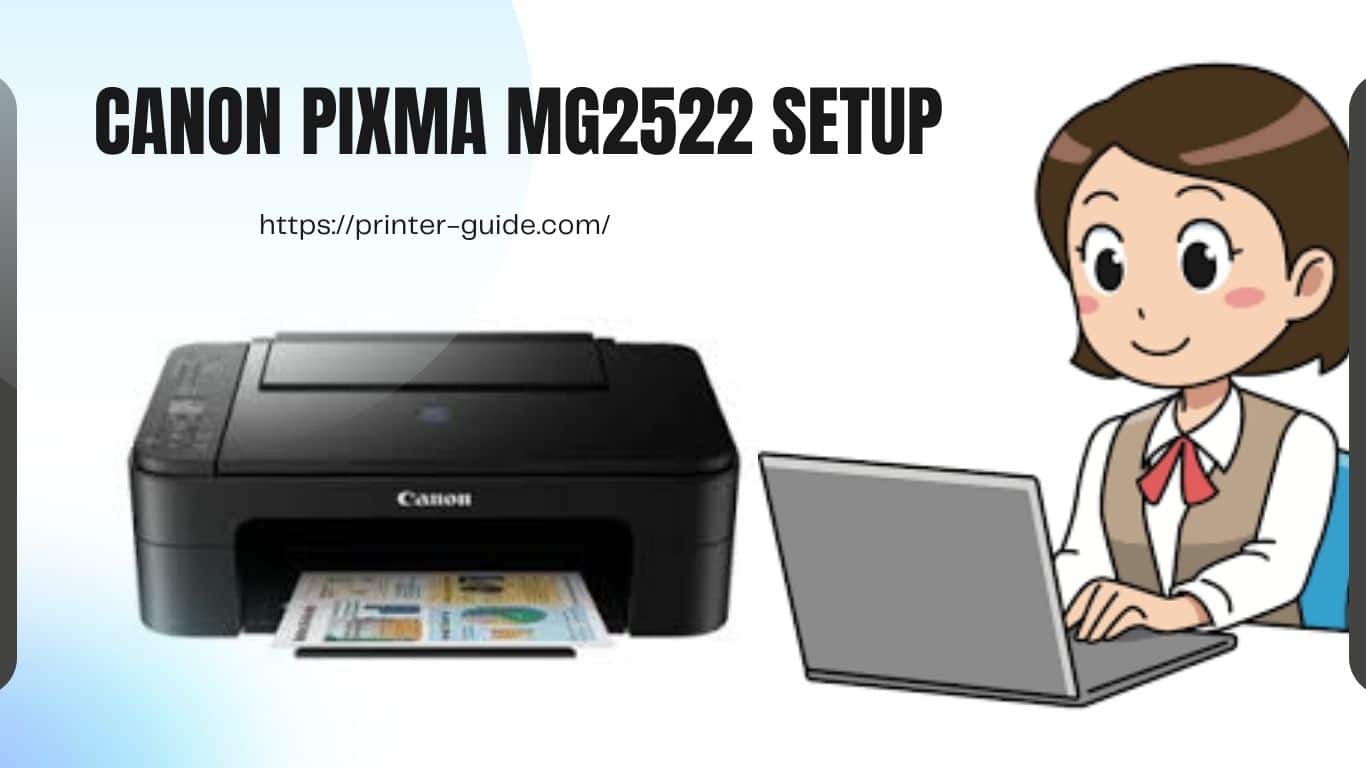
How to Setup Canon Pixma MG2522?
Setting up a Canon Pixma MG2522 printer is straightforward and easy. Follow these steps to make sure you have everything in order when you start printing your pictures or documents:
-Unplug the power cord from the back of the printer, then plug it back in.
-Press and hold the Power button on the printer for 20 seconds.
-Wait until the printer restarts and is ready for use.
In order to Canon Pixma MG2522 Setup, you should first plug in the printer and make sure that the cord is plugged into a surge protector. Once you have done that, you will need to put an empty ink tank in the printer and then press the start button at the bottom of the printer. Then open up a browser window on your computer. From there, type in 192.168.1.1 in the address bar and hit enter to bring up the website for setting up your device. In order for these menus to show up on your computer, it needs to be connected to a router with an IP address as well as connected to a power outlet.
Installation Process of Canon Pixma MG2522
The installation process of the Canon Pixma MG2522 printer can be done in a few simple steps. The first step is to remove the protective film from the printer's paper tray. Remove the ink cartridges and place them into a bag, if needed. The second step is to open up the cover of the printer and insert one end of the power cord into an electrical outlet. Close up that cover and then turn on your computer. Next, you need to connect your computer to the printer by opening a USB connection with it. Then, you need not wait for the process to finish as it can be done in a minute or two depending on the speed of your computer. Next, open up your web browser on your computer, visit canon website, find your model number, and follow their instructions to set it up as your printer.
How to scan document in Canon Pixma MG2522?
The Canon Pixma MG2522 has a built in document scanner that can be used to scan documents. Usually, you will insert the document in the scanner one page at a time and it will send it to the printer. Alternatively, you can press the “scan” button and it will automatically scan multiple pages if necessary.
Tips for a successful scanning process
Many people have had issues when scanning and have gone through several options to try and improve their scanning process. The following steps can help make your scanning experience much more successful.
When Canon Pixma MG2522 Setup, the first thing to make sure to do is to connect the USB cable to your computer. Then make sure that the printer is plugged in and turned on. Next you will need to find the correct driver for your computer system from Canon's website. It is also recommended that you use the appropriate software for your operating system so that it can complete a scan smoothly.
0


