

The iPhone offers you robust camera hardware along with various hidden options and features, but many users don’t know how to utilize them. In this article, I’m going to share a few tips with you that will help you take better and more clear photos with your iPhone. If you follow all these tips, your photos will have better focus, clear layouts, and better color filters. So without wasting more time in the introduction, let’s move to the main topic. Here are the tips:
Use the Grid Mode
While taking pictures with your iPhone, the device’s camera easily gets tilt that affects the photos, especially when you are clicking a picture on the horizon. So whenever you click a picture on the horizon, don’t forget to turn on the grid mode on the camera in order to compose more clear photos. To turn this mode on, you will have to go to the Settings then choose the Camera option and enable the Grid mode from here.
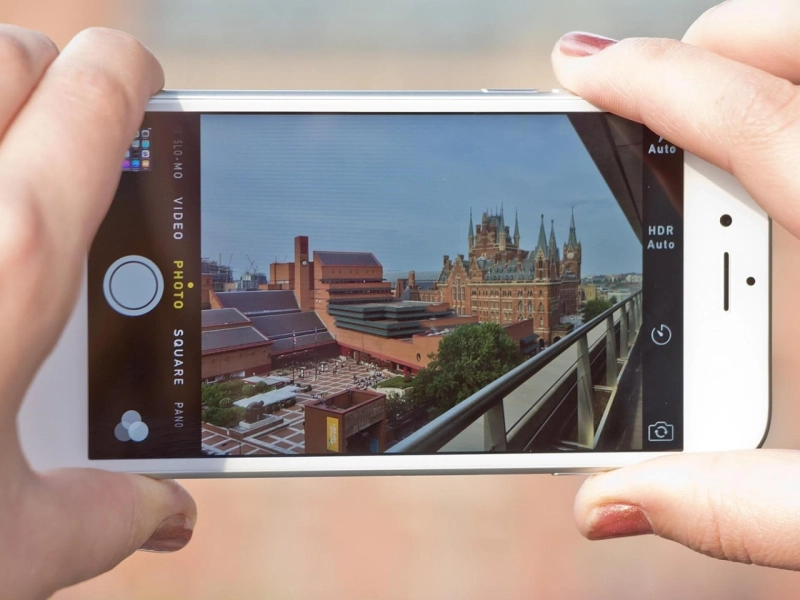
Turn on the HDR Feature
HDR stands for High Dynamic Range, this feature helps you take more clear and balanced (in terms of light) photos. When you click a picture while turning on the HDR mode on the camera, it clicks multiple images with different brightness and then combines all of them into one image in order to give you the best possible shot. The HDR mode brightens the image when you click a picture even in low light conditions, it’s really a fantastic feature and you should be trying it on your iPhone.
Take Live Photos
A live photo is more like a short film in which whatever you capture will move. After clicking a live photo, you can pause and play it whenever you want and choose the desired image. Well, many people don’t like this feature, maybe because it involves a few extra steps despite simply clicking a shot. However, if you think it’s appealing, you can try this feature while clicking a photo with your iPhone.
Adjust the Exposure of the Image
Adjusting the exposure of an image is a very easy process, you just need to tap on any specific area of your iPhone’s display while clicking a photo and you will be able to do it. Well, exposure adjustments help you manage or control lights in the image, you can brighten up a dark area in the image or do the opposite in case the lights are too bright. When you tap on the screen, you will see a slider, drag it up in order to increase brightness, and drag it down to do the opposite.
Use Photo Color Filters
The iPhone lets you use various color filters while clicking a photo. You just need to swipe up from the bottom and it will show you all the available color filters. You can select any color filter and even see directly on your screen how it looks. You can use these filters for portraits, streets, landscapes, and more. It will be very helpful to you and definitely improve the image quality of your iPhone.
That’s all for this article. These are all the tips that we recommend you follow in order to click better pictures from your iPhone. I hope you liked the information given in this article. Thank you for reading it. Have a nice day!
Source :- https://a4setup.co.uk/how-to-take-better-photos-with-the-iphone/