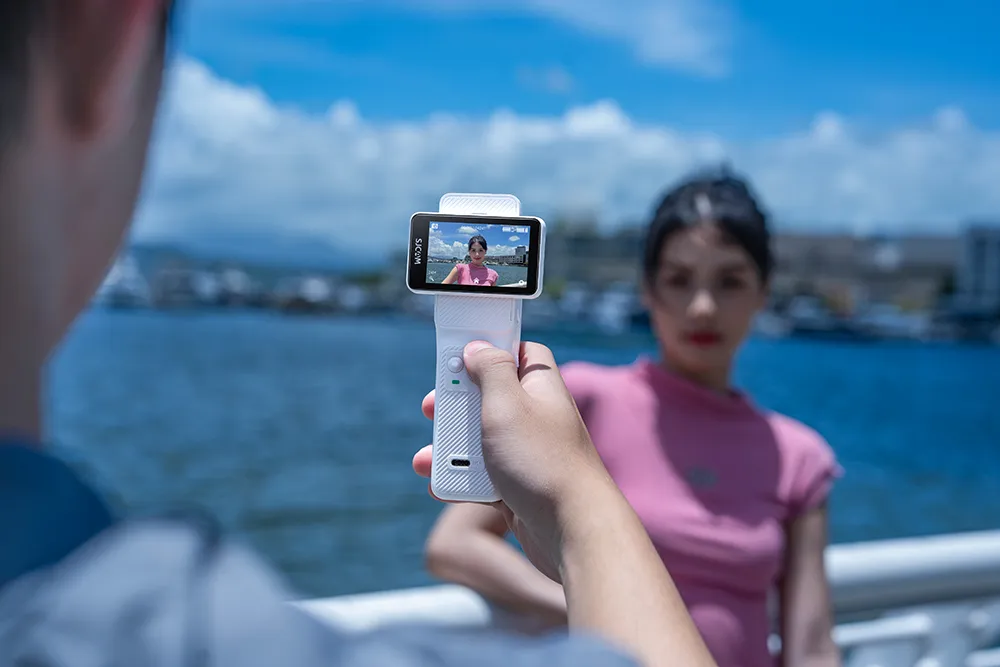

How to Use an Action Camera for Travel Vlogging and Adventure Content
Action cameras for travel are among the most useful tools for creators who want to document journeys, outdoor activities, and memorable experiences without carrying a large camera bag. They are compact enough to fit in a pocket, durable enough for active environments, and versatile enough to capture wide landscapes, point-of-view footage, underwater scenes, city walks, and fast-moving adventure content.
For beginners, an action camera can feel much easier to use than a traditional mirrorless camera. You can mount it to a helmet, chest harness, backpack strap, bicycle, car, handheld grip, or mini tripod. This flexibility allows you to record travel experiences from perspectives that would be difficult to capture with a smartphone alone.
However, buying an action camera is only the first step. To create travel vlogs and adventure videos that people want to watch, you need to understand how to plan your content, choose the right settings, frame your scenes, use useful accessories, record clear sound, and edit clips into a story.
This guide explains how to use action cameras for travel vlogging and adventure content, even if you are starting from zero.
Why Action Cameras Work So Well for Travel Content
Travel content often includes motion, unpredictable weather, crowded environments, and activities that require both hands. Action cameras are designed to handle these situations. Their small size makes them easy to carry all day, while their wide-angle lens helps capture both the subject and the surroundings.
For example, a smartphone can record a beautiful view from a lookout point, but it is less practical when you are cycling downhill, walking through rain, paddling a kayak, or snorkeling. An action camera can be mounted securely so that you can stay involved in the activity while still recording the experience.
Action cameras for travel are especially useful for:
- Hiking, trekking, camping, and trail running
- Cycling, motorcycling, skiing, and snowboarding
- Beach trips, swimming, snorkeling, and boating
- City walks, food tours, markets, and public transportation
- Road trips, scenic drives, and train journeys
- First-person POV videos and hands-free vlogging
- Travel challenges, adventure activities, and behind-the-scenes content
The goal is not to record every second of a trip. Instead, an action camera gives you the flexibility to capture the moments that make a destination feel real: the movement, weather, sound, scenery, and small discoveries that viewers may not see in a standard travel photo.
Build a Simple Travel Vlogging Kit
You do not need a large collection of equipment to start. A compact, reliable kit is better for travel because it is easier to pack, faster to set up, and less likely to slow you down.
Start with the camera, a high-speed memory card, a charging cable, and at least one spare battery or power bank. Video recording uses more battery than taking photos, particularly when filming at high resolutions or frame rates. If you plan to spend a full day outdoors, additional power is essential.
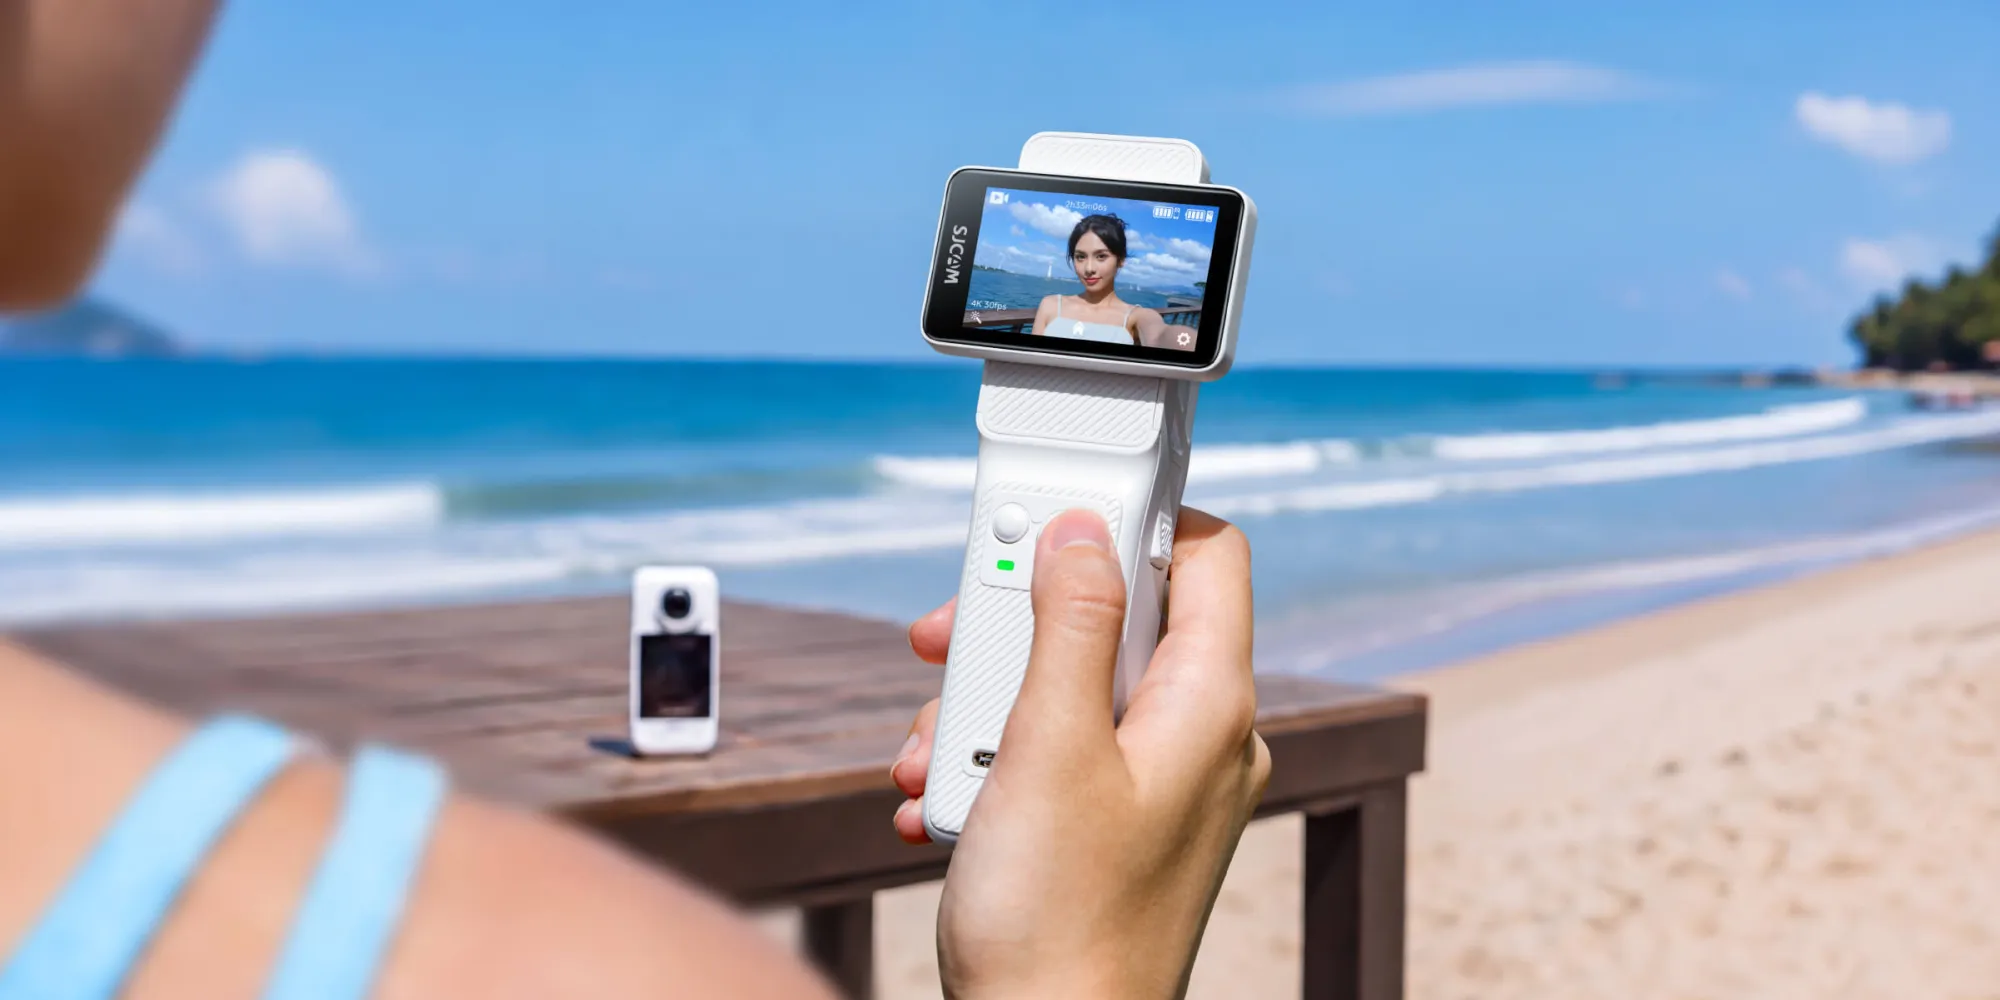
A small handheld grip or mini tripod is one of the best first accessories. It can help stabilize walking shots, support time-lapses, make it easier to film yourself, and provide a simple way to record group clips. A short grip can also create a more comfortable distance between you and the lens when speaking to the camera.
For hands-free filming, choose mounts based on the activity:
- Backpack-strap mount: Useful for walking tours, hikes, and travel days. It keeps the camera easy to access while providing a natural forward-facing view.
- Chest mount: A strong option for cycling, skiing, kayaking, climbing, and other activities where you want to show your hands and equipment.
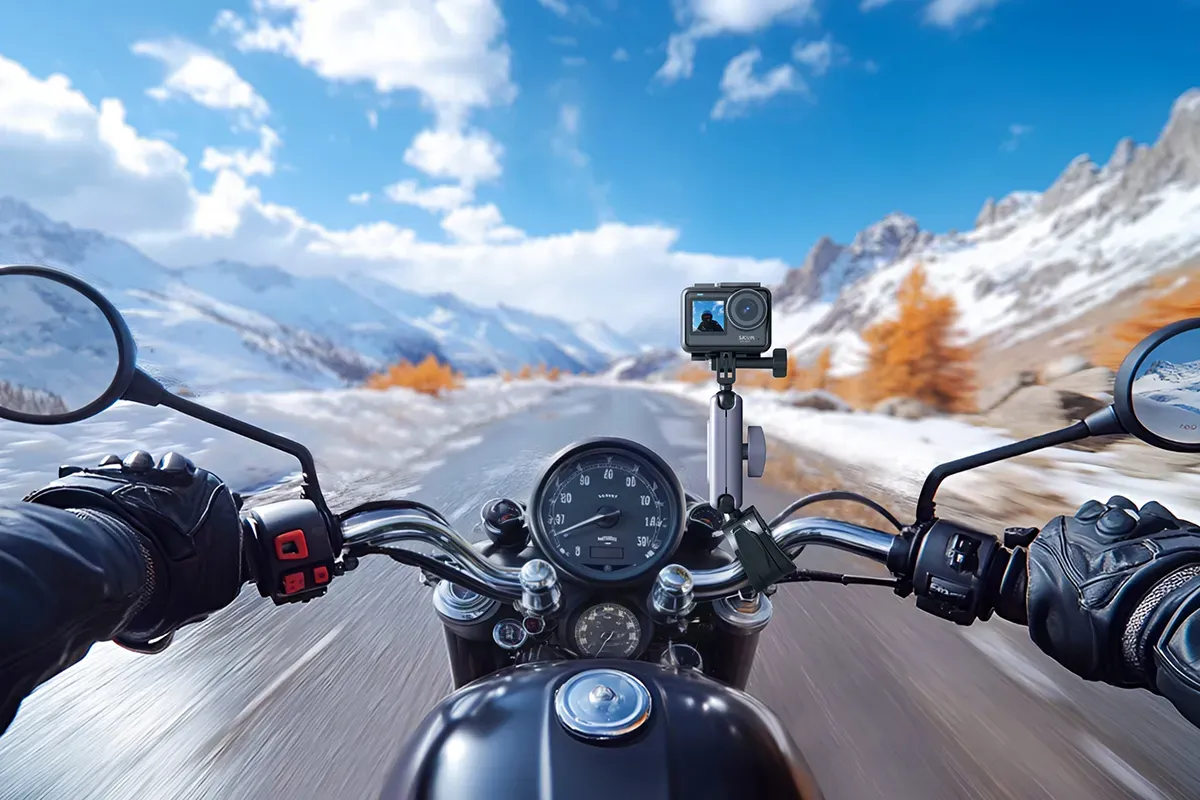
- Helmet mount: Works well for motorcycling, mountain biking, skiing, and sports requiring a helmet. It creates an eye-level point of view, but rapid head movement can make footage feel less stable.
- Car mount: Helpful for road trips and scenic drives. Make sure it is installed securely and does not block your view or interfere with safe driving.
- Waterproof housing and floating grip: Important for water activities if the camera is not already rated for the required depth. A floating grip can help prevent accidental loss in water.
Keep mounts, batteries, cables, screws, adapters, and cleaning cloths in one small pouch. This makes it easier to prepare quickly when you reach a new location or begin an activity.
Choose the Right Settings
Action cameras for travel offer many settings, but beginners do not need to change everything constantly. Start with a dependable default configuration and adjust only when your environment or activity changes.
For everyday travel vlogging, 4K at 30 frames per second is a practical starting point. It delivers detailed footage for landscapes, city streets, food scenes, hotel tours, and walking videos. It also gives you flexibility to crop clips during editing.
For faster activities, such as mountain biking, skiing, surfing, cycling, or riding in a vehicle, use 4K at 60 frames per second if available. The higher frame rate makes motion look smoother and gives you the option to create slow-motion clips later.
Enable electronic image stabilization for handheld, mounted, or moving footage. Stabilization can reduce the shake that occurs when walking, turning, or traveling over uneven surfaces. It may crop the image slightly, so test the feature before an important trip.
Choose a wide field of view for most adventure content. A wide lens captures more of the scene and gives viewers a stronger sense of place. It is ideal for narrow streets, mountain trails, vehicle interiors, and action sports. However, ultra-wide settings can distort faces or buildings near the frame edges, so keep key subjects closer to the center.
Action cameras usually perform best in daylight. In low light, avoid fast movement, hold the camera steady, and look for existing light from streets, shops, restaurants, vehicles, or campsites. A small camera sensor can struggle at night, so a steady shot is often more valuable than trying to capture fast action in darkness.
Before recording, clean the lens. Fingerprints, rain drops, sunscreen, dust, and water spots can ruin footage. A microfiber cloth takes only a few seconds to use and should always be part of your travel kit.
Plan a Story, Not Just Footage
One of the most common beginner mistakes is recording long clips without a clear purpose. This creates too much footage to edit and often results in videos that feel repetitive.
Instead, decide what story your vlog will tell. You do not need a full script, but you should know the central experience you want to share.
For example, instead of filming an entire day in a city, build the vlog around a specific promise: “Exploring a local street-food market,” “Taking a sunrise hike to a viewpoint,” or “My first day cycling through the countryside.” This gives your video a clear direction.
A simple travel-vlog structure can be:
- Introduce the destination, challenge, or plan.
- Show your journey or preparation.
- Capture the main activity with a mix of wide views, close details, and POV footage.
- Include your reaction, surprise, obstacle, or highlight.
- End with a result, reflection, or final scenic shot.
Start each new location with an establishing clip. Film a street sign, trailhead, train station, hotel exterior, landmark, or scenic overview. This helps viewers understand where they are before you move into more detailed action footage.
Then collect a variety of clips. Show the large view, but also record smaller details: your hands opening a map, food being prepared, a ticket being scanned, boots moving along a path, rain hitting a window, waves near the shore, or a bicycle wheel turning. These details add texture and make travel vlogs feel more personal.
Capture Immersive Adventure Footage
POV footage is one of the most powerful uses of action cameras for travel. It can make viewers feel as if they are on the trail, bike, boat, or city street with you.
For the best POV results, think carefully about mounting position. A chest mount often creates more stable footage than a head mount, especially during high-energy activities. It also includes your arms, hands, handlebars, paddles, or other gear in the frame, which strengthens the sense of participation.
A head or helmet mount can create a more direct “through your eyes” perspective. It works well for activities such as skiing, motorcycling, or climbing, but move your head smoothly. Fast side-to-side scanning may feel uncomfortable for viewers.
Remember to capture moments before and after the action. If you only record the most intense section of a hike, ride, or activity, viewers may not understand the context. Film a few short clips of getting ready, arriving at the starting point, checking equipment, or reacting afterward. These simple scenes help turn action footage into a story.
Use natural audio whenever possible. Wind, footsteps, water, birds, crowd noise, and local music can make footage feel much more immersive. If you are speaking outdoors, consider an external microphone and wind protection. For sections with too much noise, you can add a voiceover later to explain what was happening.
Film Yourself Without Losing the Experience
Travel vlogging is more engaging when viewers occasionally see the creator. A handheld grip, small tripod, or selfie stick makes it easy to record short introductions, reactions, and closing thoughts.
When speaking to the camera, keep your comments concise. Explain what you are doing, what you expect, or what surprised you. You do not need to talk continuously. A few natural statements between action scenes are often more effective than a long monologue.
For example, before a hike, you might say, “The trail starts just outside the village, and I am hoping the clouds clear before the viewpoint.” After reaching the top, record a short reaction and let the scenery and ambient sound carry the rest of the moment.
Be aware of your surroundings. Do not walk backward while filming, block busy paths, ignore local rules, or prioritize the shot over safety. The best travel content comes from genuinely experiencing a place, not from constantly performing for the camera.
Edit for Energy and Clarity
Editing is where your travel vlog becomes a finished story. Start by reviewing your clips and selecting only the ones that add something new: a change of location, a meaningful reaction, a useful detail, an exciting action moment, or a beautiful view.
Remove repeated walking footage, shaky mistakes, long waits, and clips where nothing important happens. You do not need to use every recording.
Arrange your clips in the order of the experience, then refine the pace. Use shorter clips during energetic action sequences and slightly longer clips for scenic views, conversations, or emotional moments. Add simple transitions only when they help the story; basic cuts are often the most natural choice.
Music can add energy, but keep dialogue and environmental sound clear. Local atmosphere is part of the travel experience, so do not cover every clip with loud music. Use wind noise reduction or voiceovers where necessary, but avoid making the audio feel overly artificial.
Back up your footage regularly while traveling. At the end of each day, copy important clips to a phone, tablet, laptop, portable drive, or cloud storage when possible. Organize folders by date and location, such as “Day 2 – Coastal Ride” or “Day 4 – Market Tour.” This makes editing easier and protects your memories if a memory card is lost or damaged.
Final Thoughts
Action cameras for travel are ideal for creators who want to turn trips into engaging vlogs and adventure stories. Their compact size, hands-free mounting options, wide-angle perspective, and ability to capture active environments make them useful for everything from casual city exploration to demanding outdoor sports.
Begin with simple settings, carry sufficient power and storage, use mounts that fit your activity, and focus on filming a story rather than recording every minute. As you gain confidence, you can experiment with slow motion, time-lapses, cinematic editing, voiceovers, underwater footage, and more advanced POV shots.
For travelers and creators looking for a practical camera for vlogging and adventure content, consider the SJCAM C400 Pro action camera. Its compact design makes it well suited to travel, outdoor activities, hands-free mounting, and first-person video. With a thoughtful shot plan, stable filming technique, and a few essential accessories, the SJCAM C400 Pro can help you capture immersive adventure content and travel memories that are enjoyable to watch long after the trip ends.


















Sign in to leave a comment.